I DIY’d The Oversized Candle I Couldn’t Stop Thinking About
The oversized candle that inspired this project was sold out…so I accidentally made one that was much, much bigger
4 MIN READ
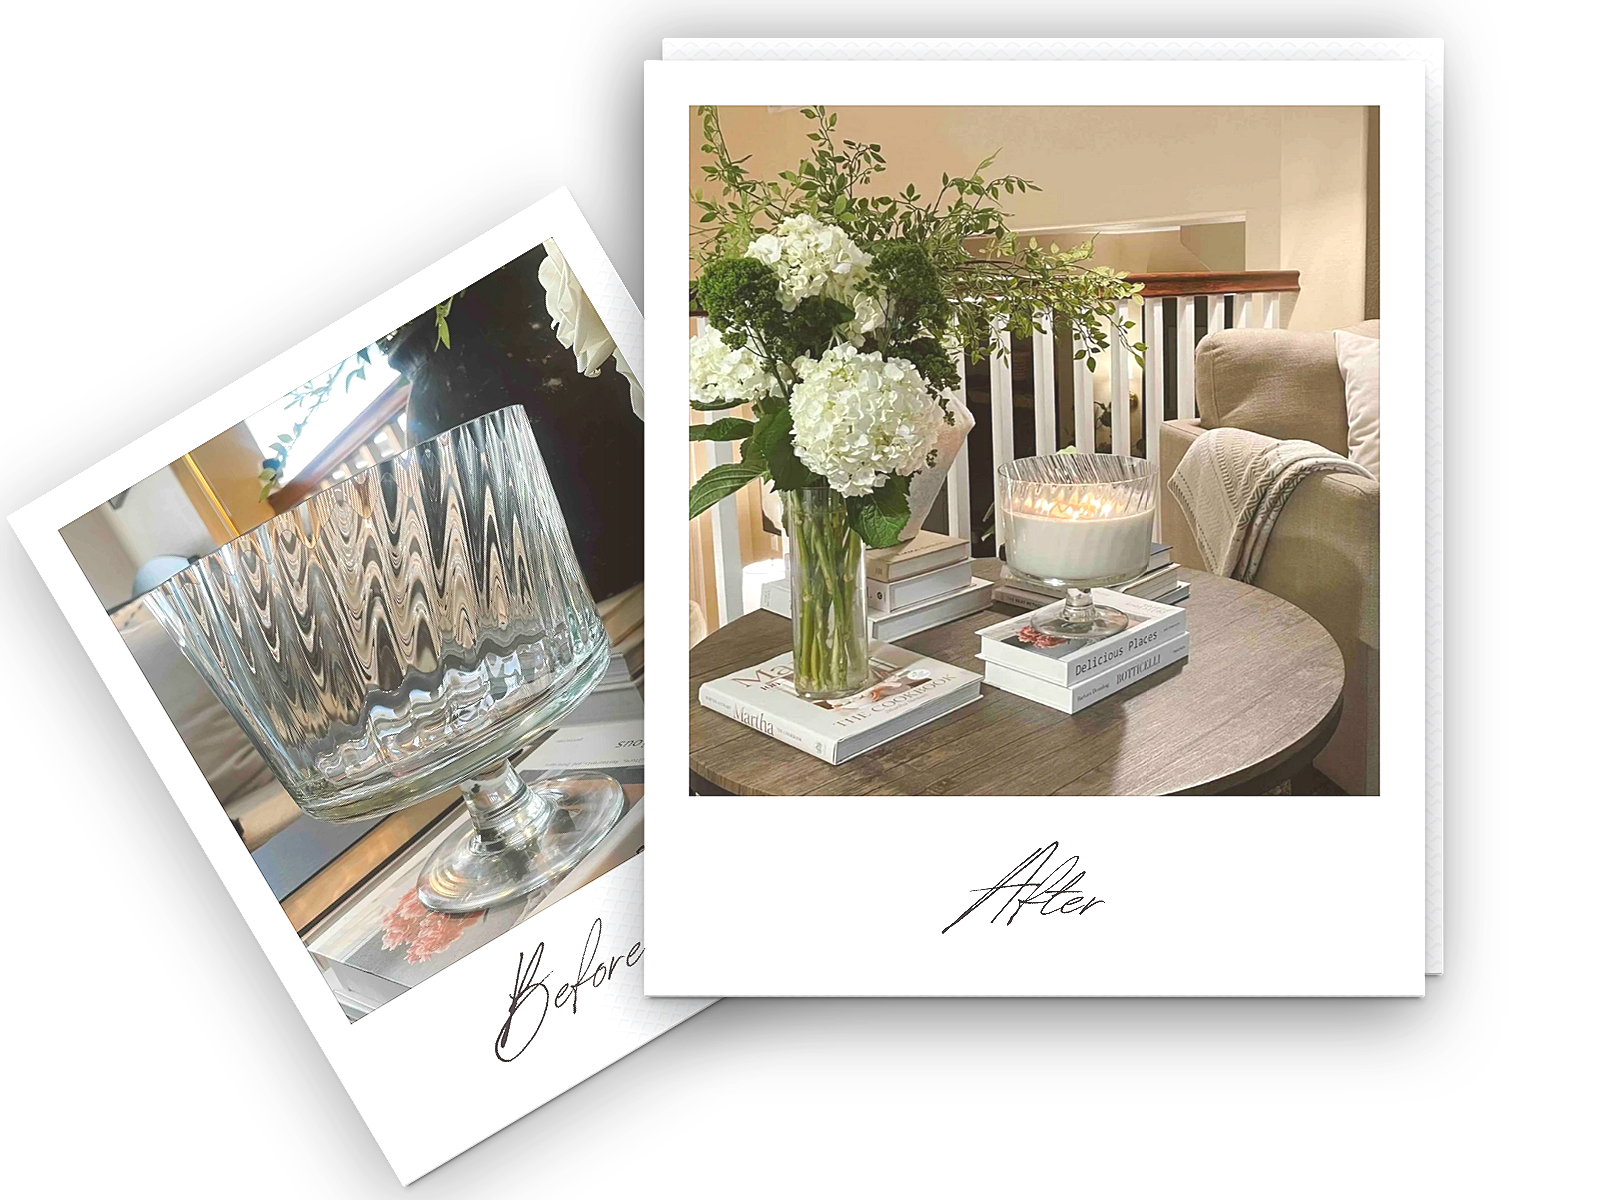
Last week, I told you about the candle that started all of this.
→ The Candle That Started With a Stranger's Show
I had fallen completely in love with an oversized candle I’d seen on Hosted by Nabela Noor. It was beautiful, sculptural, and the exact kind of piece I’d been looking for to elevate my loft table.
It was also very sold out.
So naturally, my brain went…
I feel like I could make this…?!
And although I’d never made a candle in my life, I have a weird confidence that I can create anything…and apparently, a healthy sense of delusion to pair it with.
So, off I set to create the most gaudy, unscented, candle centerpiece I’d ever seen.
And here’s what happened next ↓

The Vessel
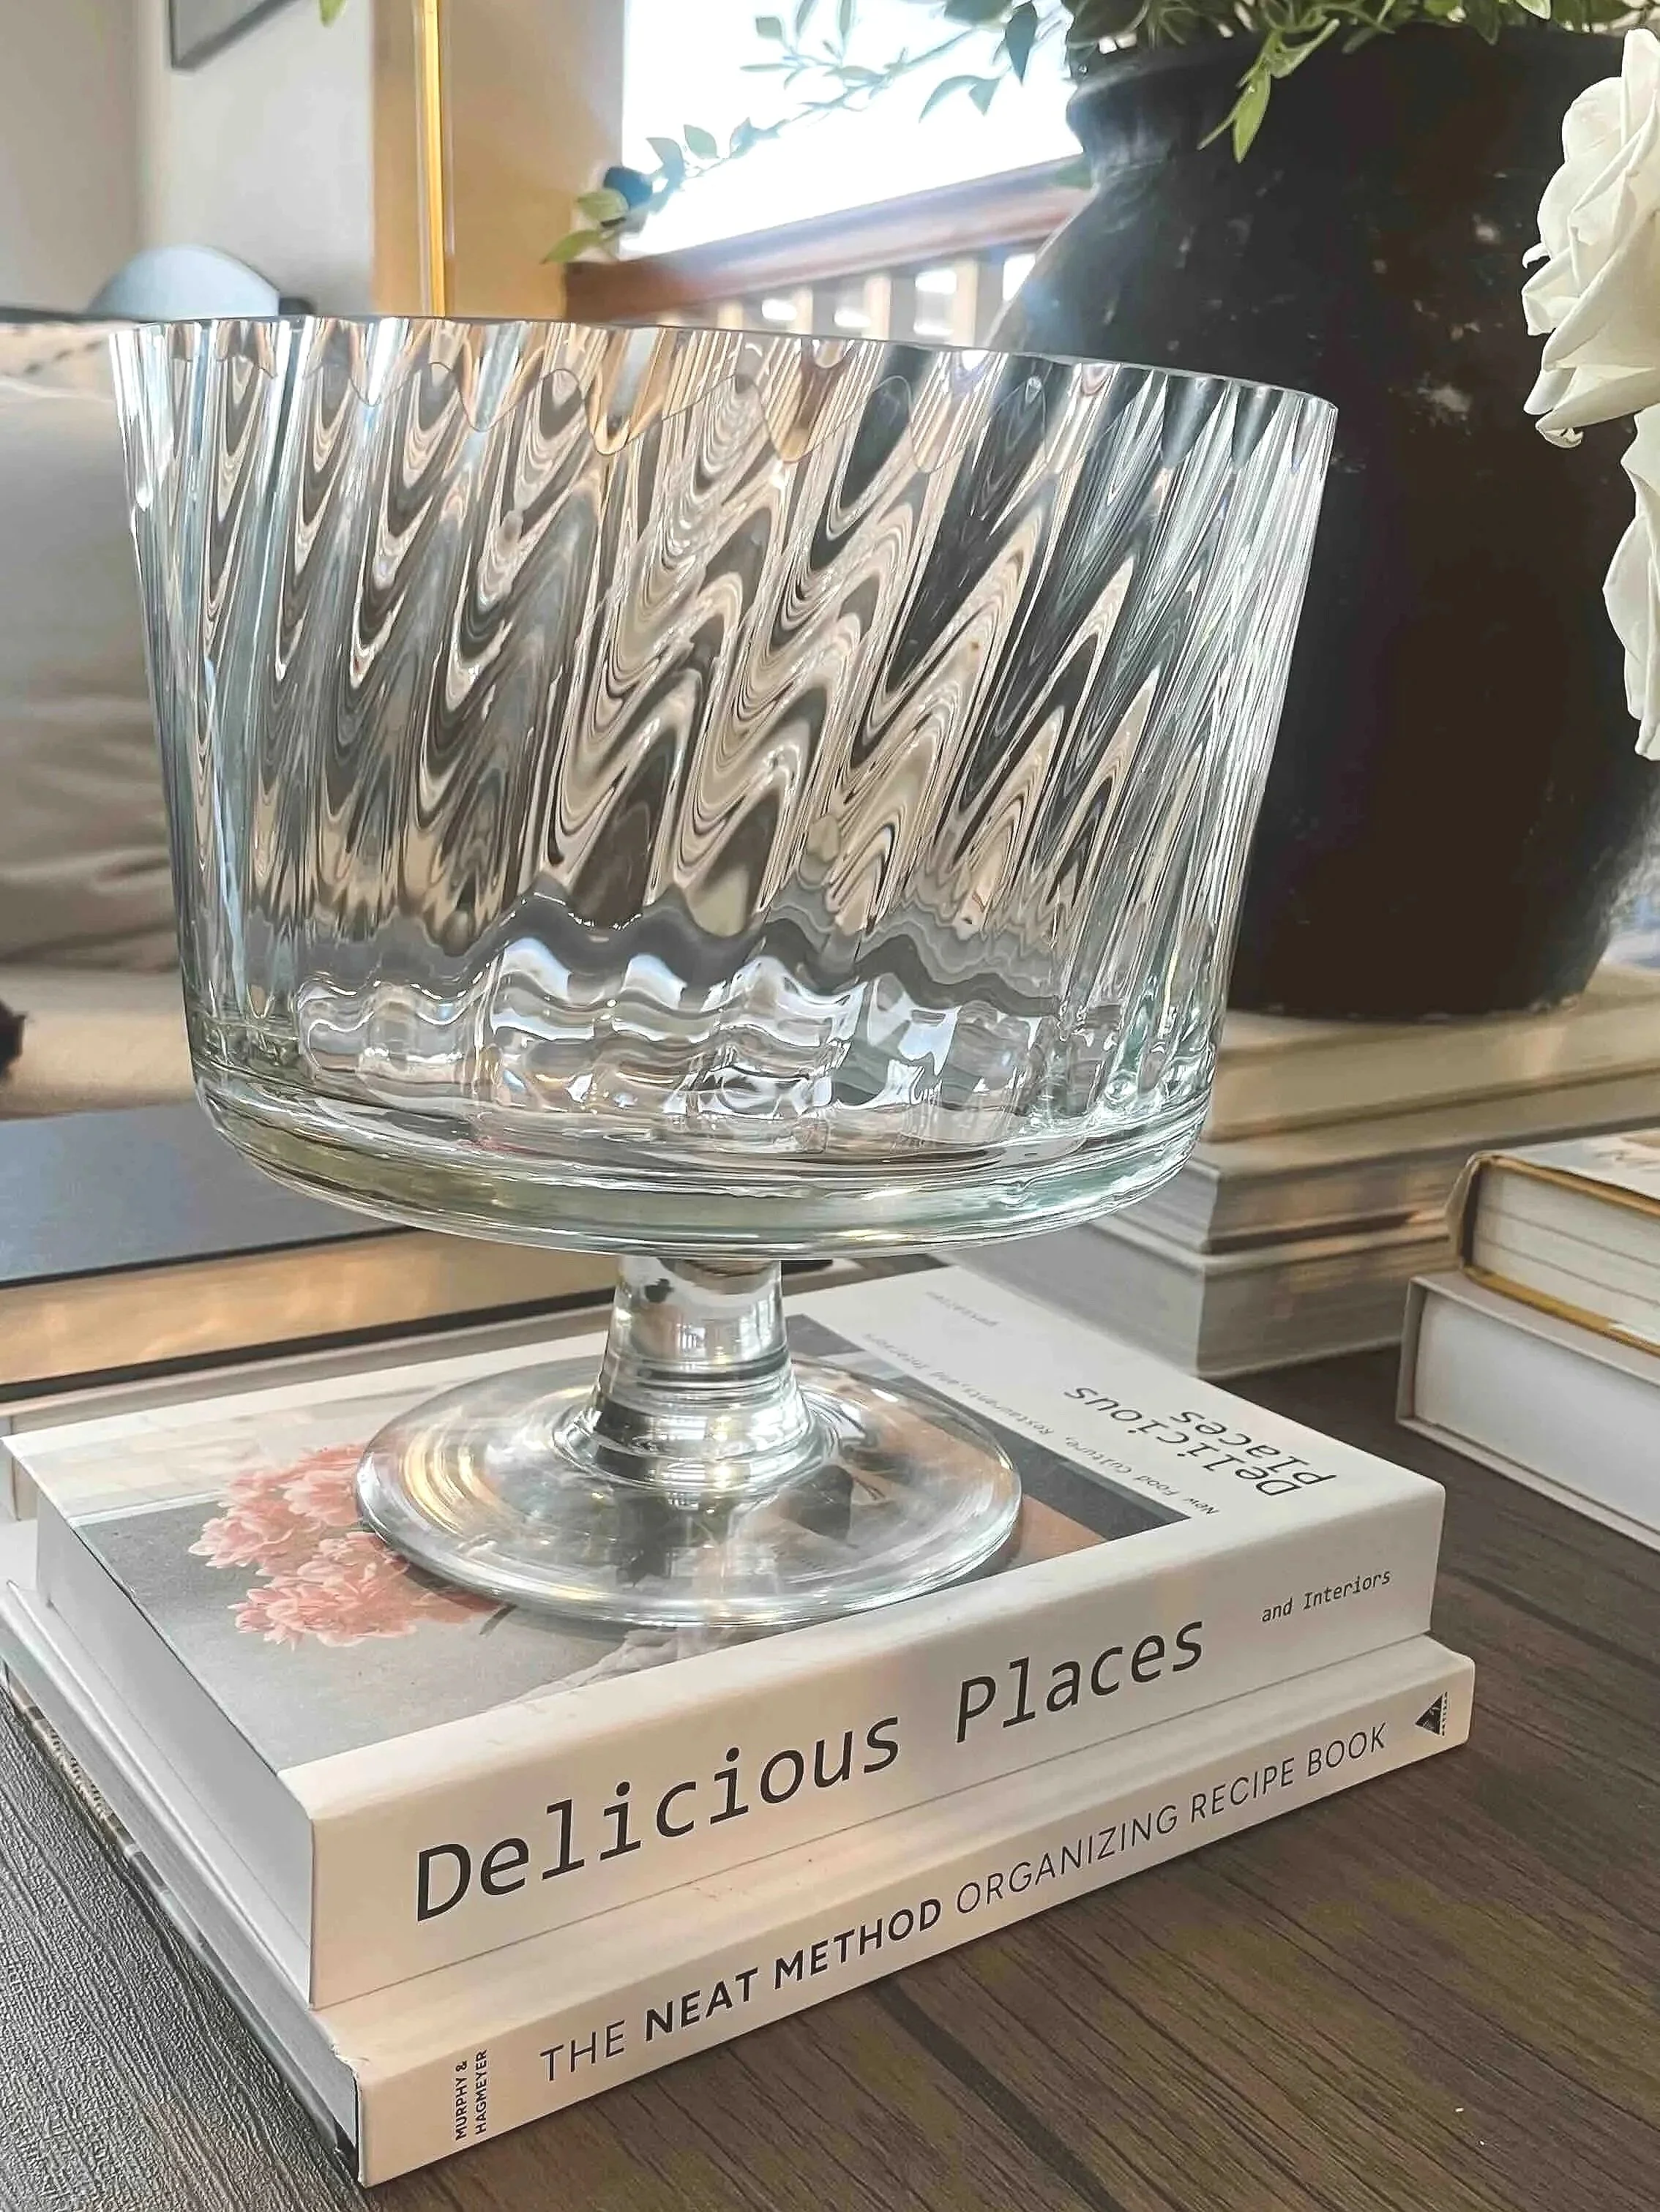
I found the perfect vessel—a beautiful glass trifle dish for $25 on Facebook Marketplace.
Did I know if the vessel was heat safe? No.
My thinking at the time was that if it were thick enough, it should be able to withstand heat from the flames.
*I’ve since learned that this is not the case, so this vessel has become my test. So far, so good.
If you source a vessel, be sure to inspect it carefully for chips or cracks and be mindful that not every decorative bowl is suitable for candle making. If you’re experimenting with unconventional vessels, burn testing becomes especially important. Make sure to take precautions here.
What I Already Had
Overall, this project ran me about $74. Admittedly, this is a lot for a candle, but again, I wanted a statement piece. The ones I found online ranged between $100-$200 for a 30 oz-sized candle. The vessel I chose ended up being 96 oz, another thing I didn’t realize until after the fact. I essentially made the candle I wanted by 3x-ing the size. Again, very cutesy, not so demure.
Here’s what I already had:
4 Cotton candle wicks
Large stock pot, for boiling water
Kitchen thermometer
Long wooden spoon, for stirring
4 butter knives, for holding the wicks in place
Wick trimmer
Rubbing alcohol & dish detergent, for vessel cleaning
Access to a stovetop, for melting wax
What I Purchased
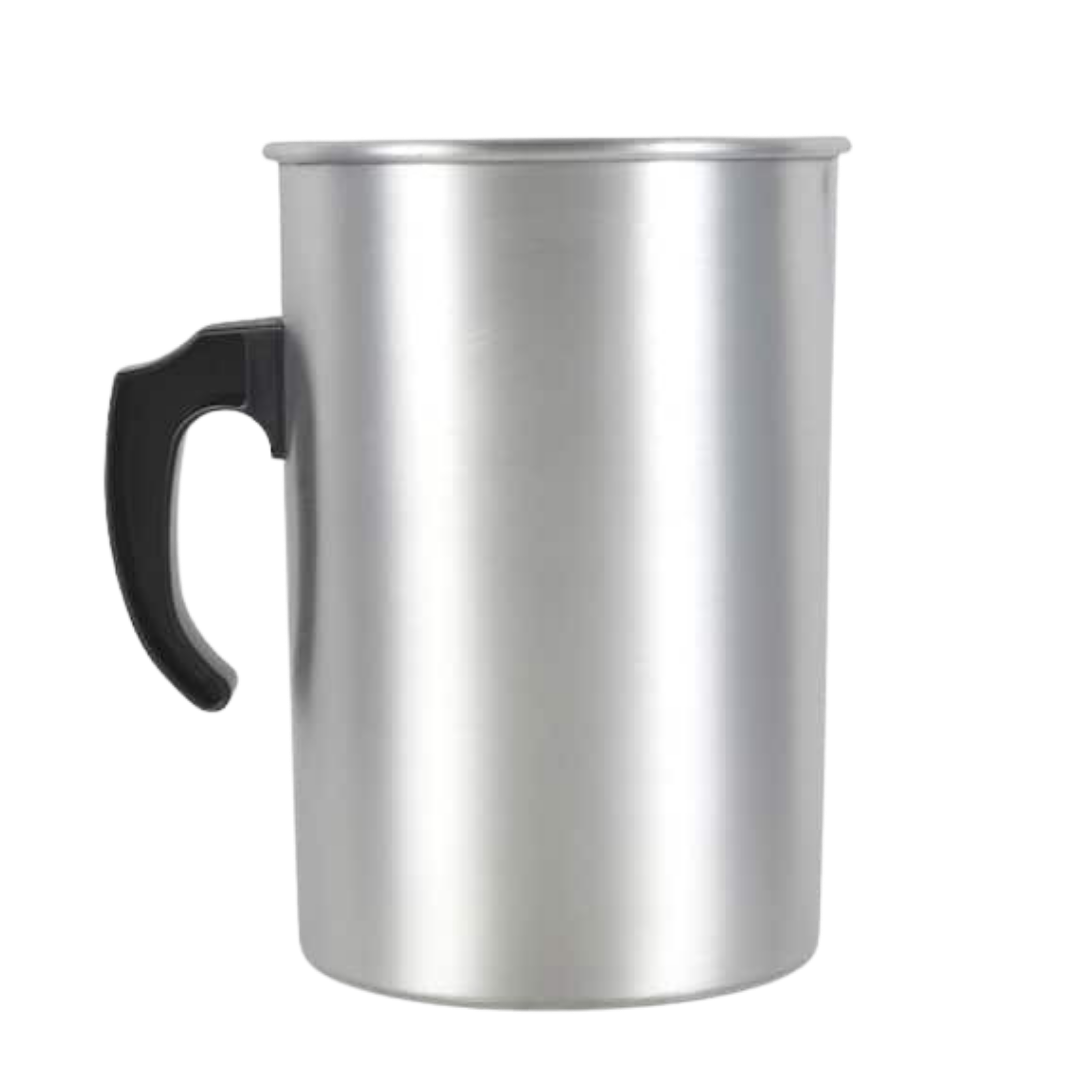
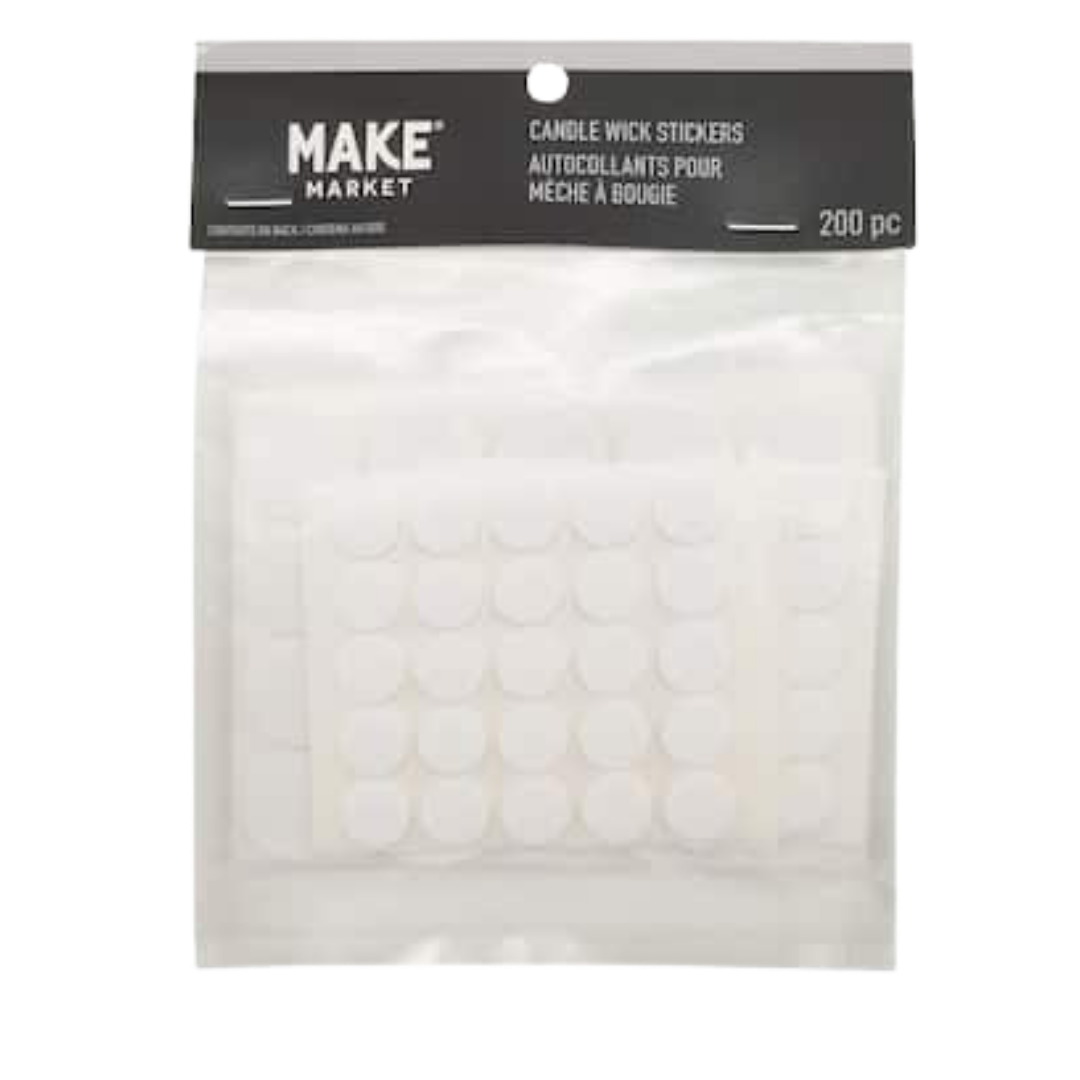
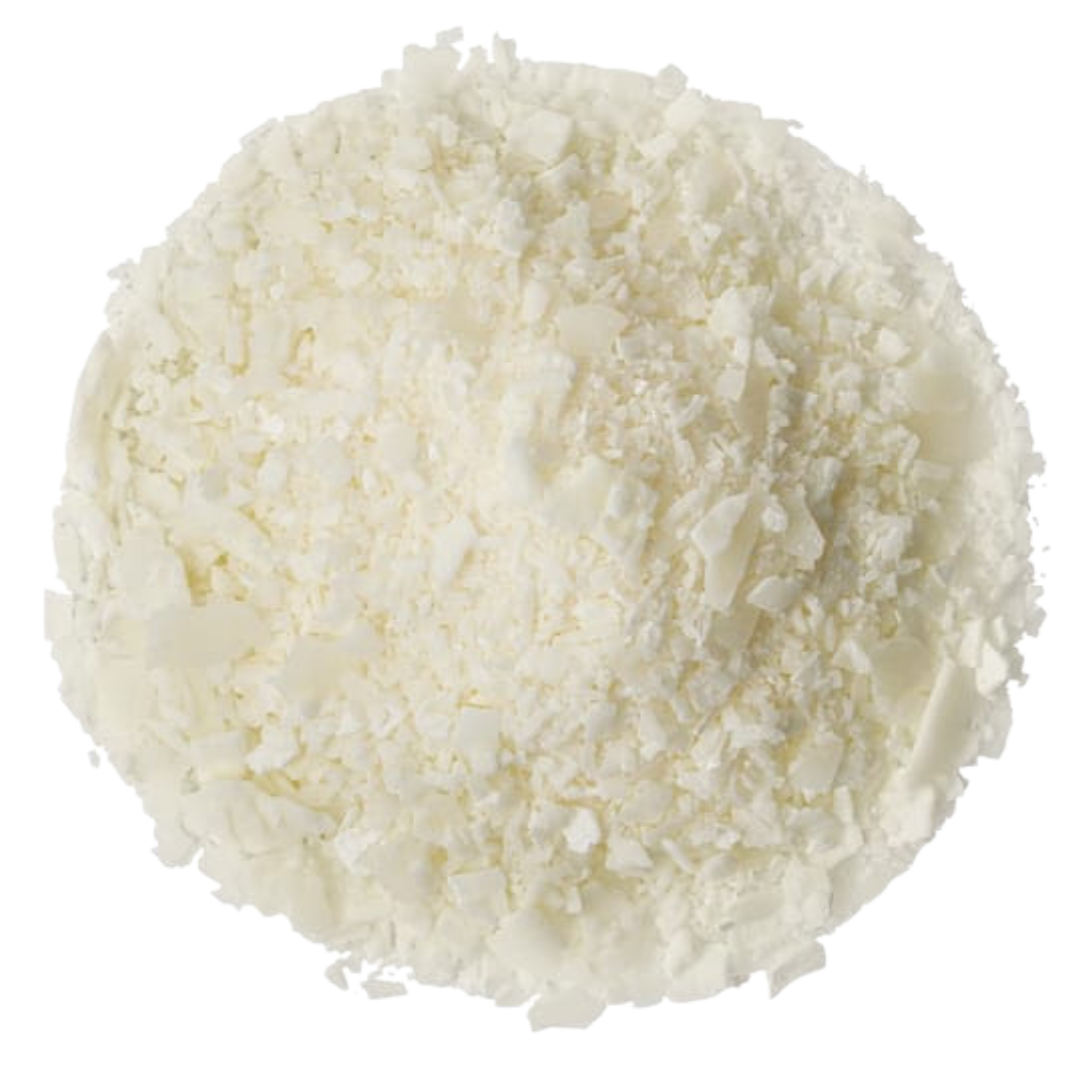
Michaels is my go-to store when I’m ready to do a project now. Here’s what I purchased in-store:
Wick Stickers—$5.99
Wax Pouring Pitcher—$18.99
Soy Wax, 4lbs.— $24.49
MichaelsTotal: $49.47*
Overall Project Spend: $49..47 (Michaels) + $25 (FB Marketplace Vessel) = $74.47
The largest costs were the oversized vessel and the 4lb bag of soy wax. Expect this to decrease dramatically if you opt for the standard sized candle vessel, which is about 8 or 9 ounces. Also, if you’re more patient, I highly recommend purchasing supplies online as the pricing is much better.
Let’s Get Started
Oversized Unscented Soy Candle Tutorial / DIY
Difficulty: Beginner
Active Time: 45-60 minutes
Cooling Time: Overnight
Cure Time: Follow the recommendations for your specific soy wax before the first full burn.
Fragrance: None
Step 1
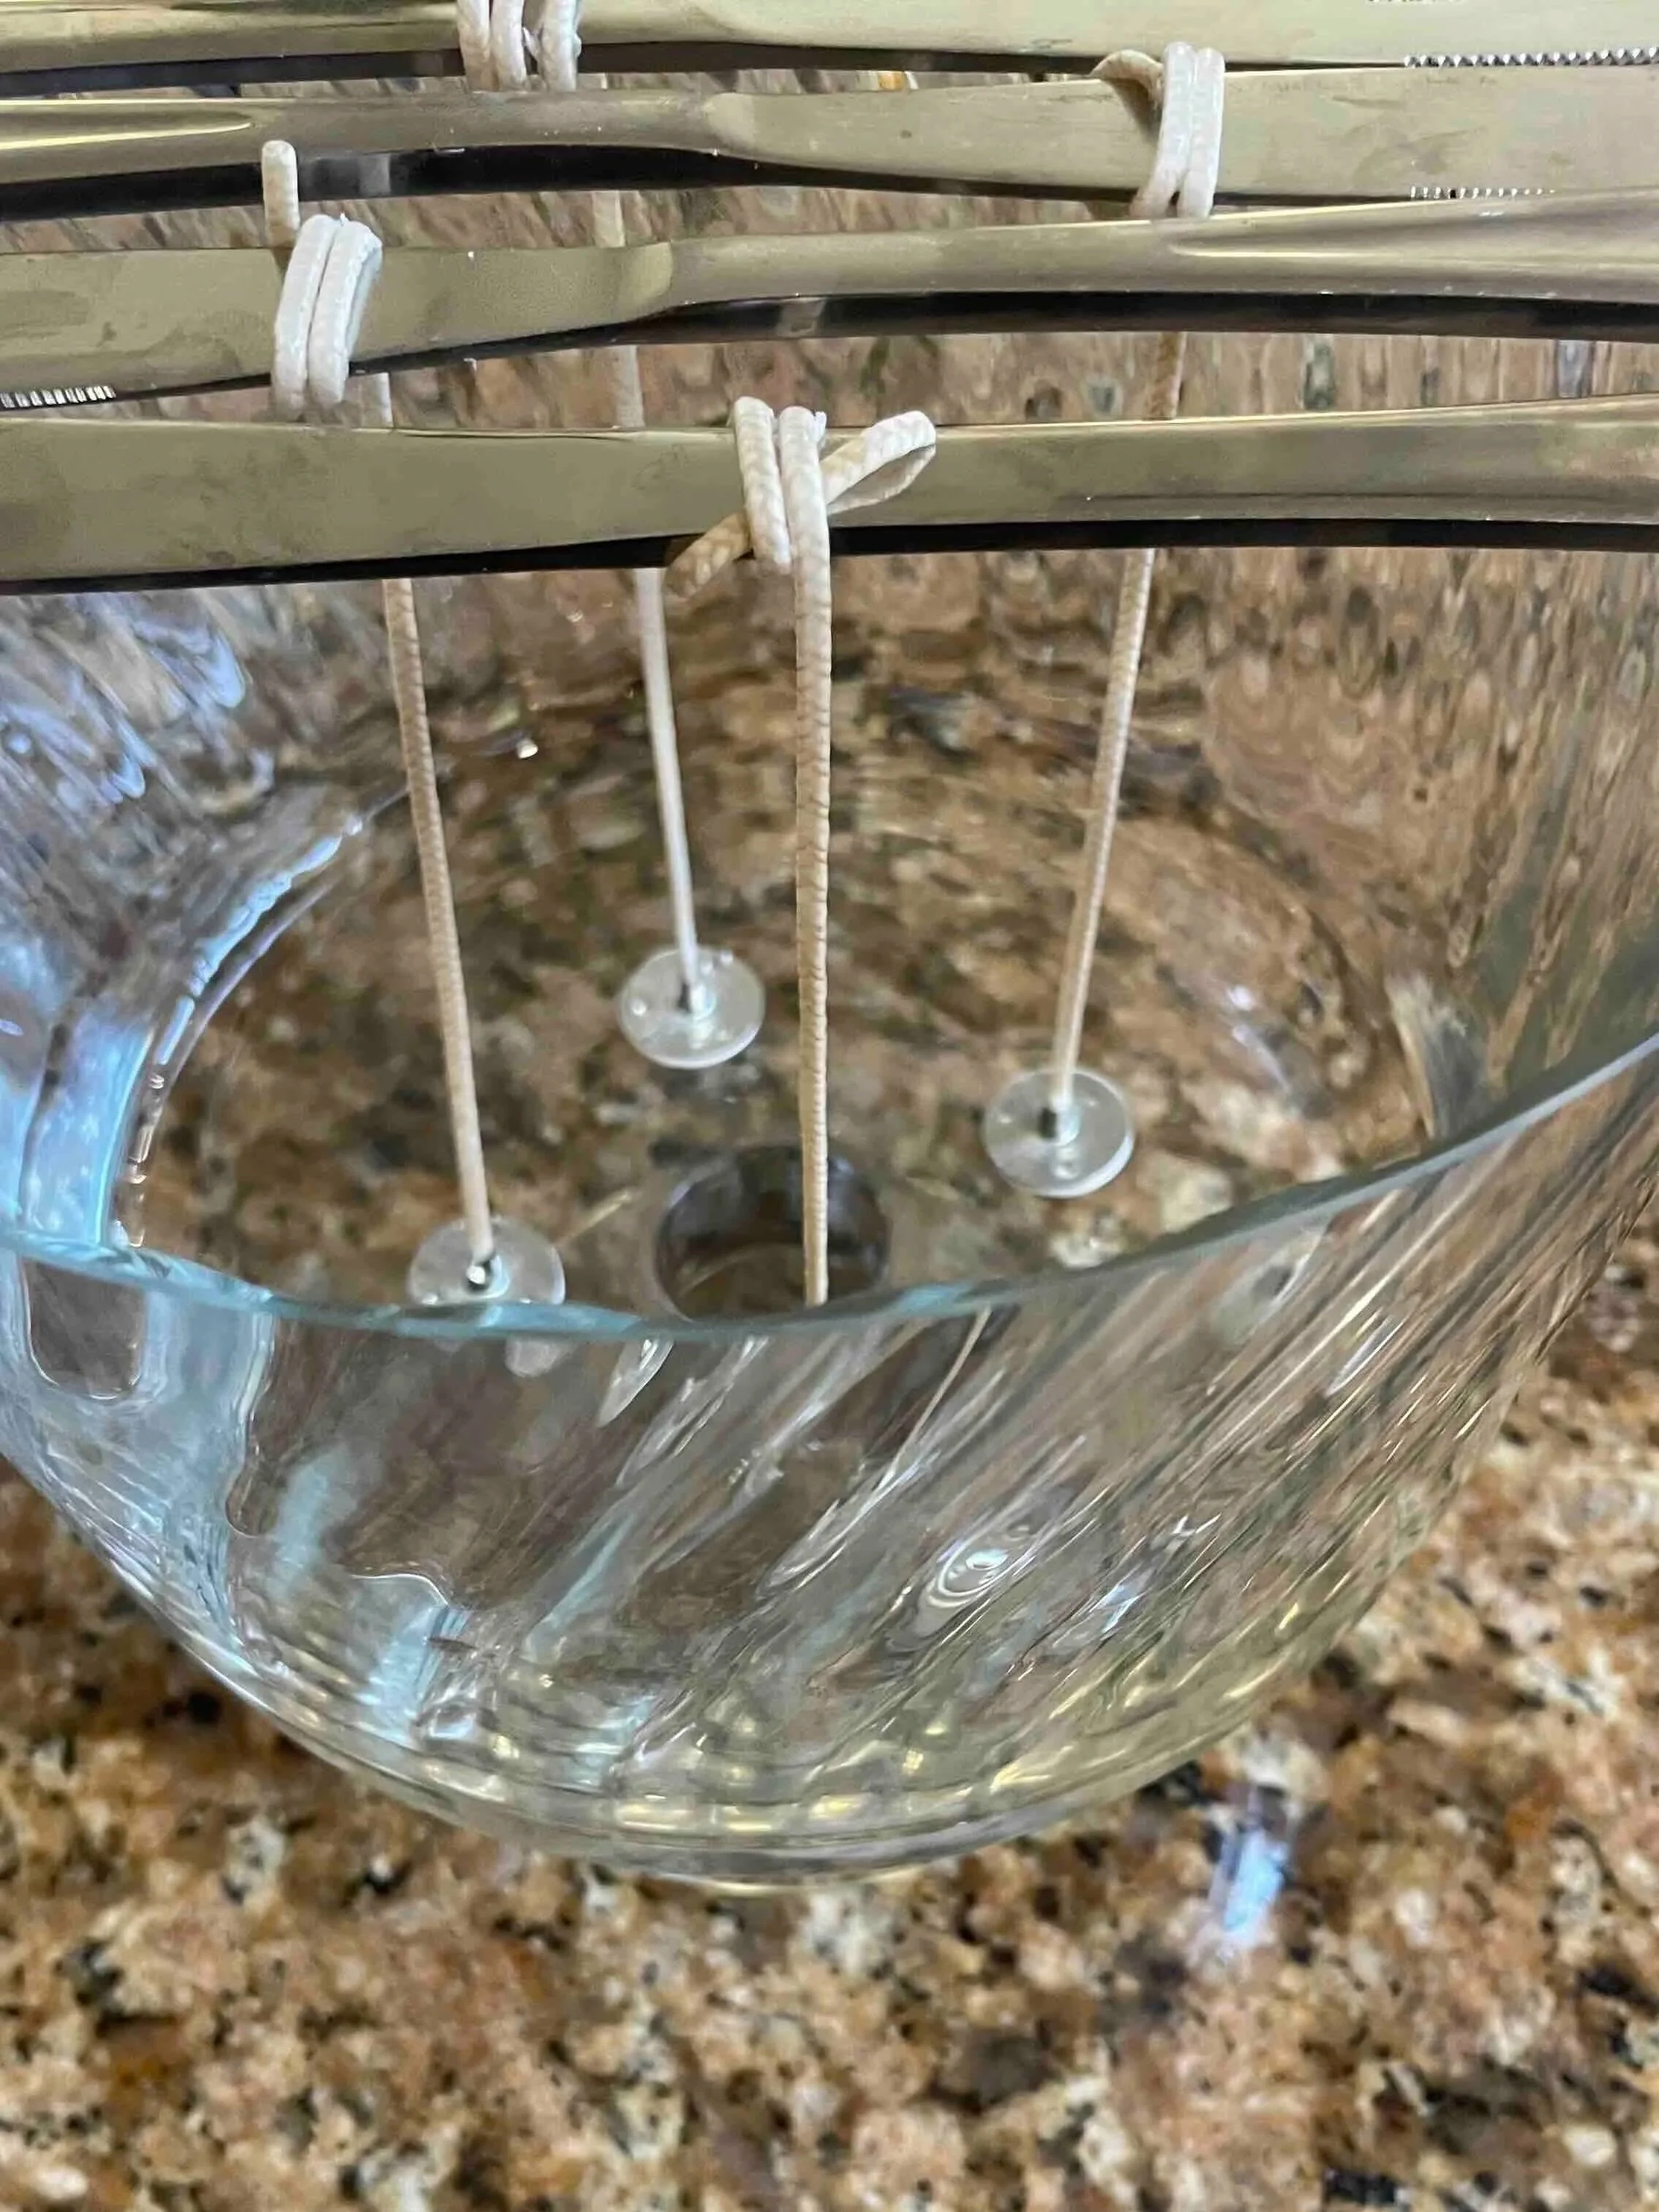
After you’ve found and cleaned your vessel, place your wicks.
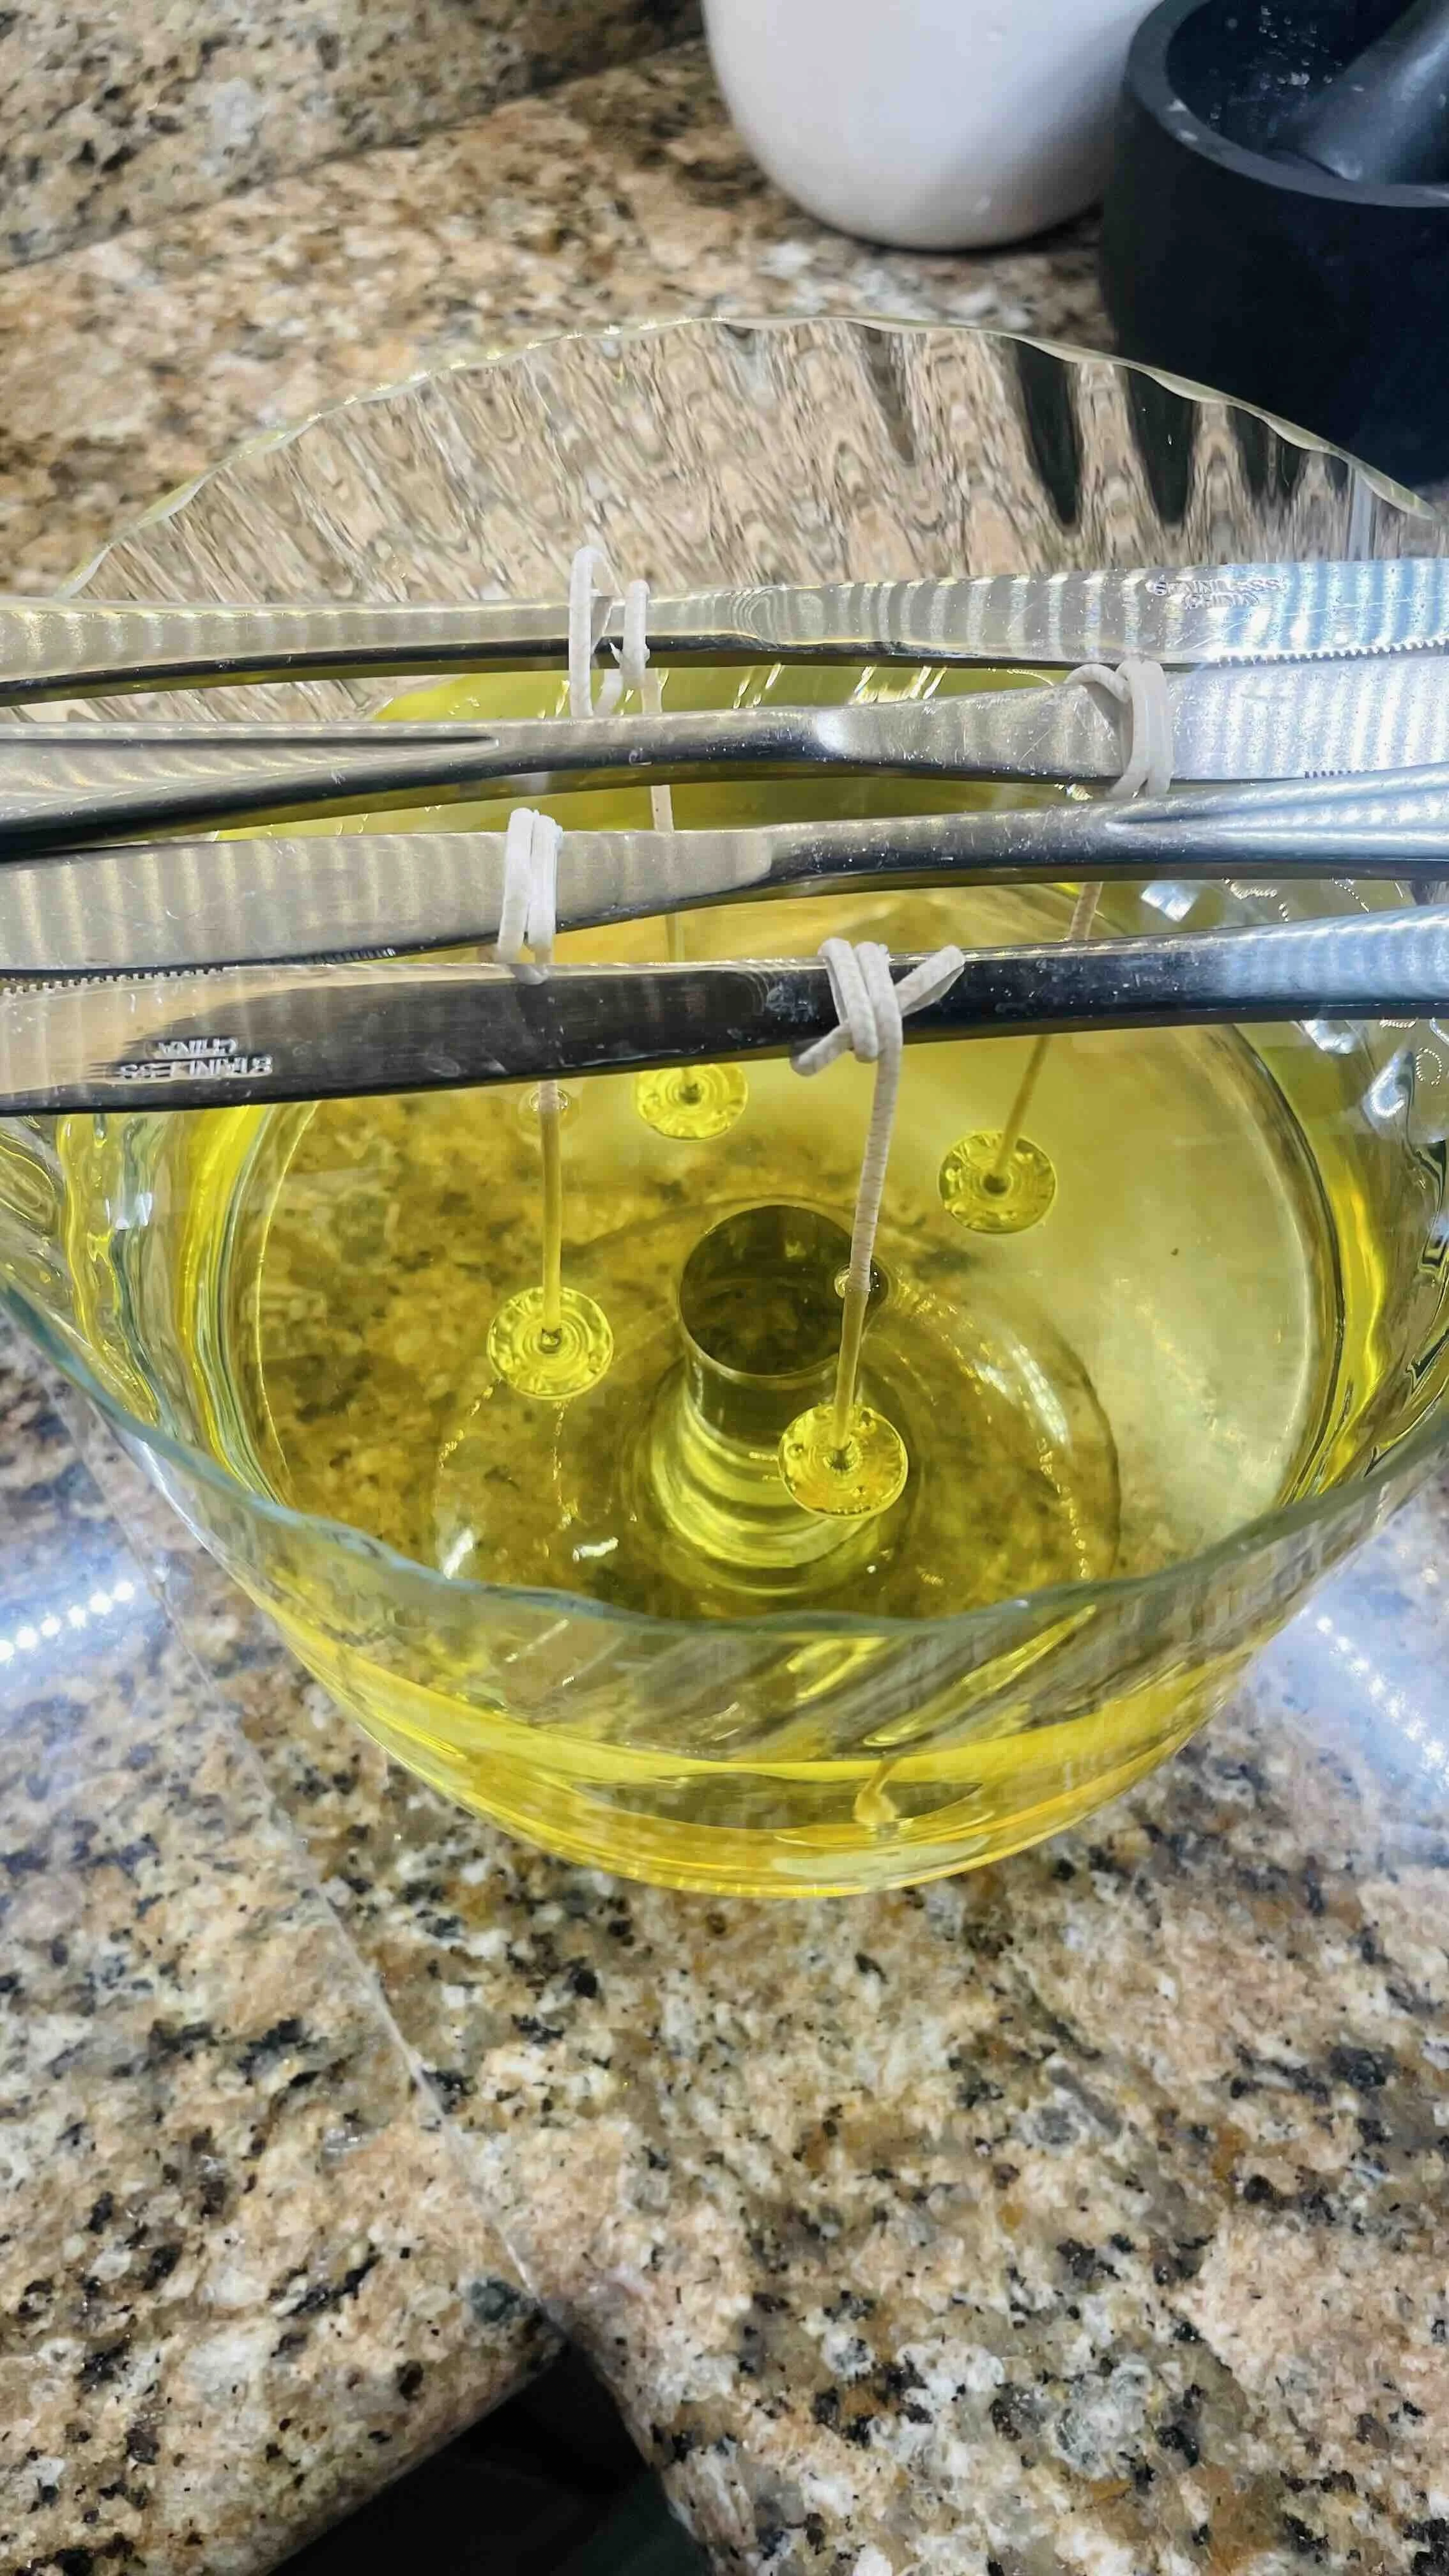
Because of the size of this bowl, I used four cotton wicks. I tried to position them evenly across the bottom of the vessel, attaching each one using a wick sticker.
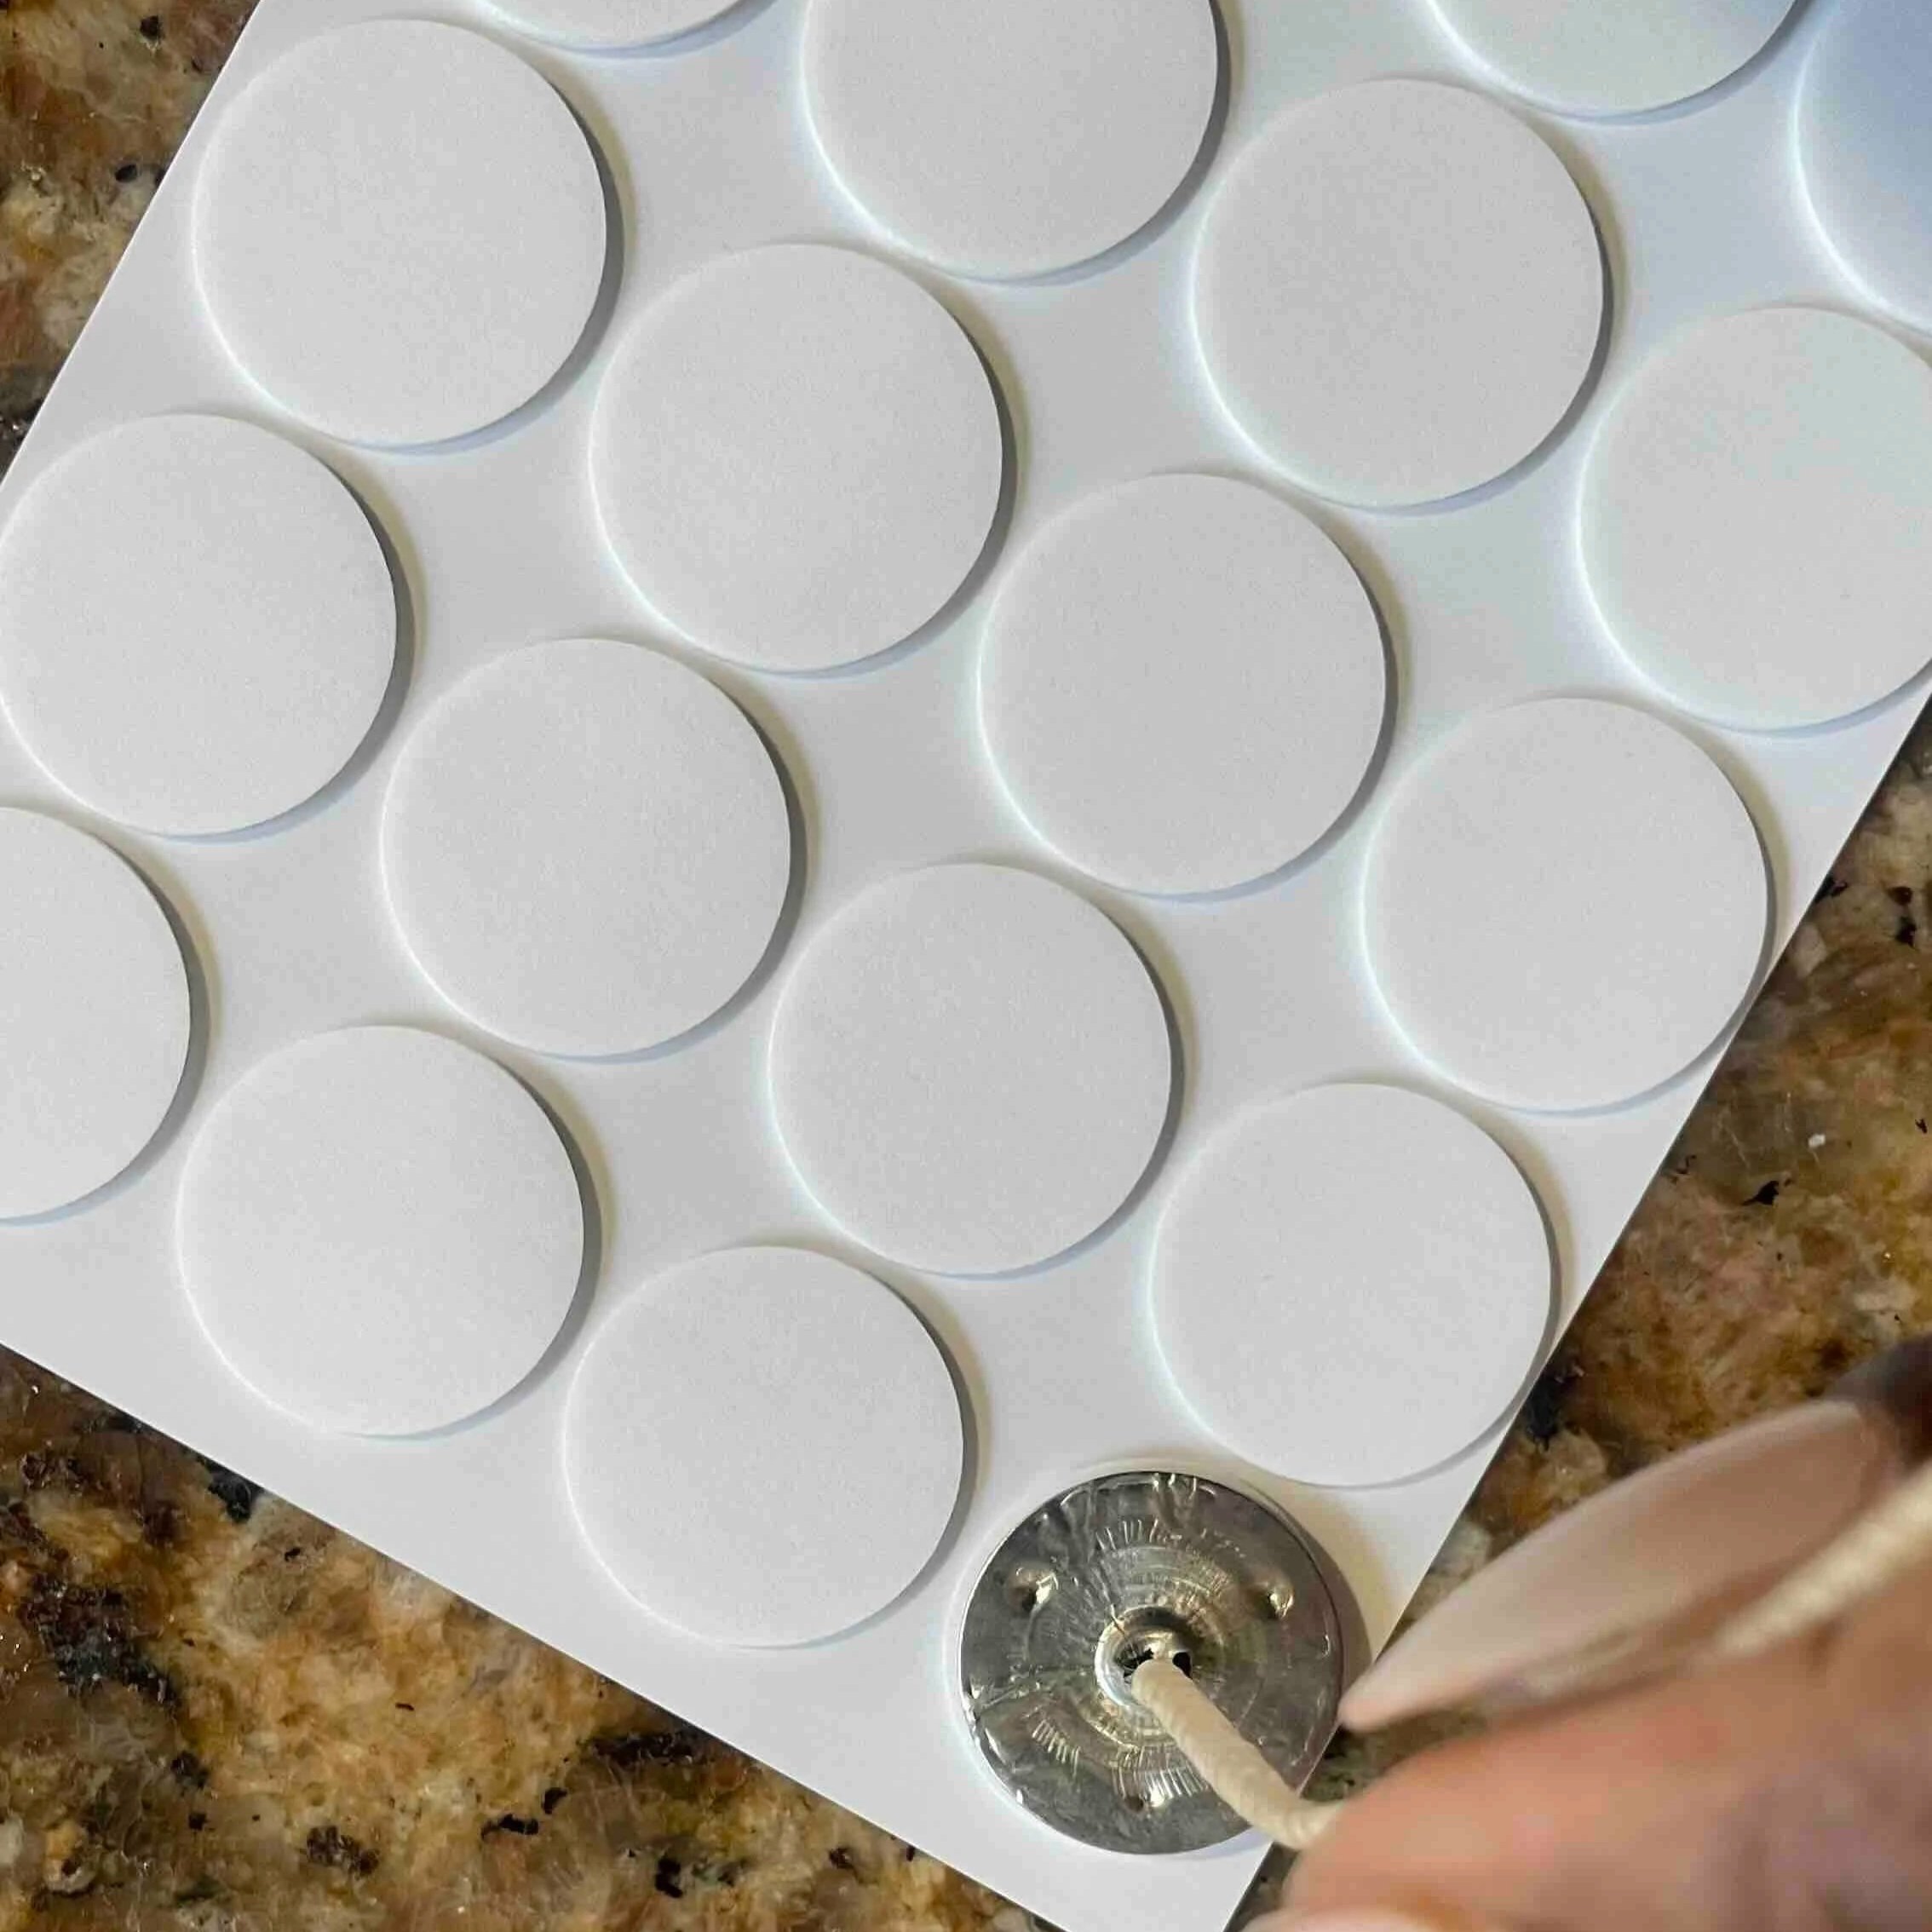
Then, I used butter knives, a very sophisticated engineering solution, to hold them in place. Simply start from the top of the wick, fold it over the butter knife, and keep rolling the knife down until the wick feels like it will not move. Rest the knives securely across your vessel.
Or you can purchase wick holders →
Note—If you’re unsure about wick size, one option is to consult an AI tool (like ChatGPT) to determine what’s needed. Simply tell it the size of your vessel and/or send a picture of it.
Step 2
Melt the wax
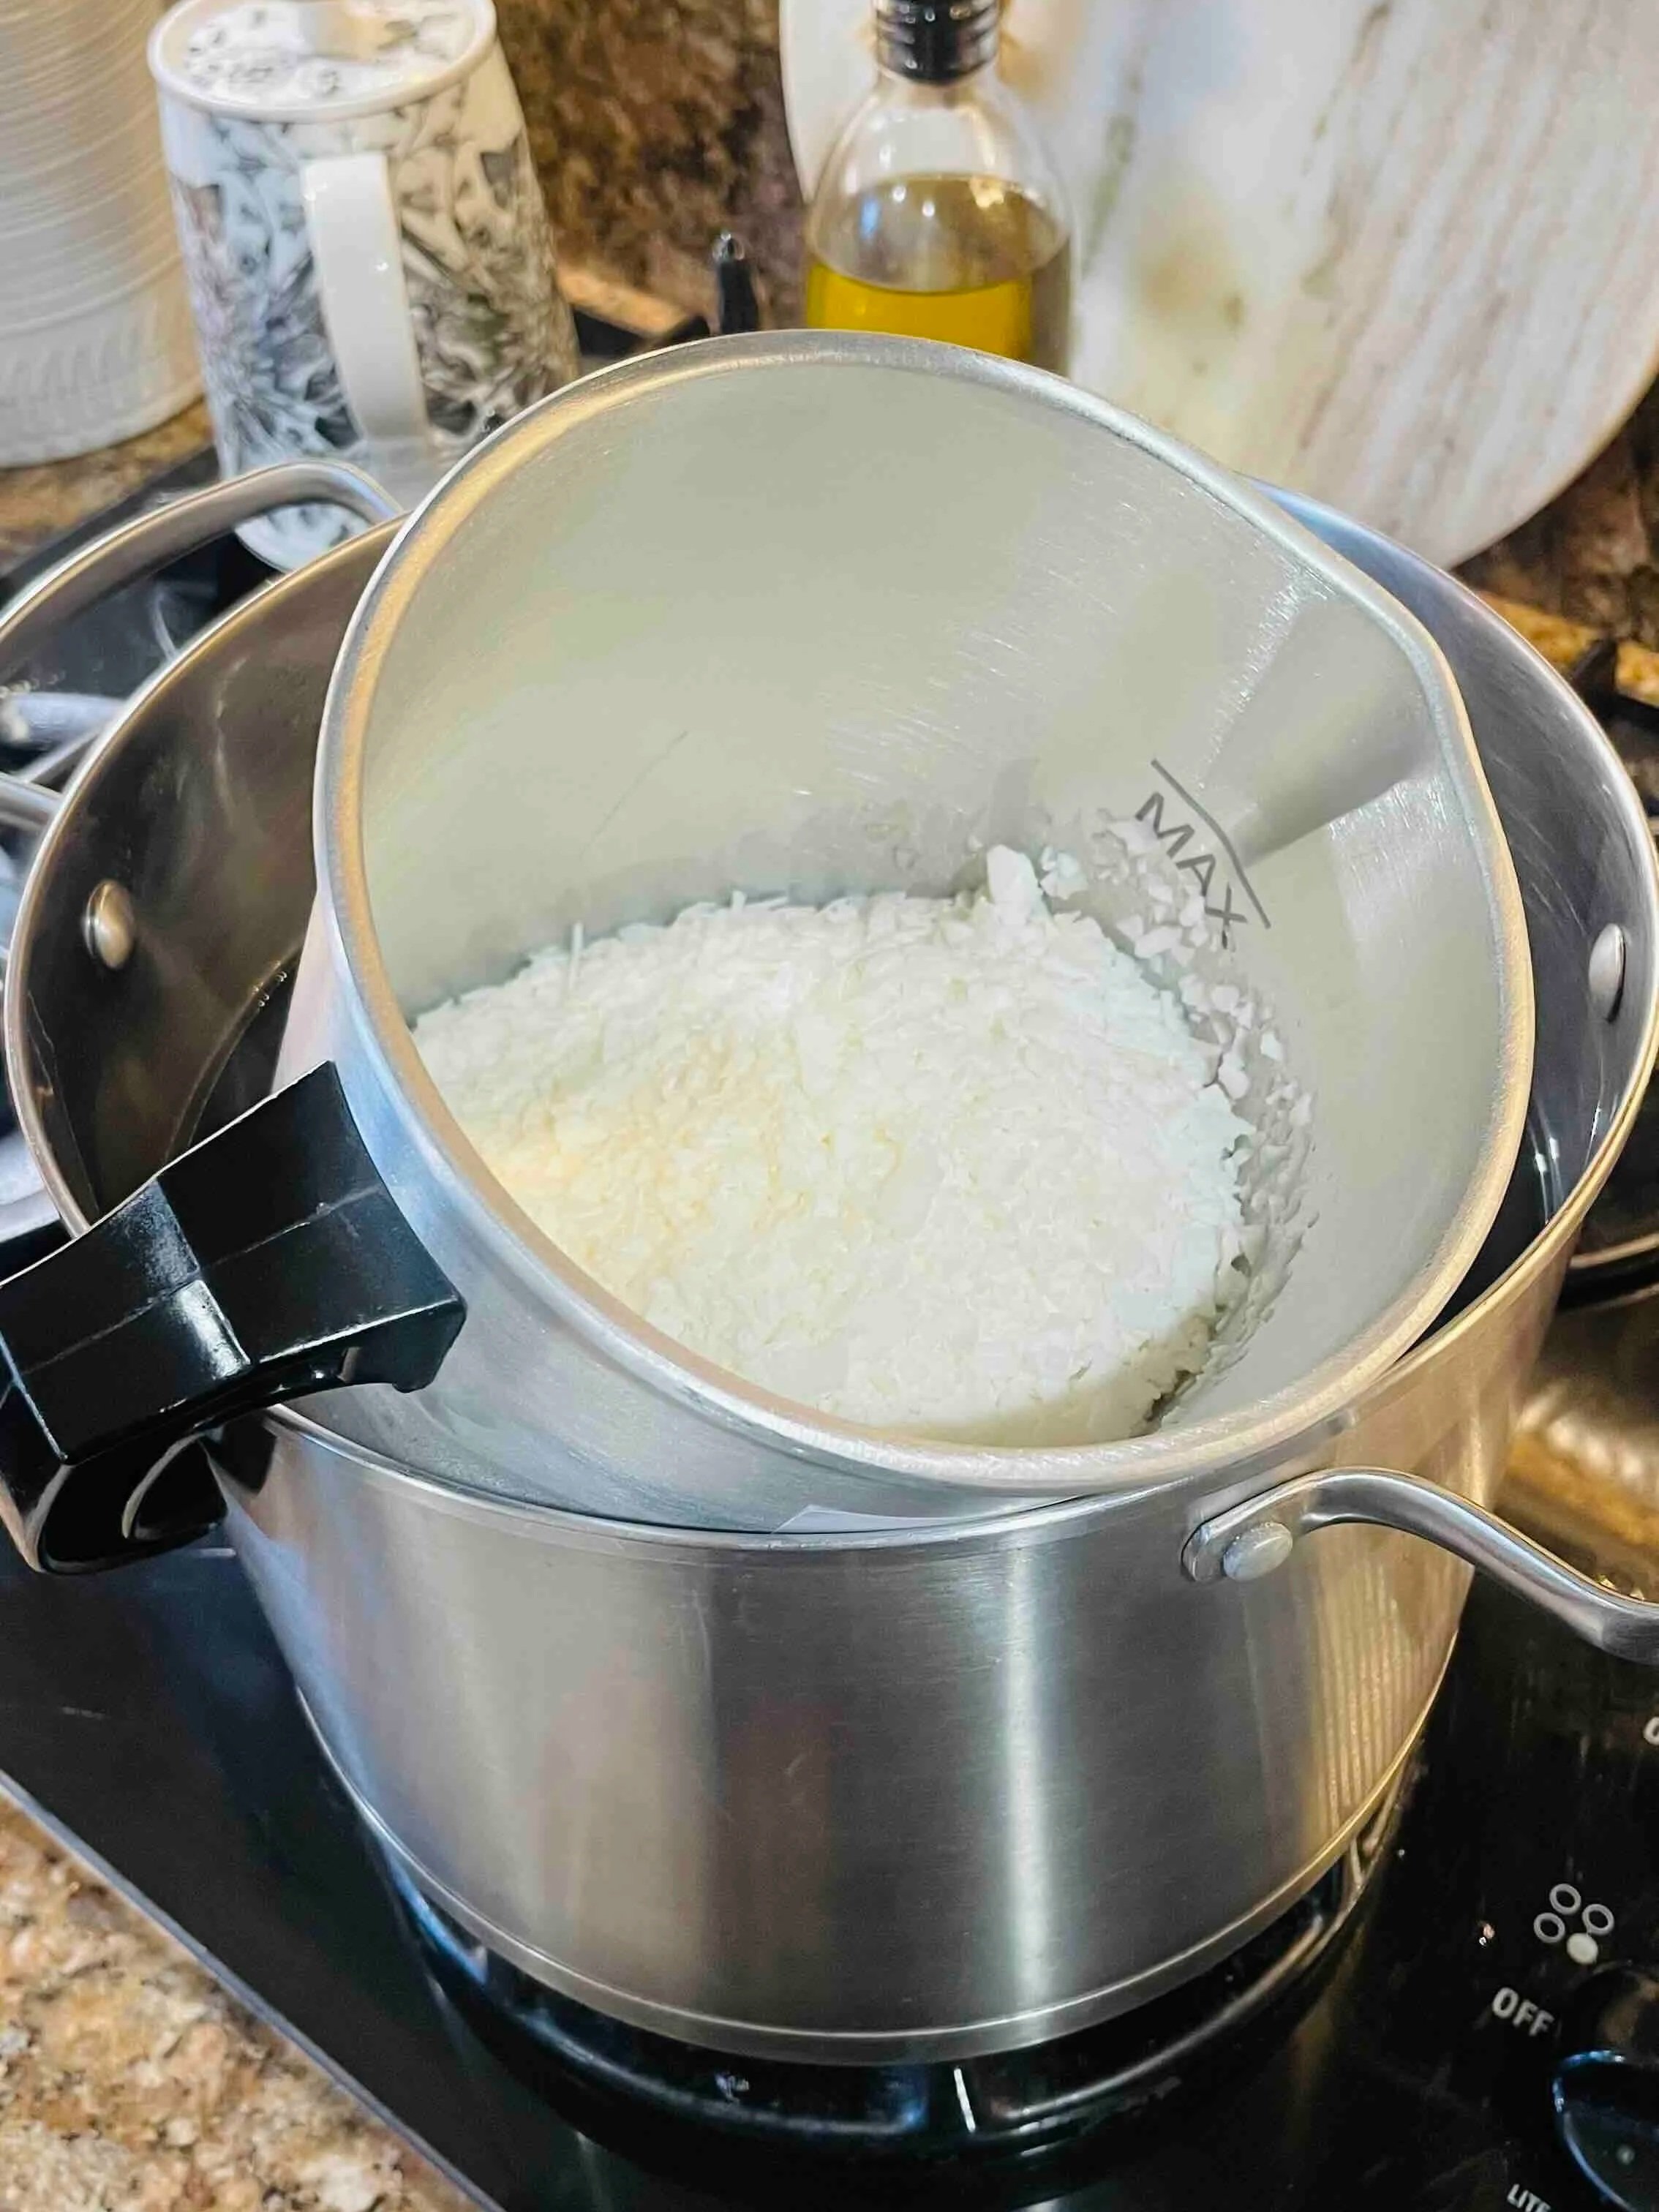
I created my own double boiler method by using a large pot and my 90 oz pouring pitcher. I did not boil the water in the larger pot, I just brought it to a gentle simmer.
Then, I sat the pouring pitcher on top of the water and proceeded to pour the solid wax into the pitcher.
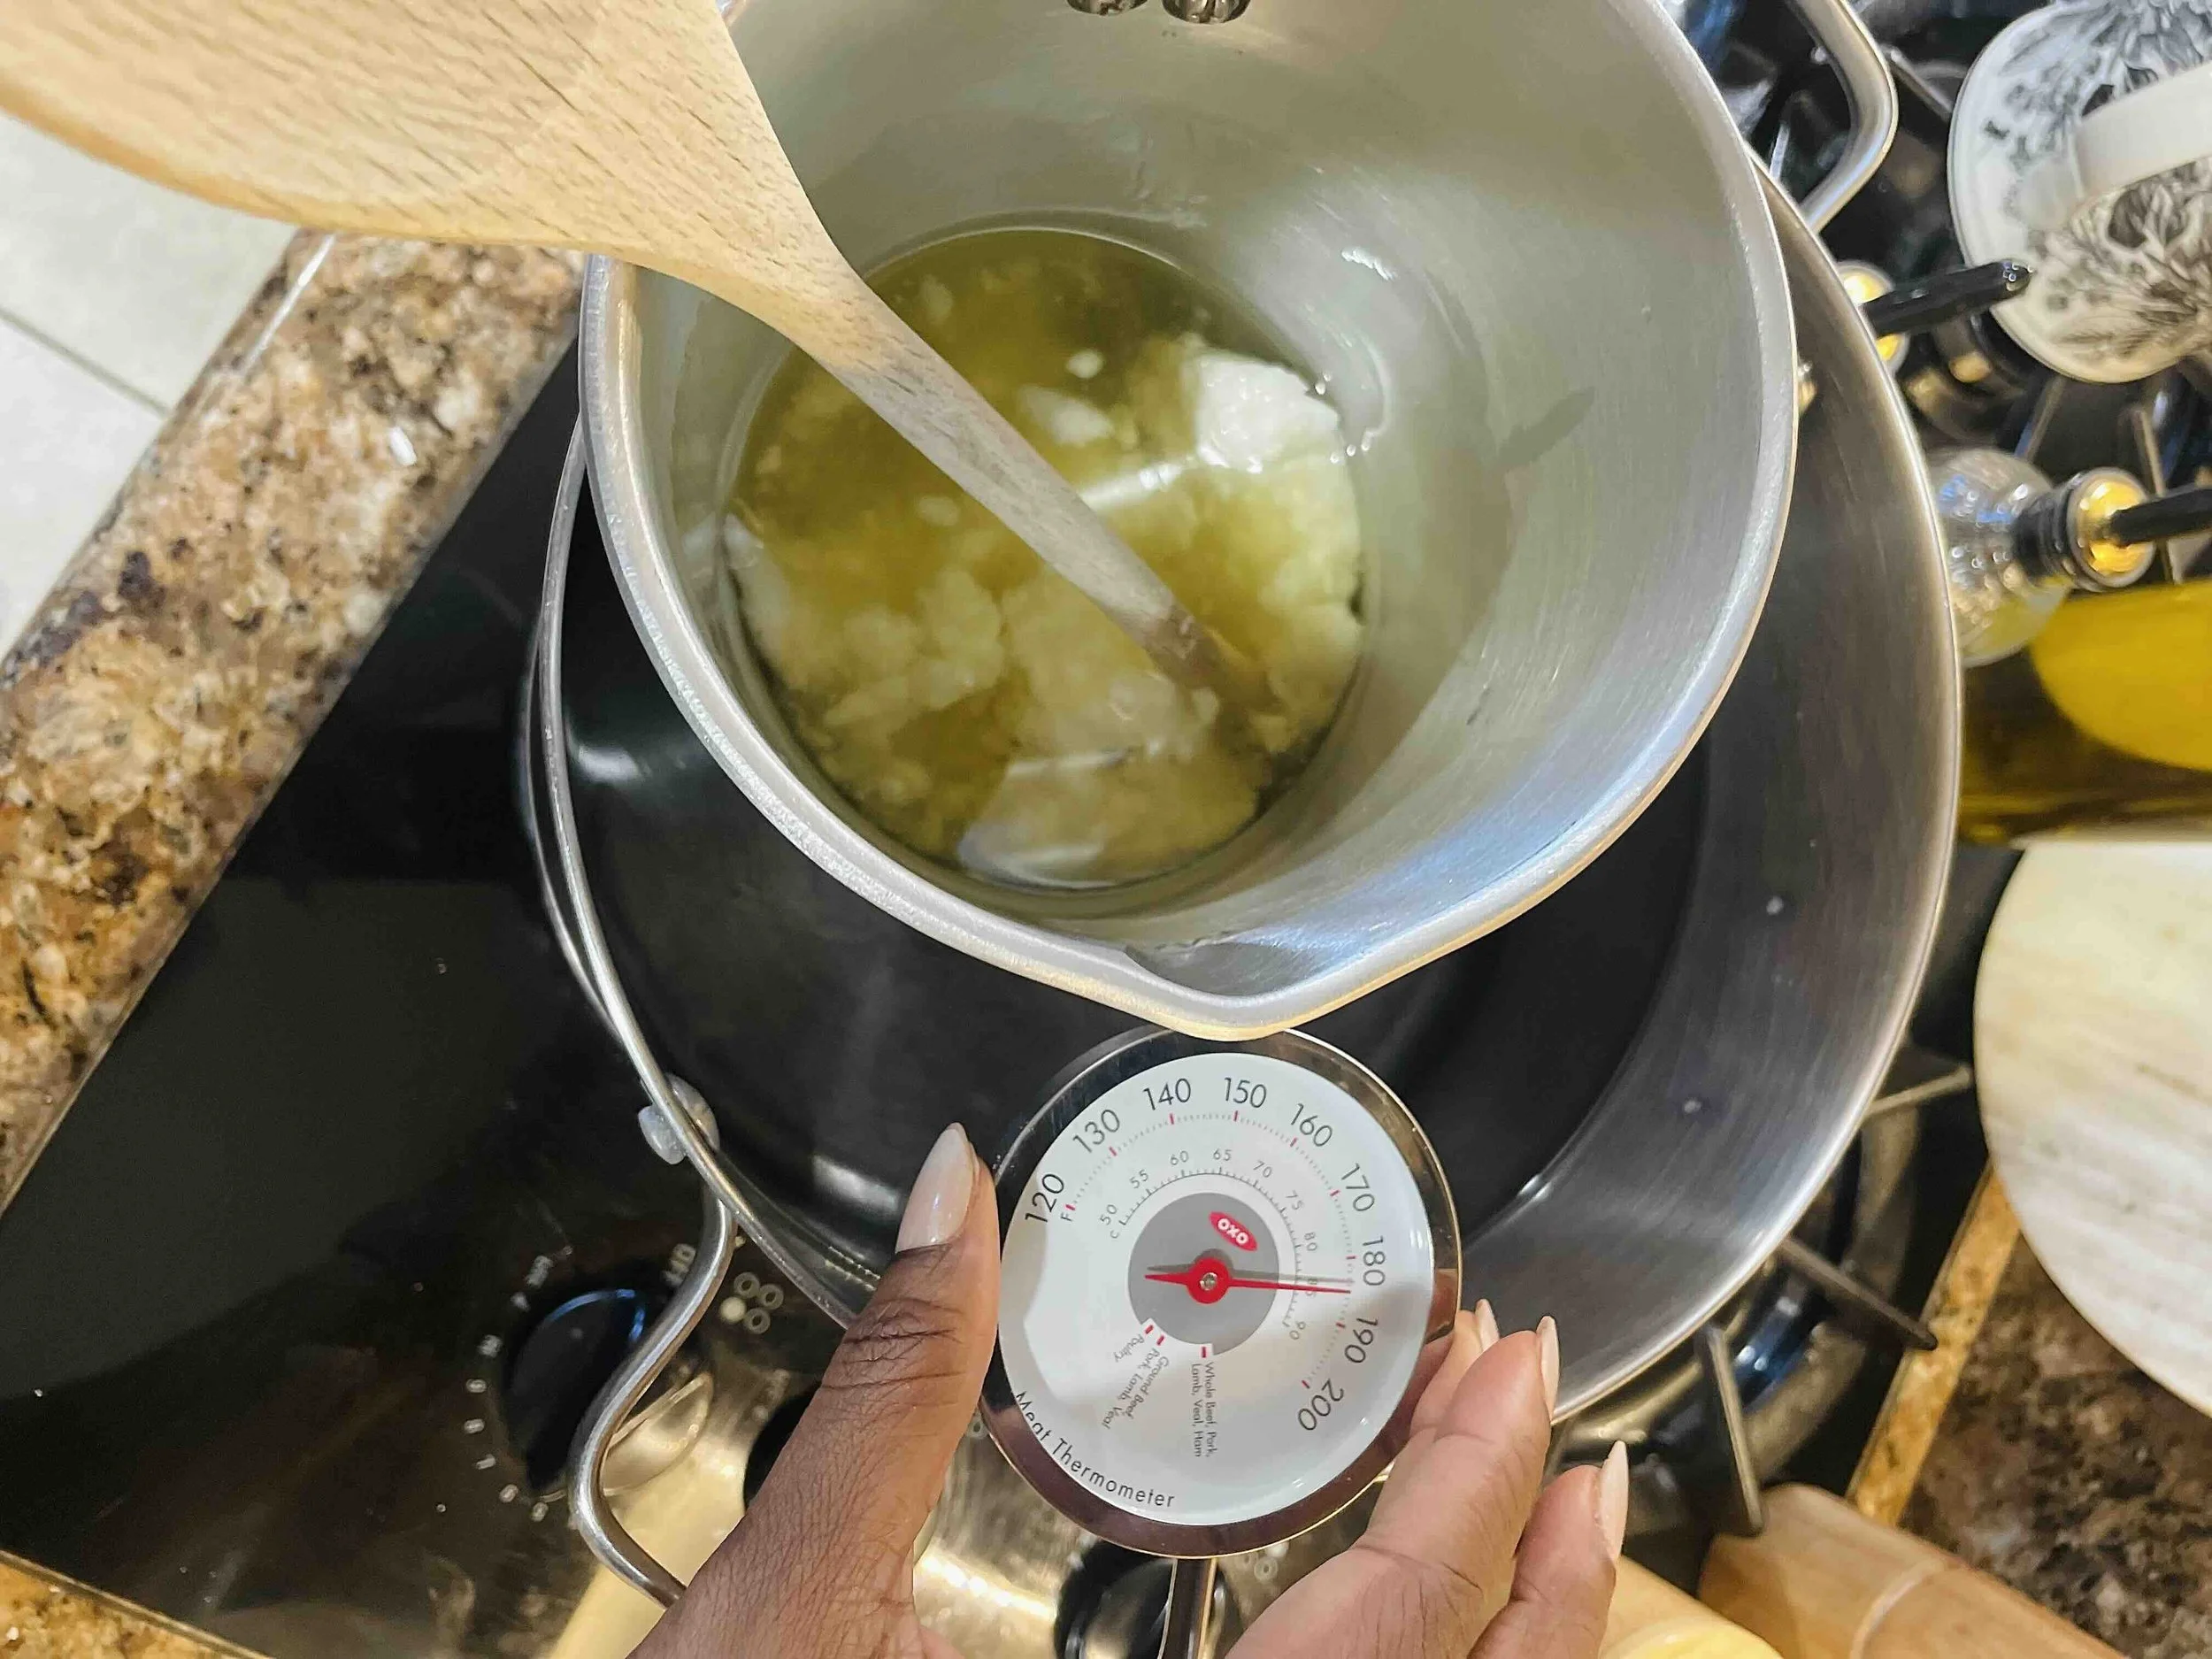
The wax began melting immediately and I stirred with the end of a long wooden spoon. Nothing fancy at all.
I monitored the temperature using the kitchen thermometer because there are pouring recommendations on the bag of the wax I purchased. Check yours to be sure.
Pro Tip: Avoid pouring hot wax into a cold glass vessel. I like to keep mine sitting beside the double boiler while the wax melts so the temperature difference isn’t quite as dramatic.
Step 3
Pour the wax
I waited until my wax reached 140 degrees Fahrenheit and then I slowly poured it into the prepared vessel. From there, it’s a waiting game for the yellow-ish melted wax to harden into a creamy ivory color candle.
Let it cool overnight.
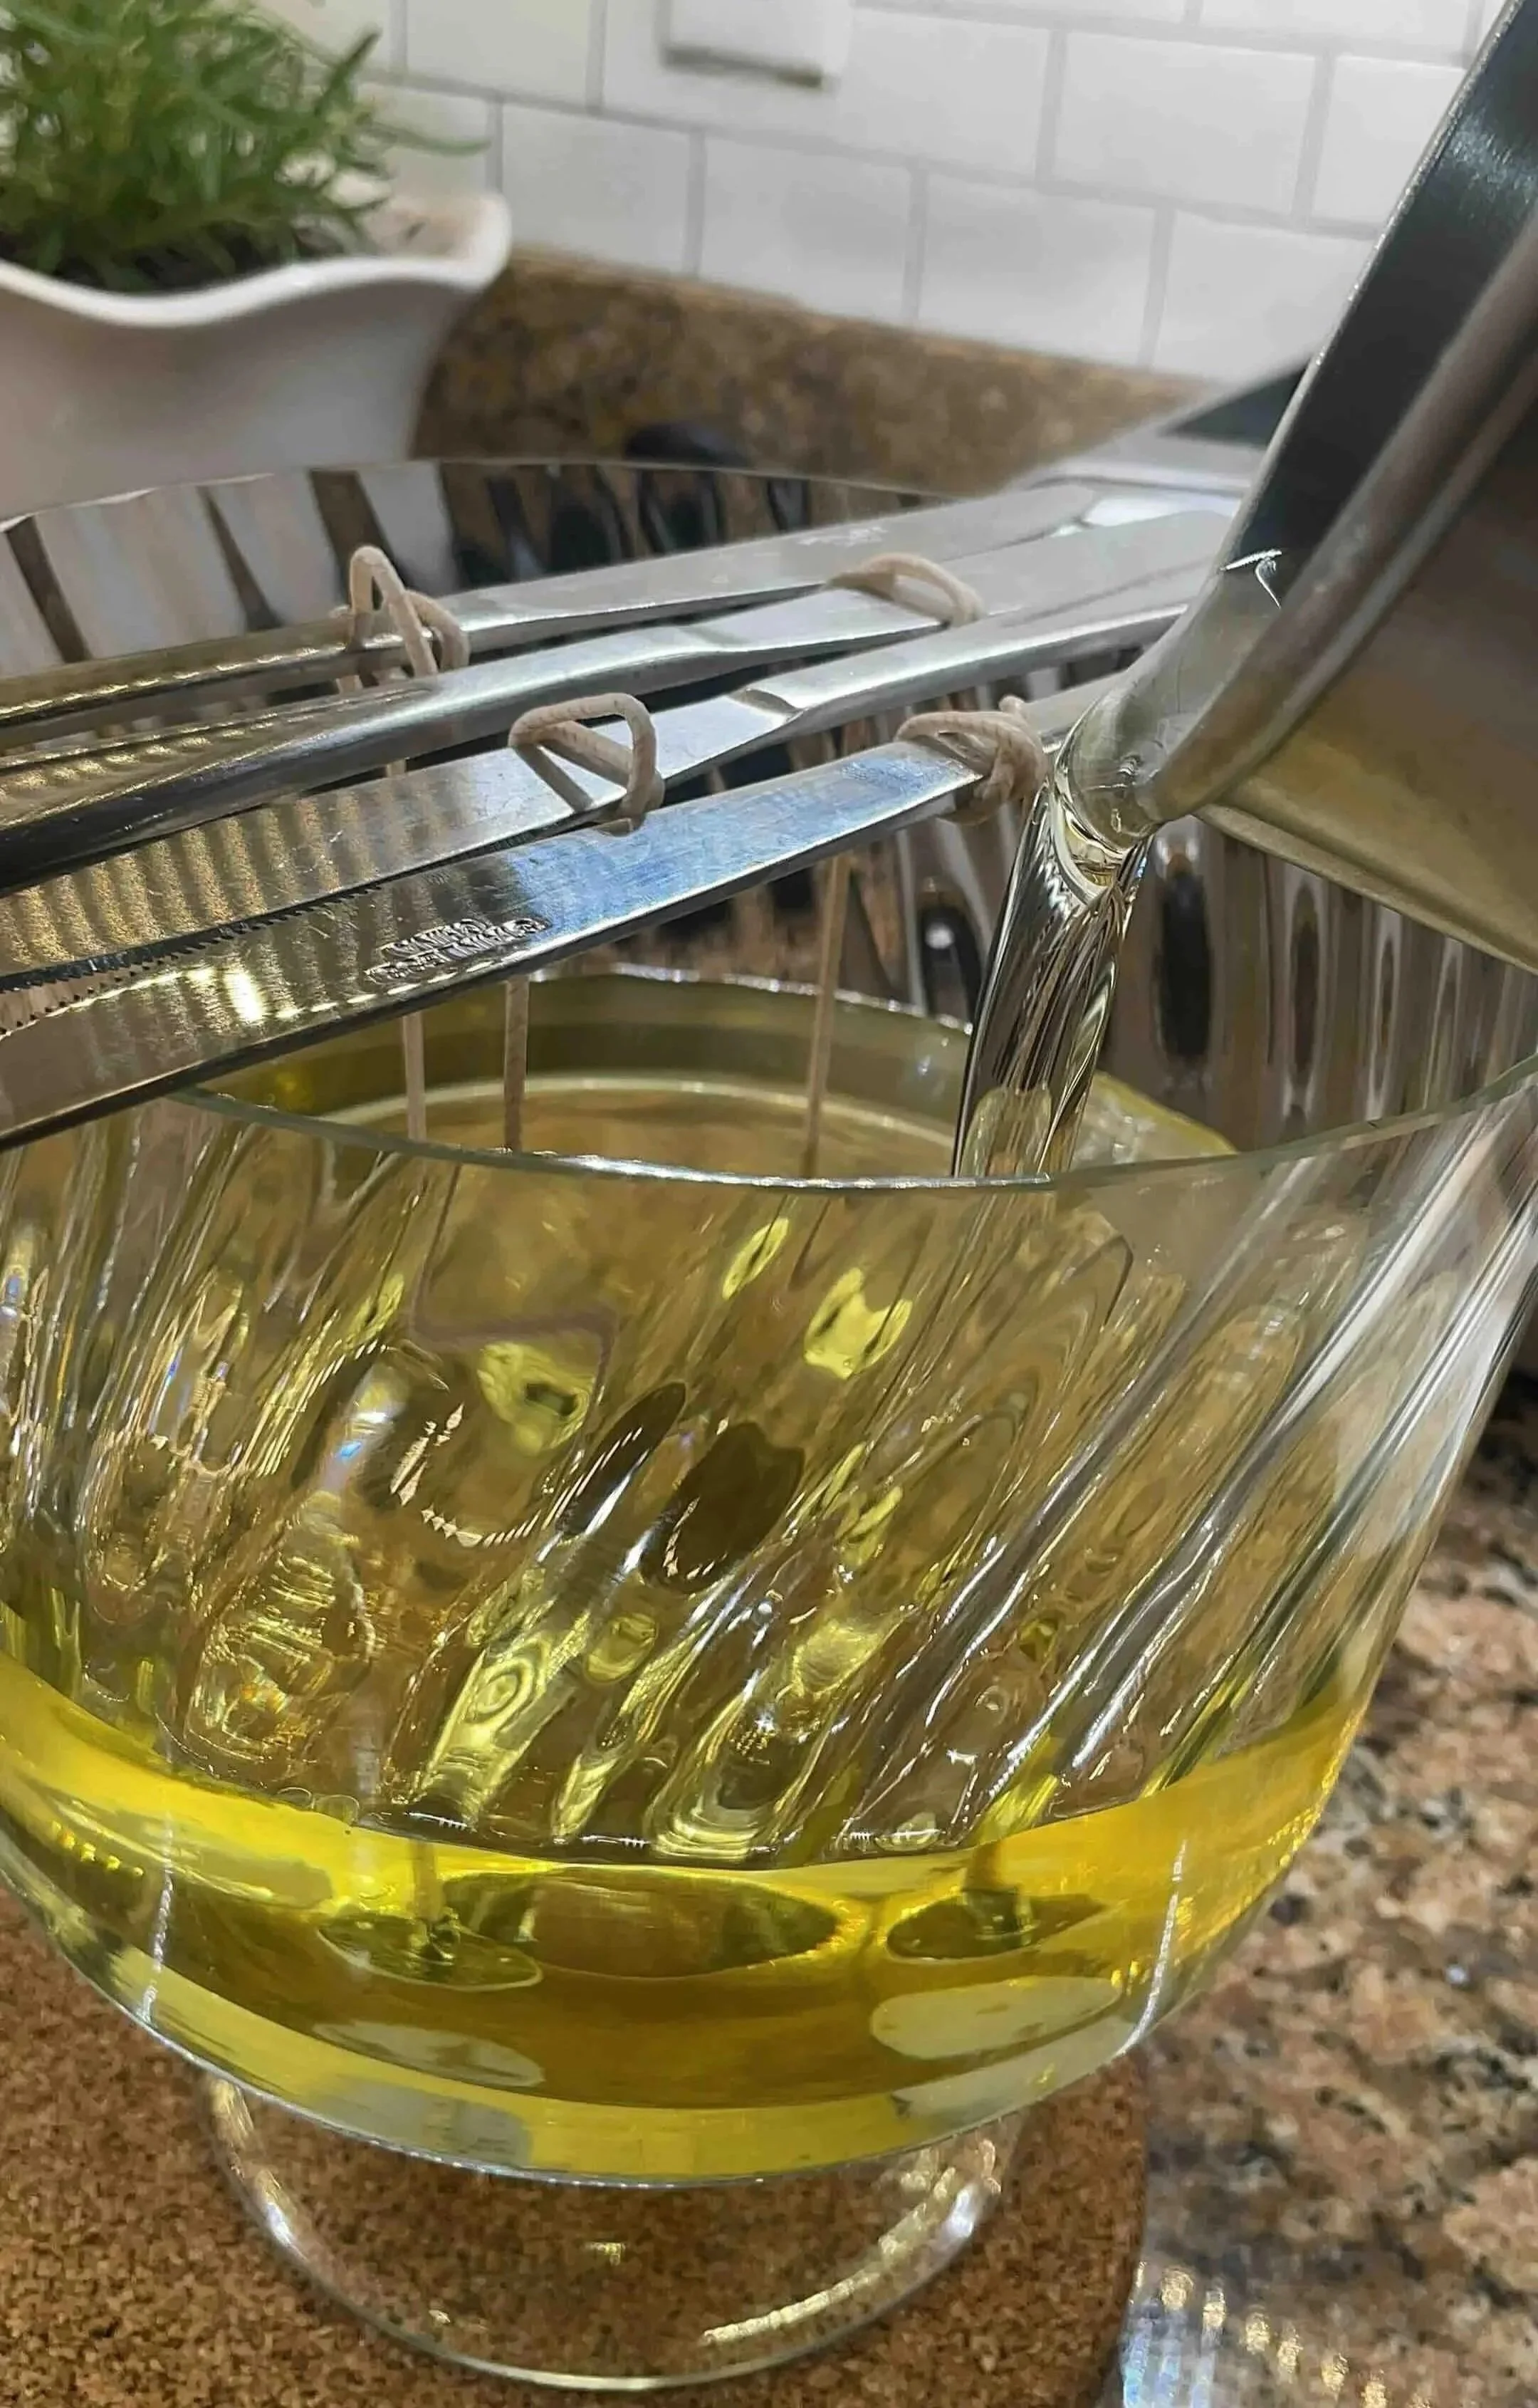
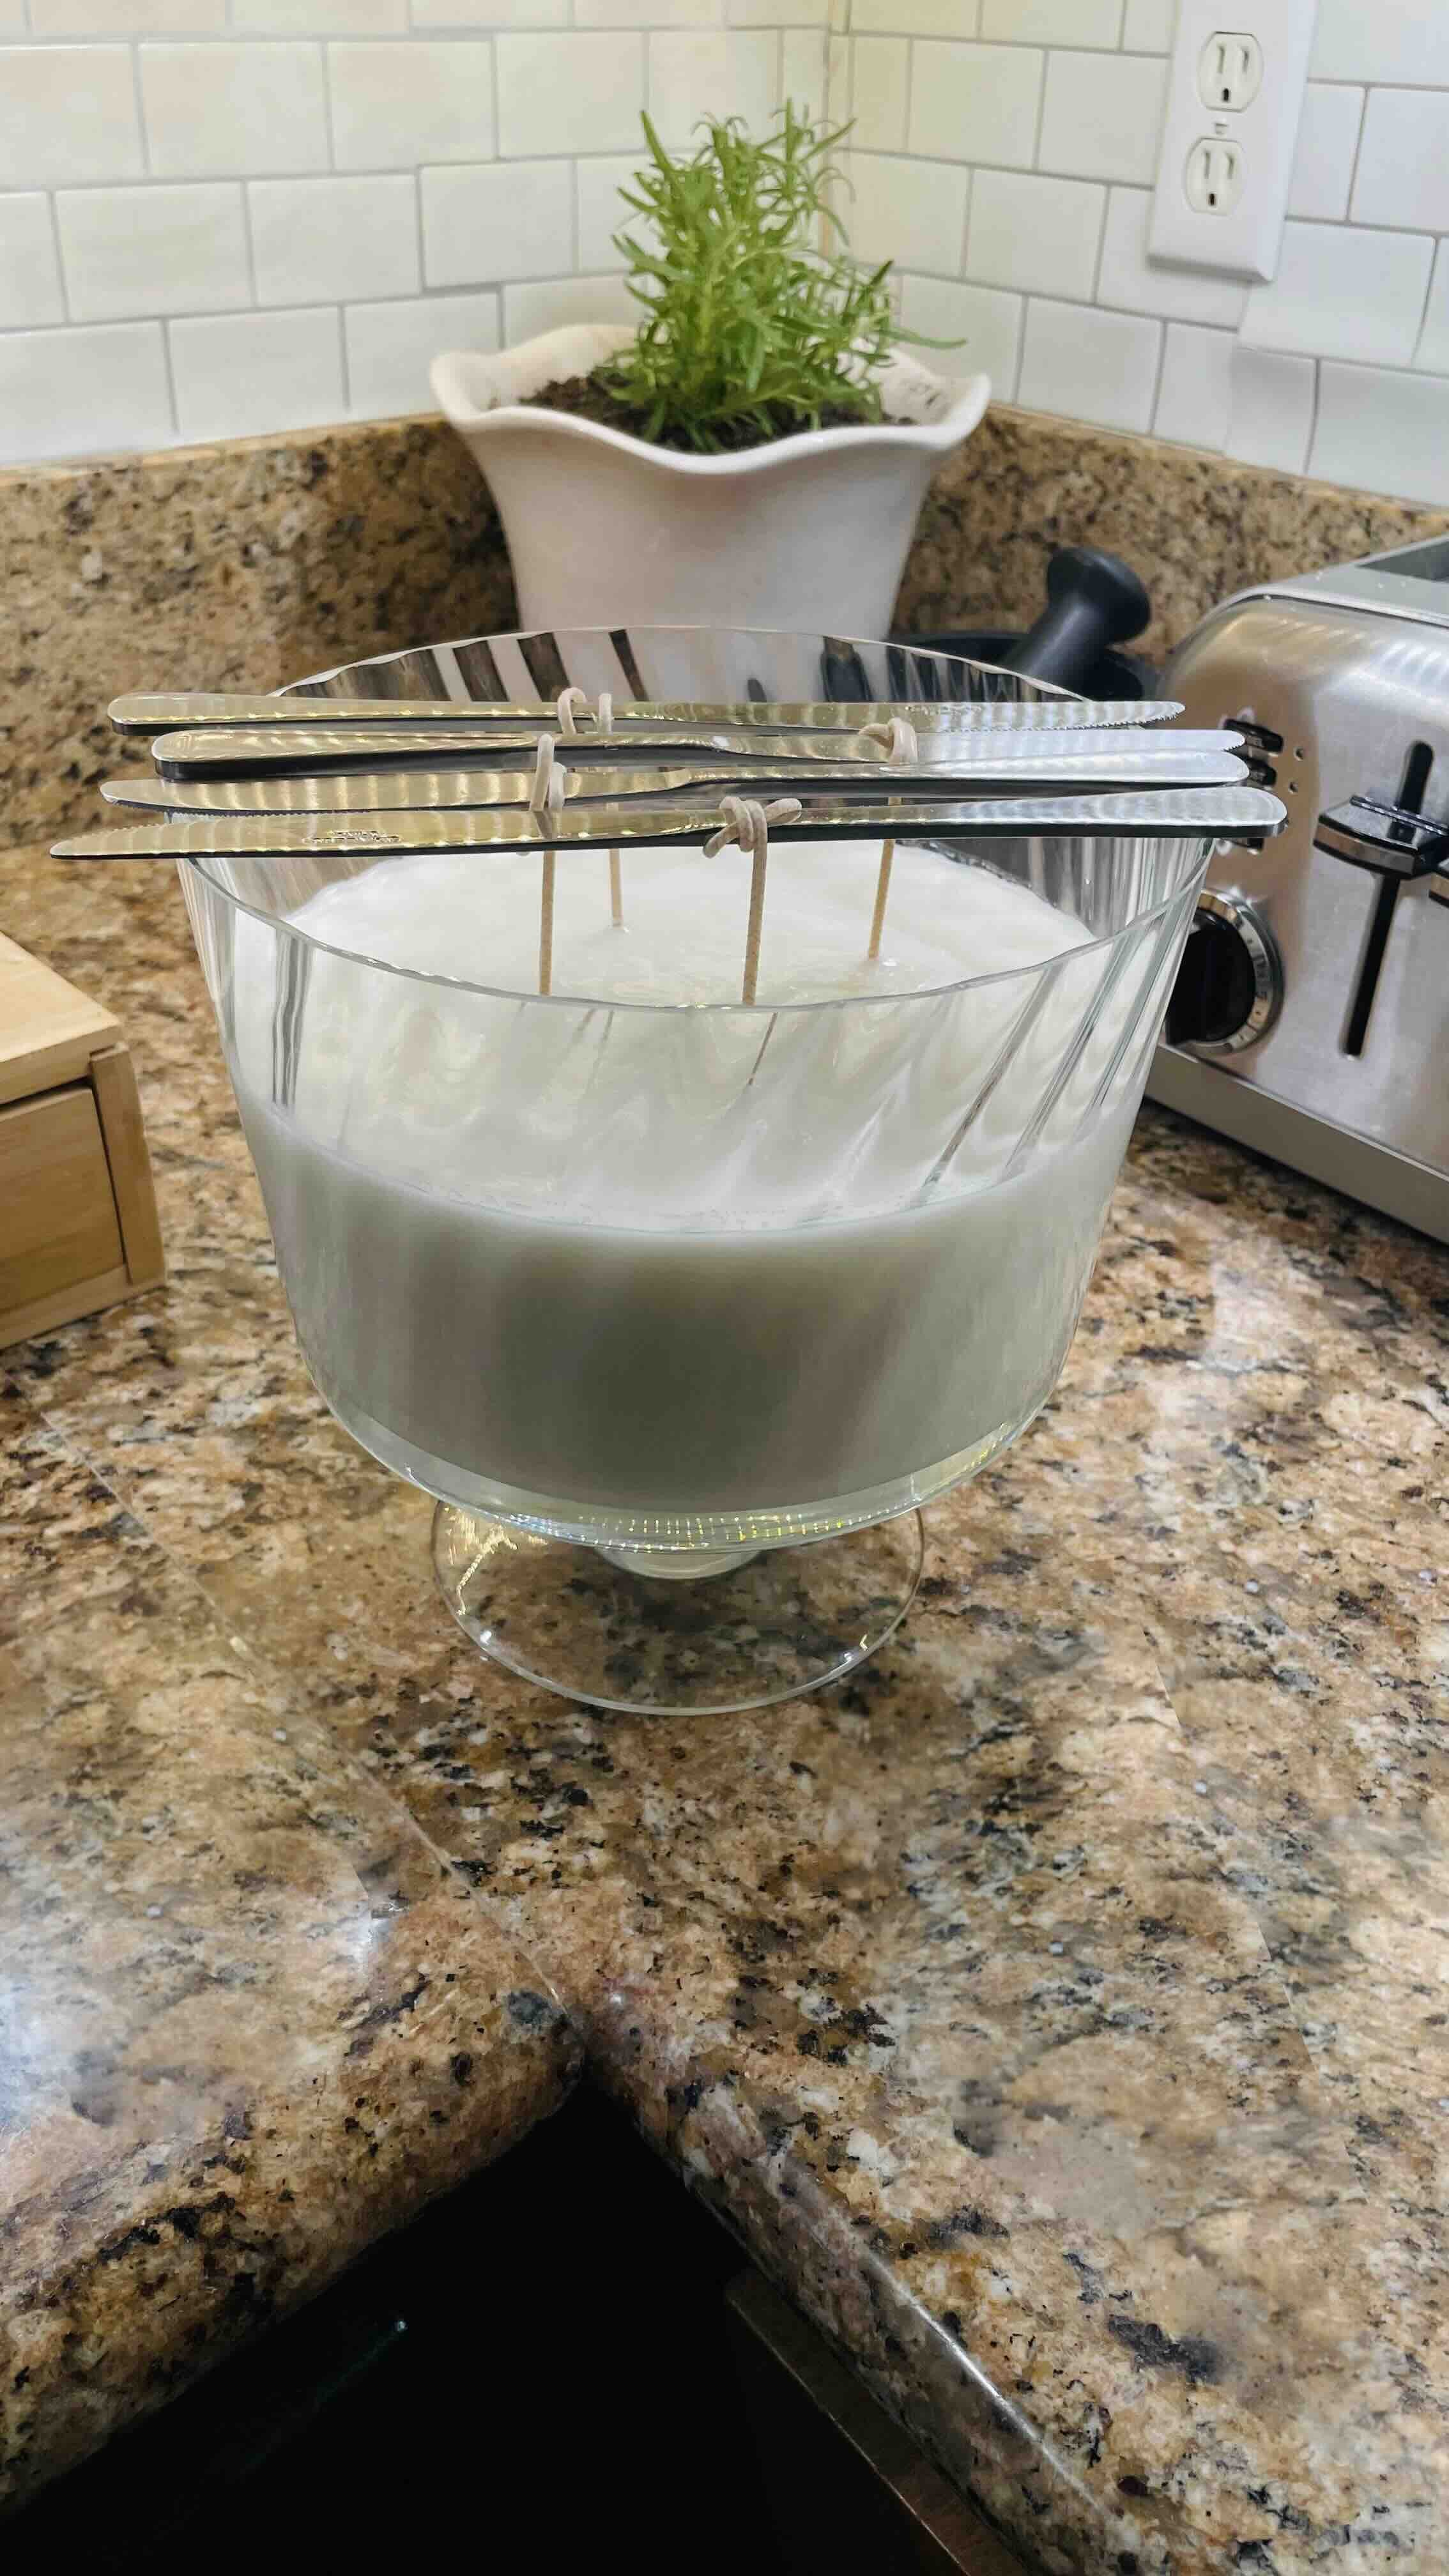
Pro Tip: Protect your countertops by placing a folded towel or heat-safe cloth underneath your vessel while it cools—especially if you’re working with a heavy glass bowl like this one.
Step 4
Trim the wicks
Once everything cooled overnight, I unrolled the butter knives and trimmed each wick. This was also where I realized one wick was slightly off to the left, messing with my perfect square placement.
That is okay. The goal is not perfection :)
Pro Tip: No wick trimmer? No problem. A small pair of sharp scissors works just fine for trimming new candle wicks (commonly around ¼ inch) before the first burn.
Step 5
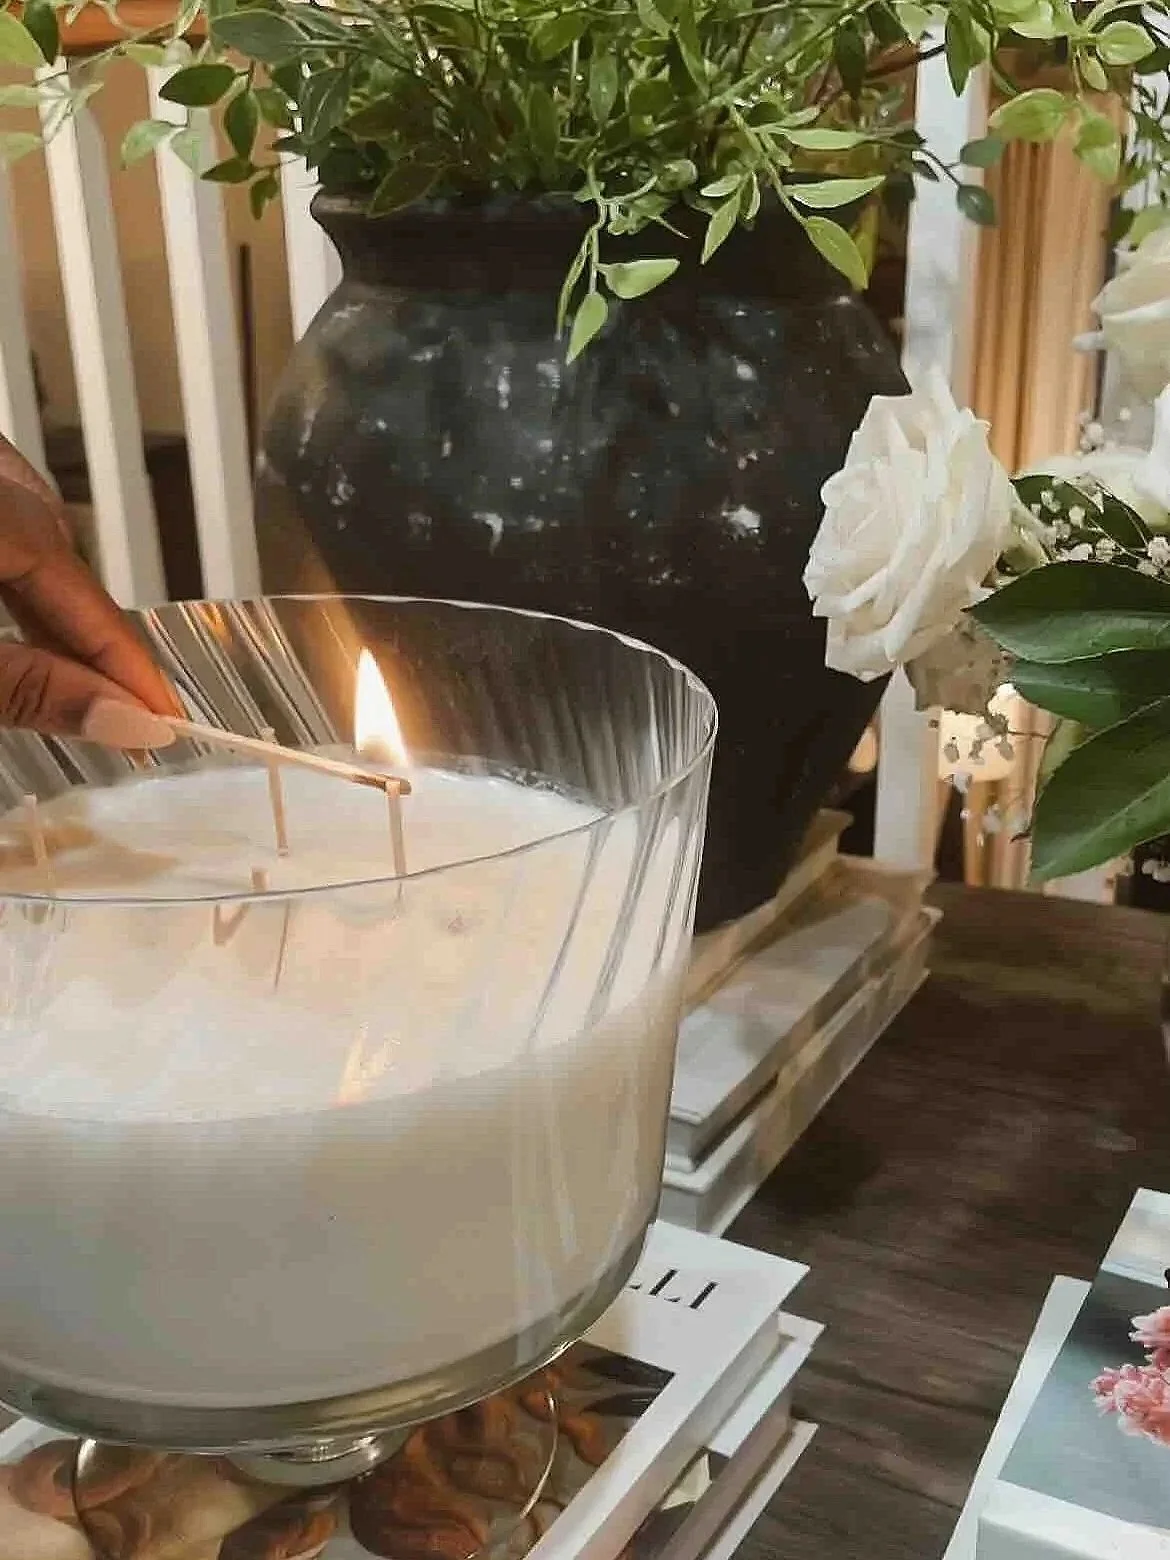
light your beautiful candle
Final thoughts
If you ended up making your own version of this, congratulations!!
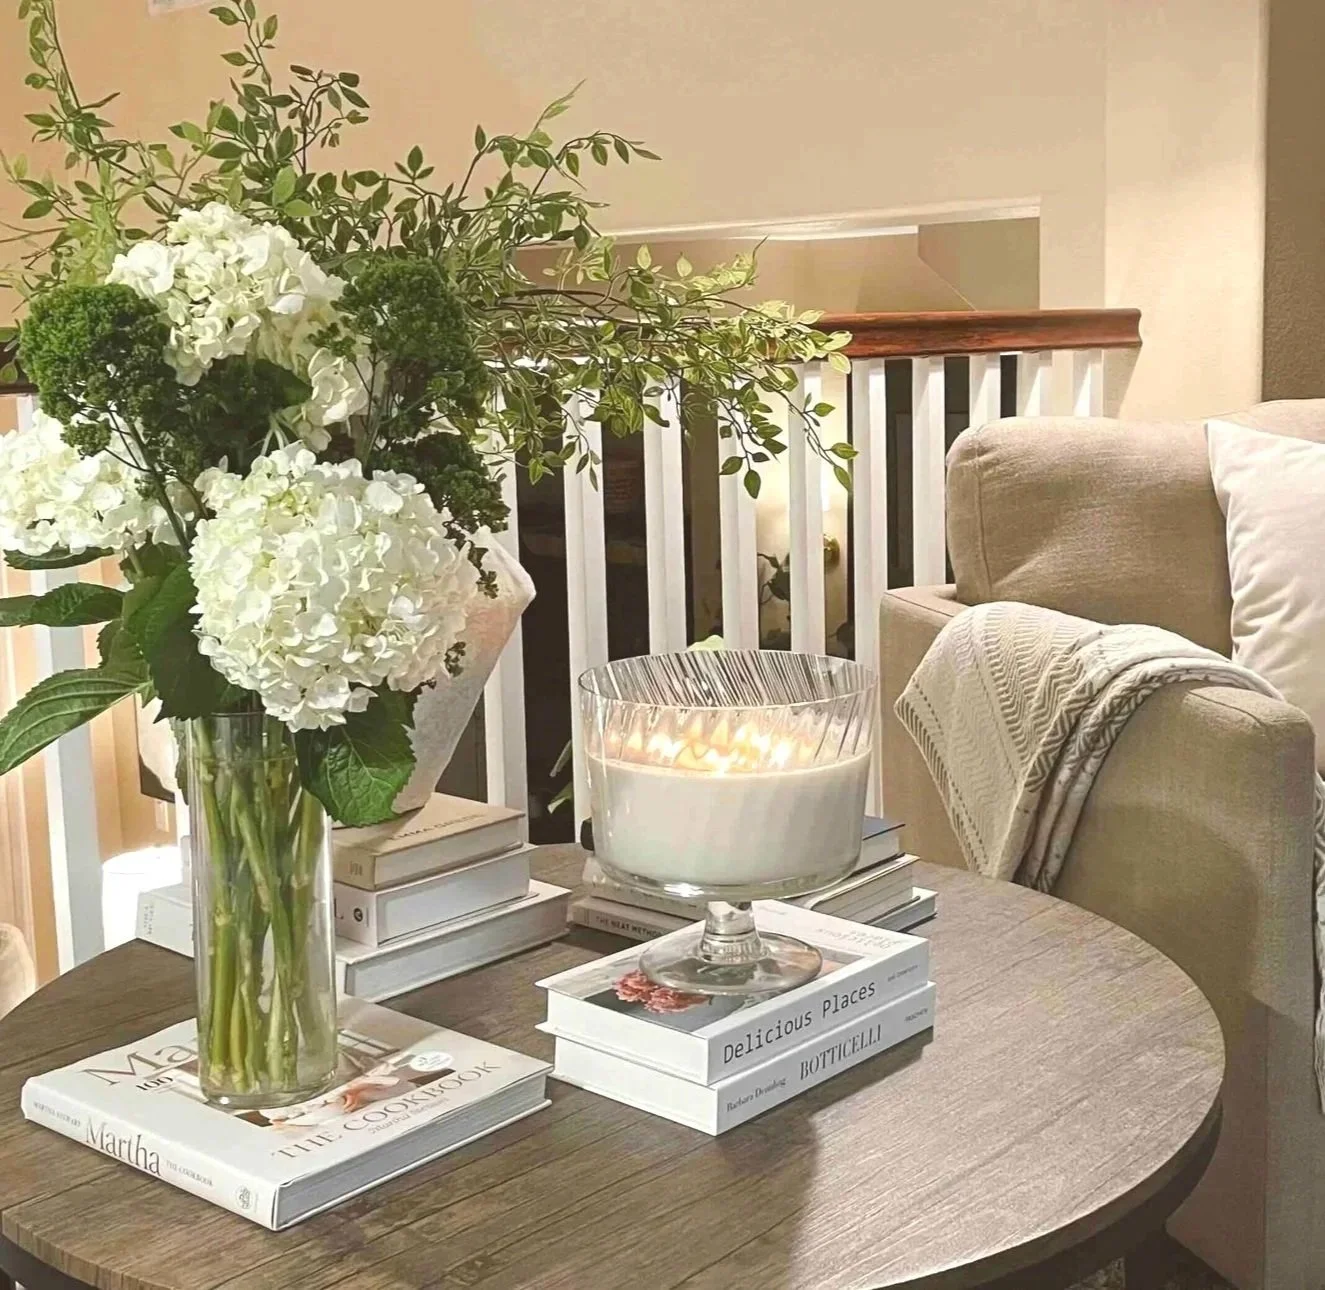
When I first lit mine, I just stood back in awe of what I’d created, watching the light of those four flames dance through the cut glass. I couldn’t believe it!
And now? This is absolutely the statement piece I wanted and adore. It elevates the entire room in ways I didn’t know to anticipate and…I cannot wait for my next one!
After this candle has burned mostly down, and only a little remains, I’ll empty the vessel and prepare it for Act II.
Maybe it’s a new candle.
Maybe I’ll add hydrangeas or some other beautiful flowers.
I could also just leave it as a beautiful bowl.
Either way, I created my own kind of magic and that was absolutely worth slowing down for 🤍
With Love,
Ambyr
Up Next: