
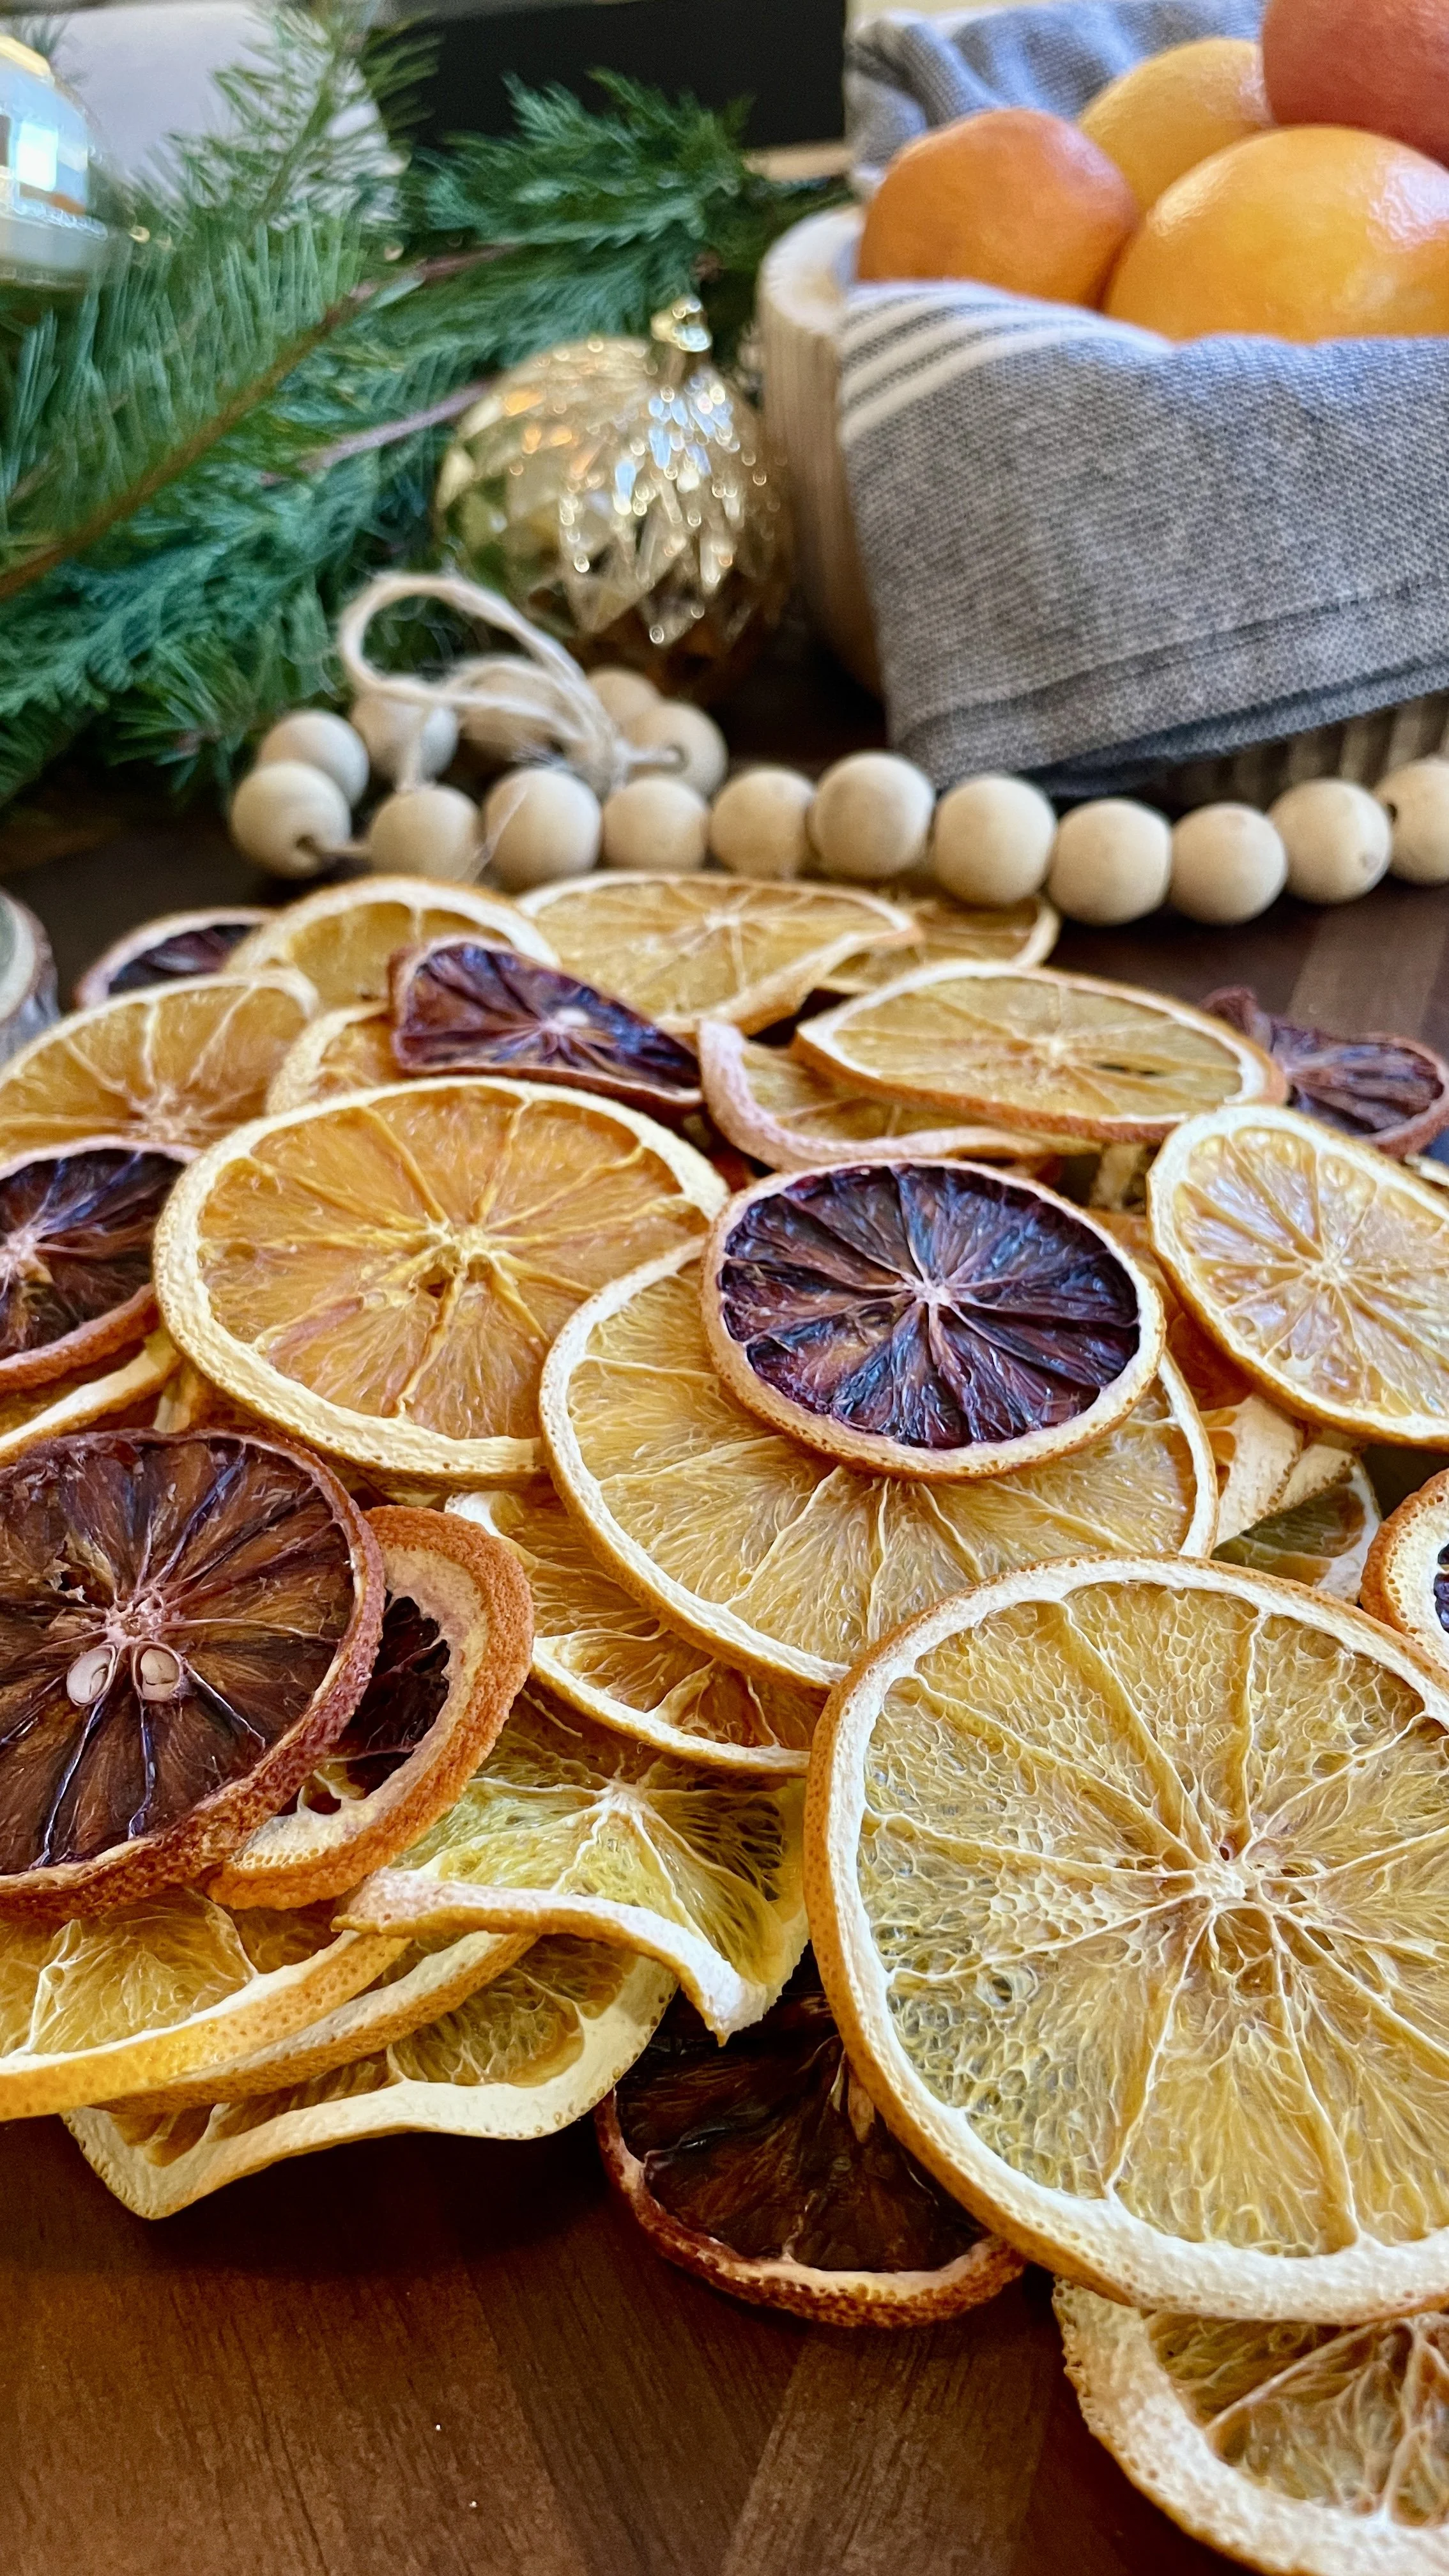
How to Make Dried Orange Slices in the Oven (Easy Holiday Decor Tutorial)
Beautiful, natural, and perfect for decor, garlands, simmer pots, and holiday magic.
Reading Time ~2 minutes
Prep Time: 10 minutes
Cook Time: 4–6 hours
Total Time: 4–6 hour
Servings: 40-50 slices (depending on citrus and tray size)

Ingredients
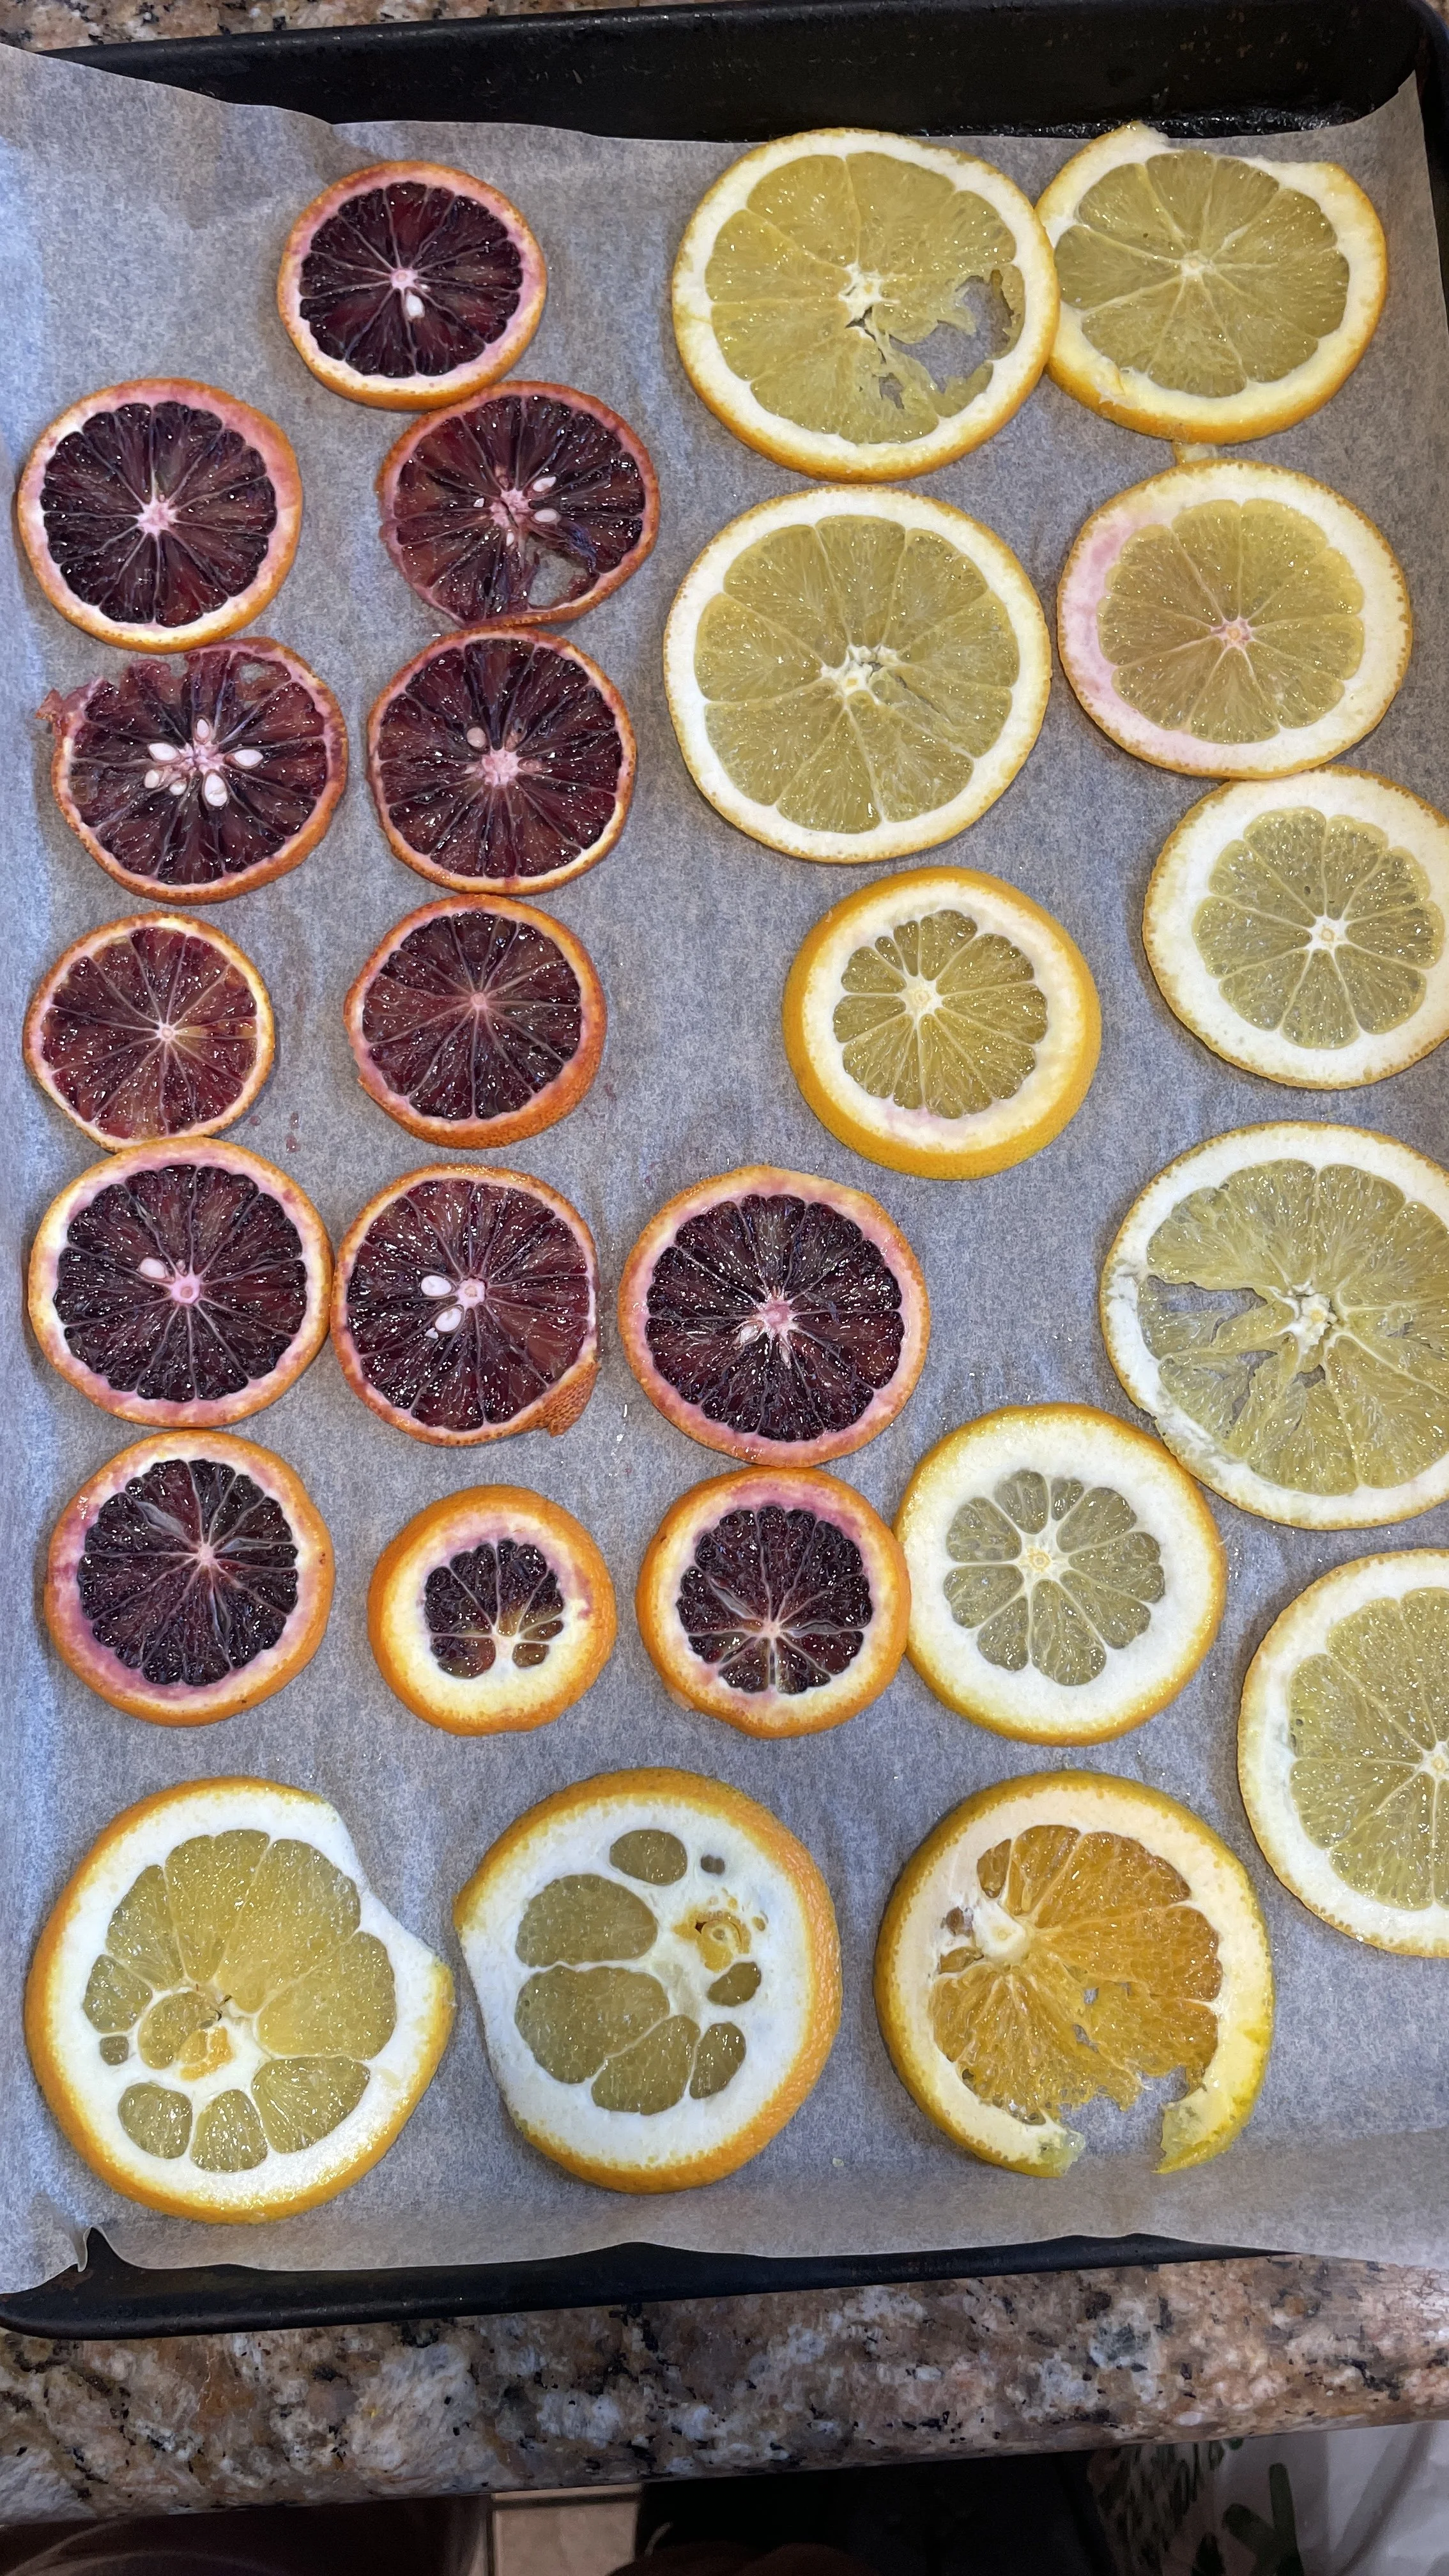
3–4 navel oranges
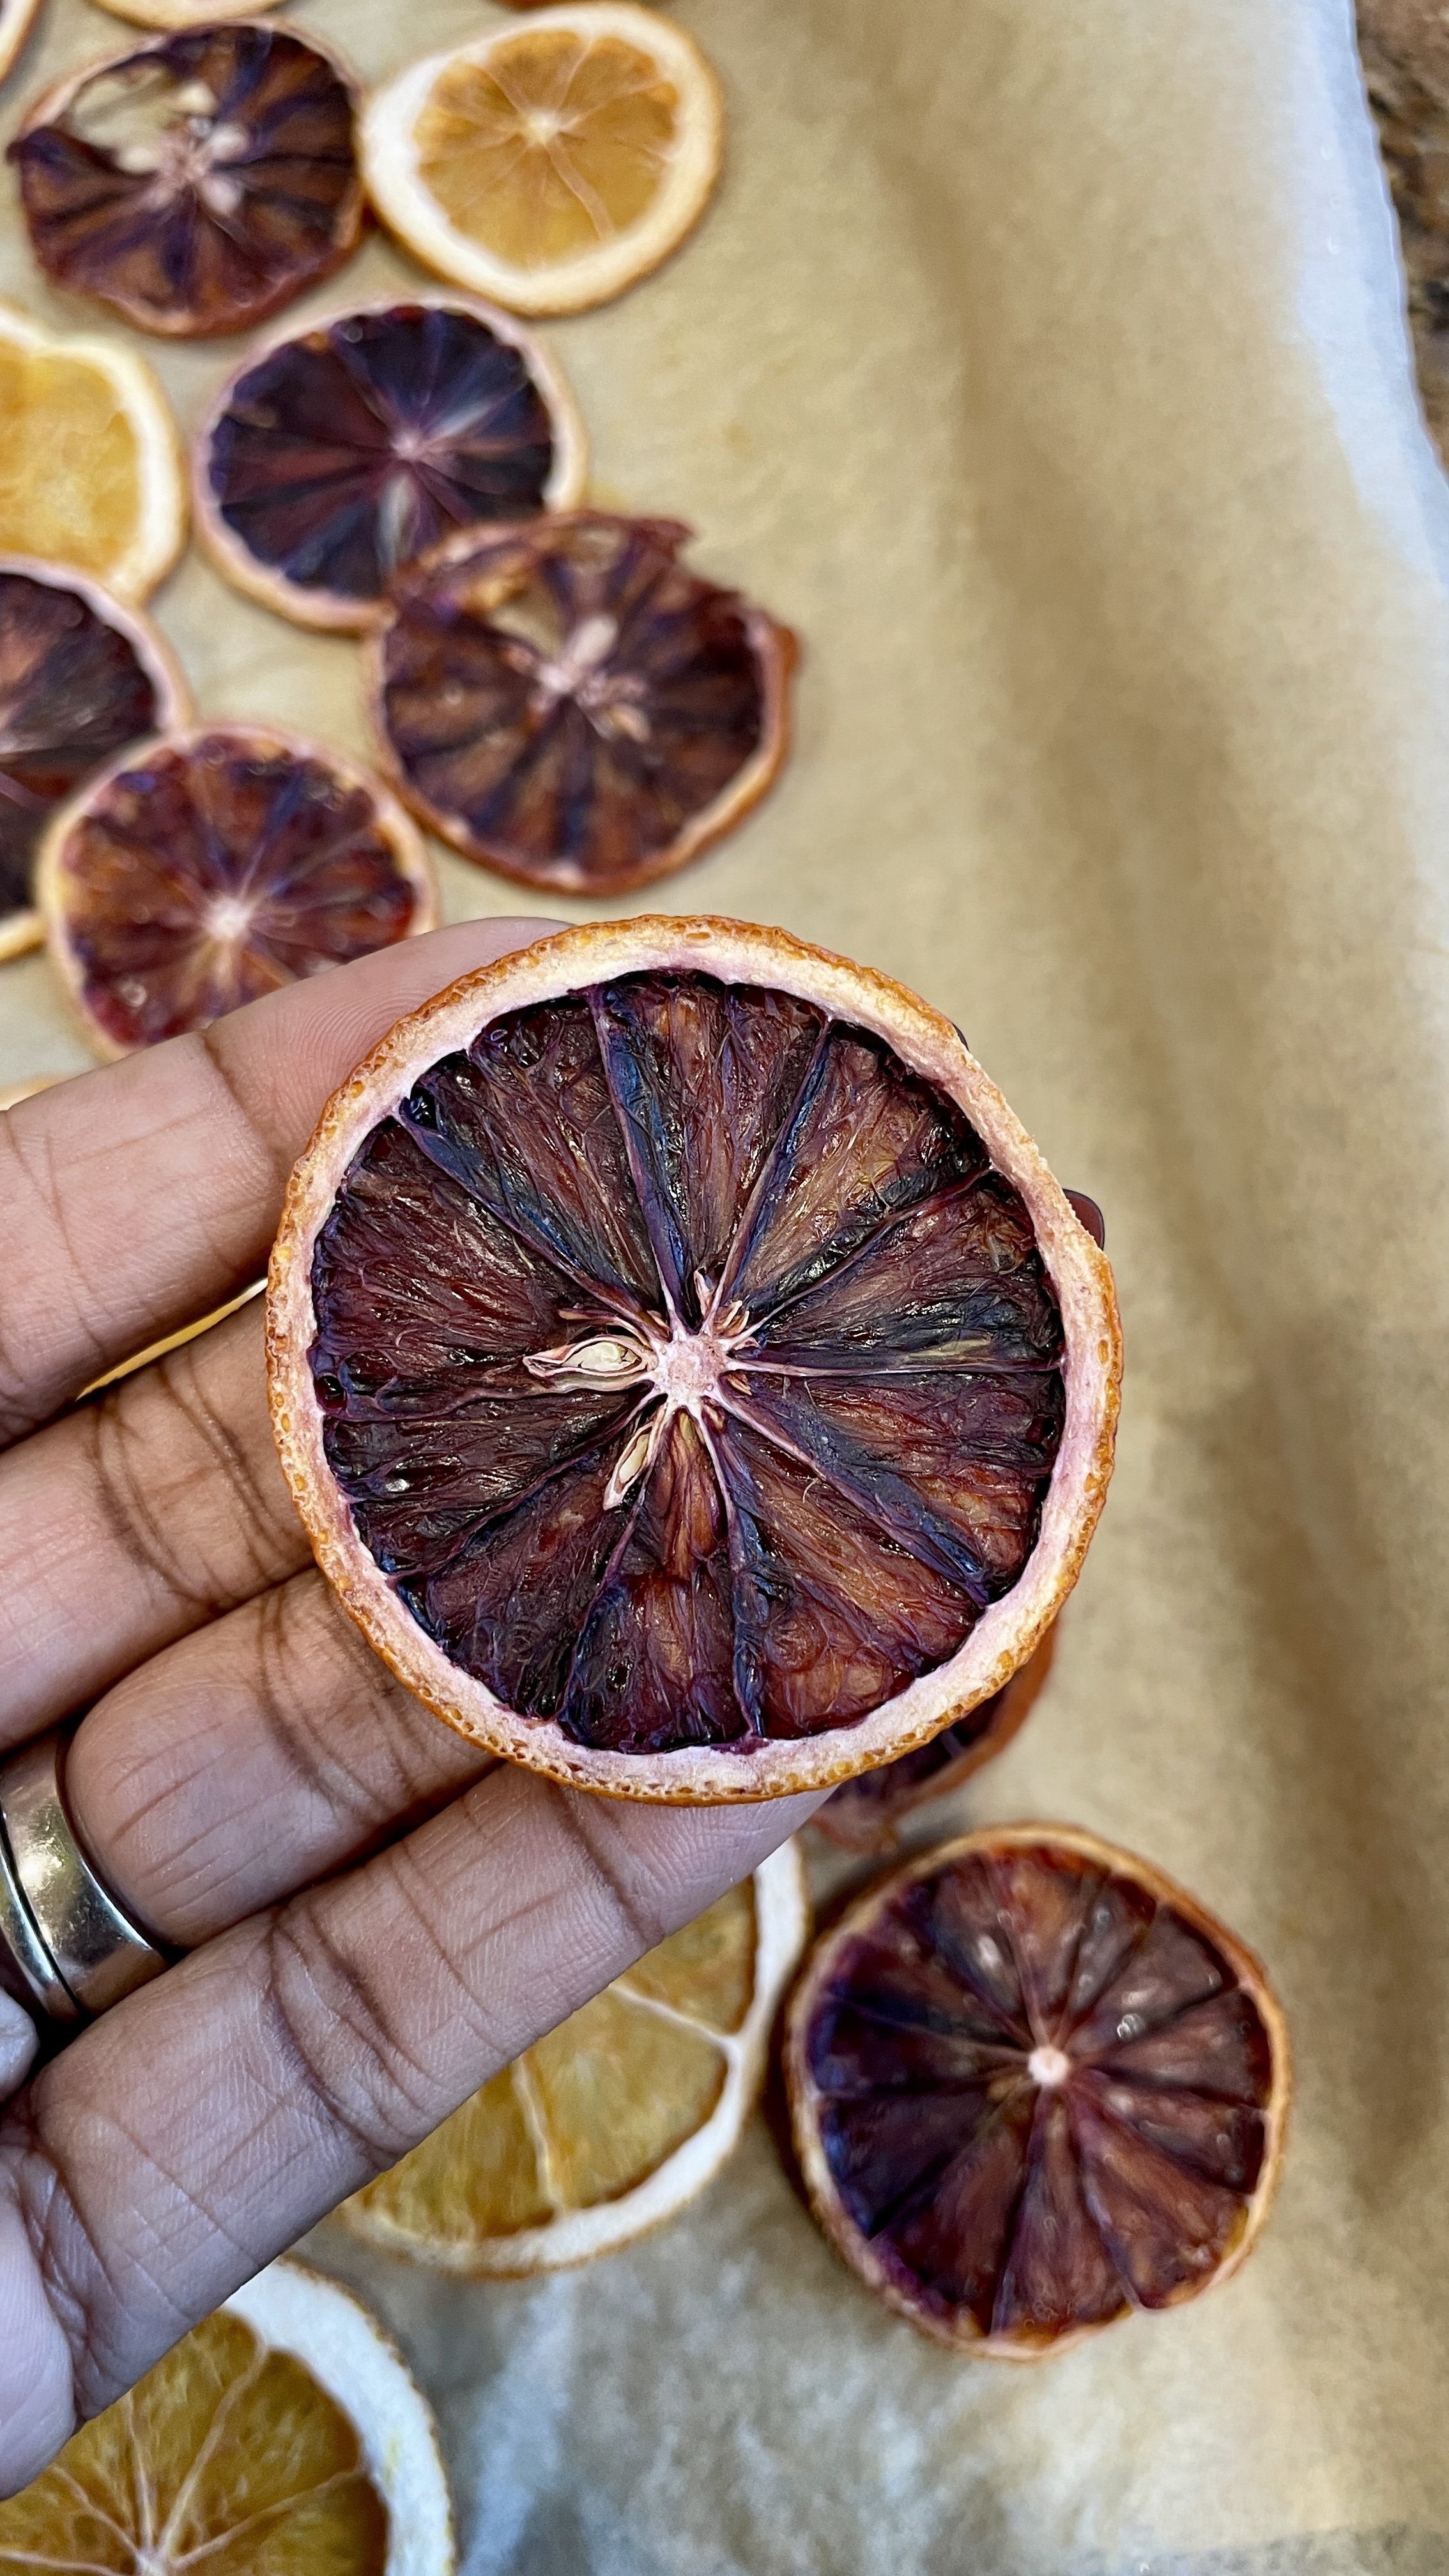
2–3 blood oranges
Parchment paper
Instructions
1. Preheat your oven to its lowest setting.
I tried 150°F and got an ERR sign. The next allowable temp was 170°F so I dried my oranges at this temp for about 5 hours (4 hours active drying, 1 hour in the oven with the oven turned off). This lowered temp will help you get perfectly dry, translucent slices without browning.
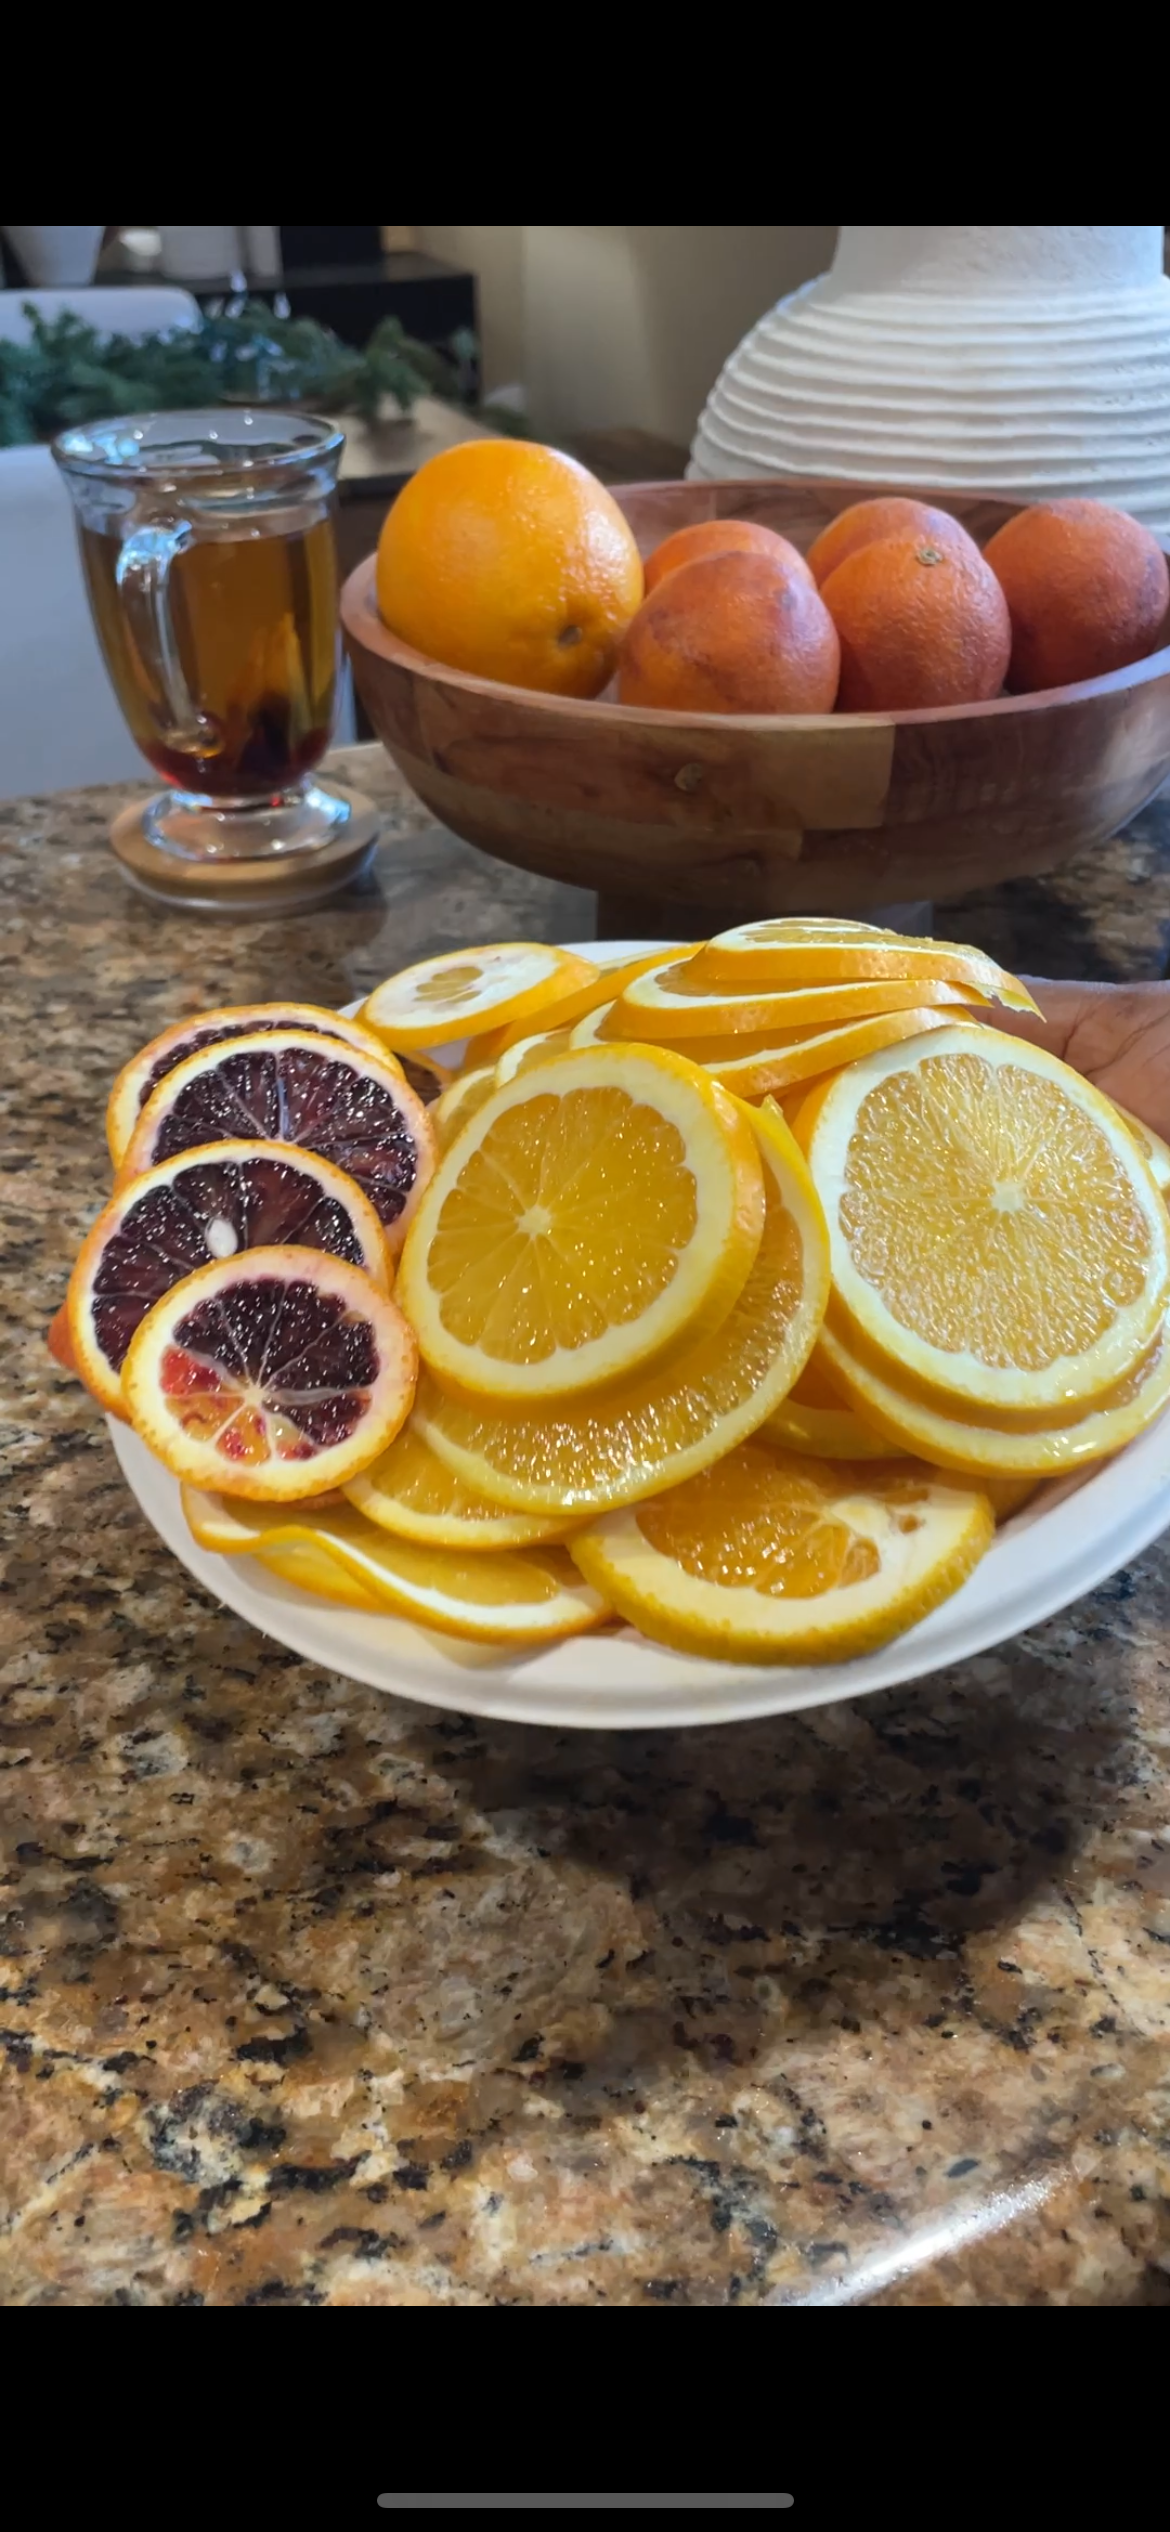
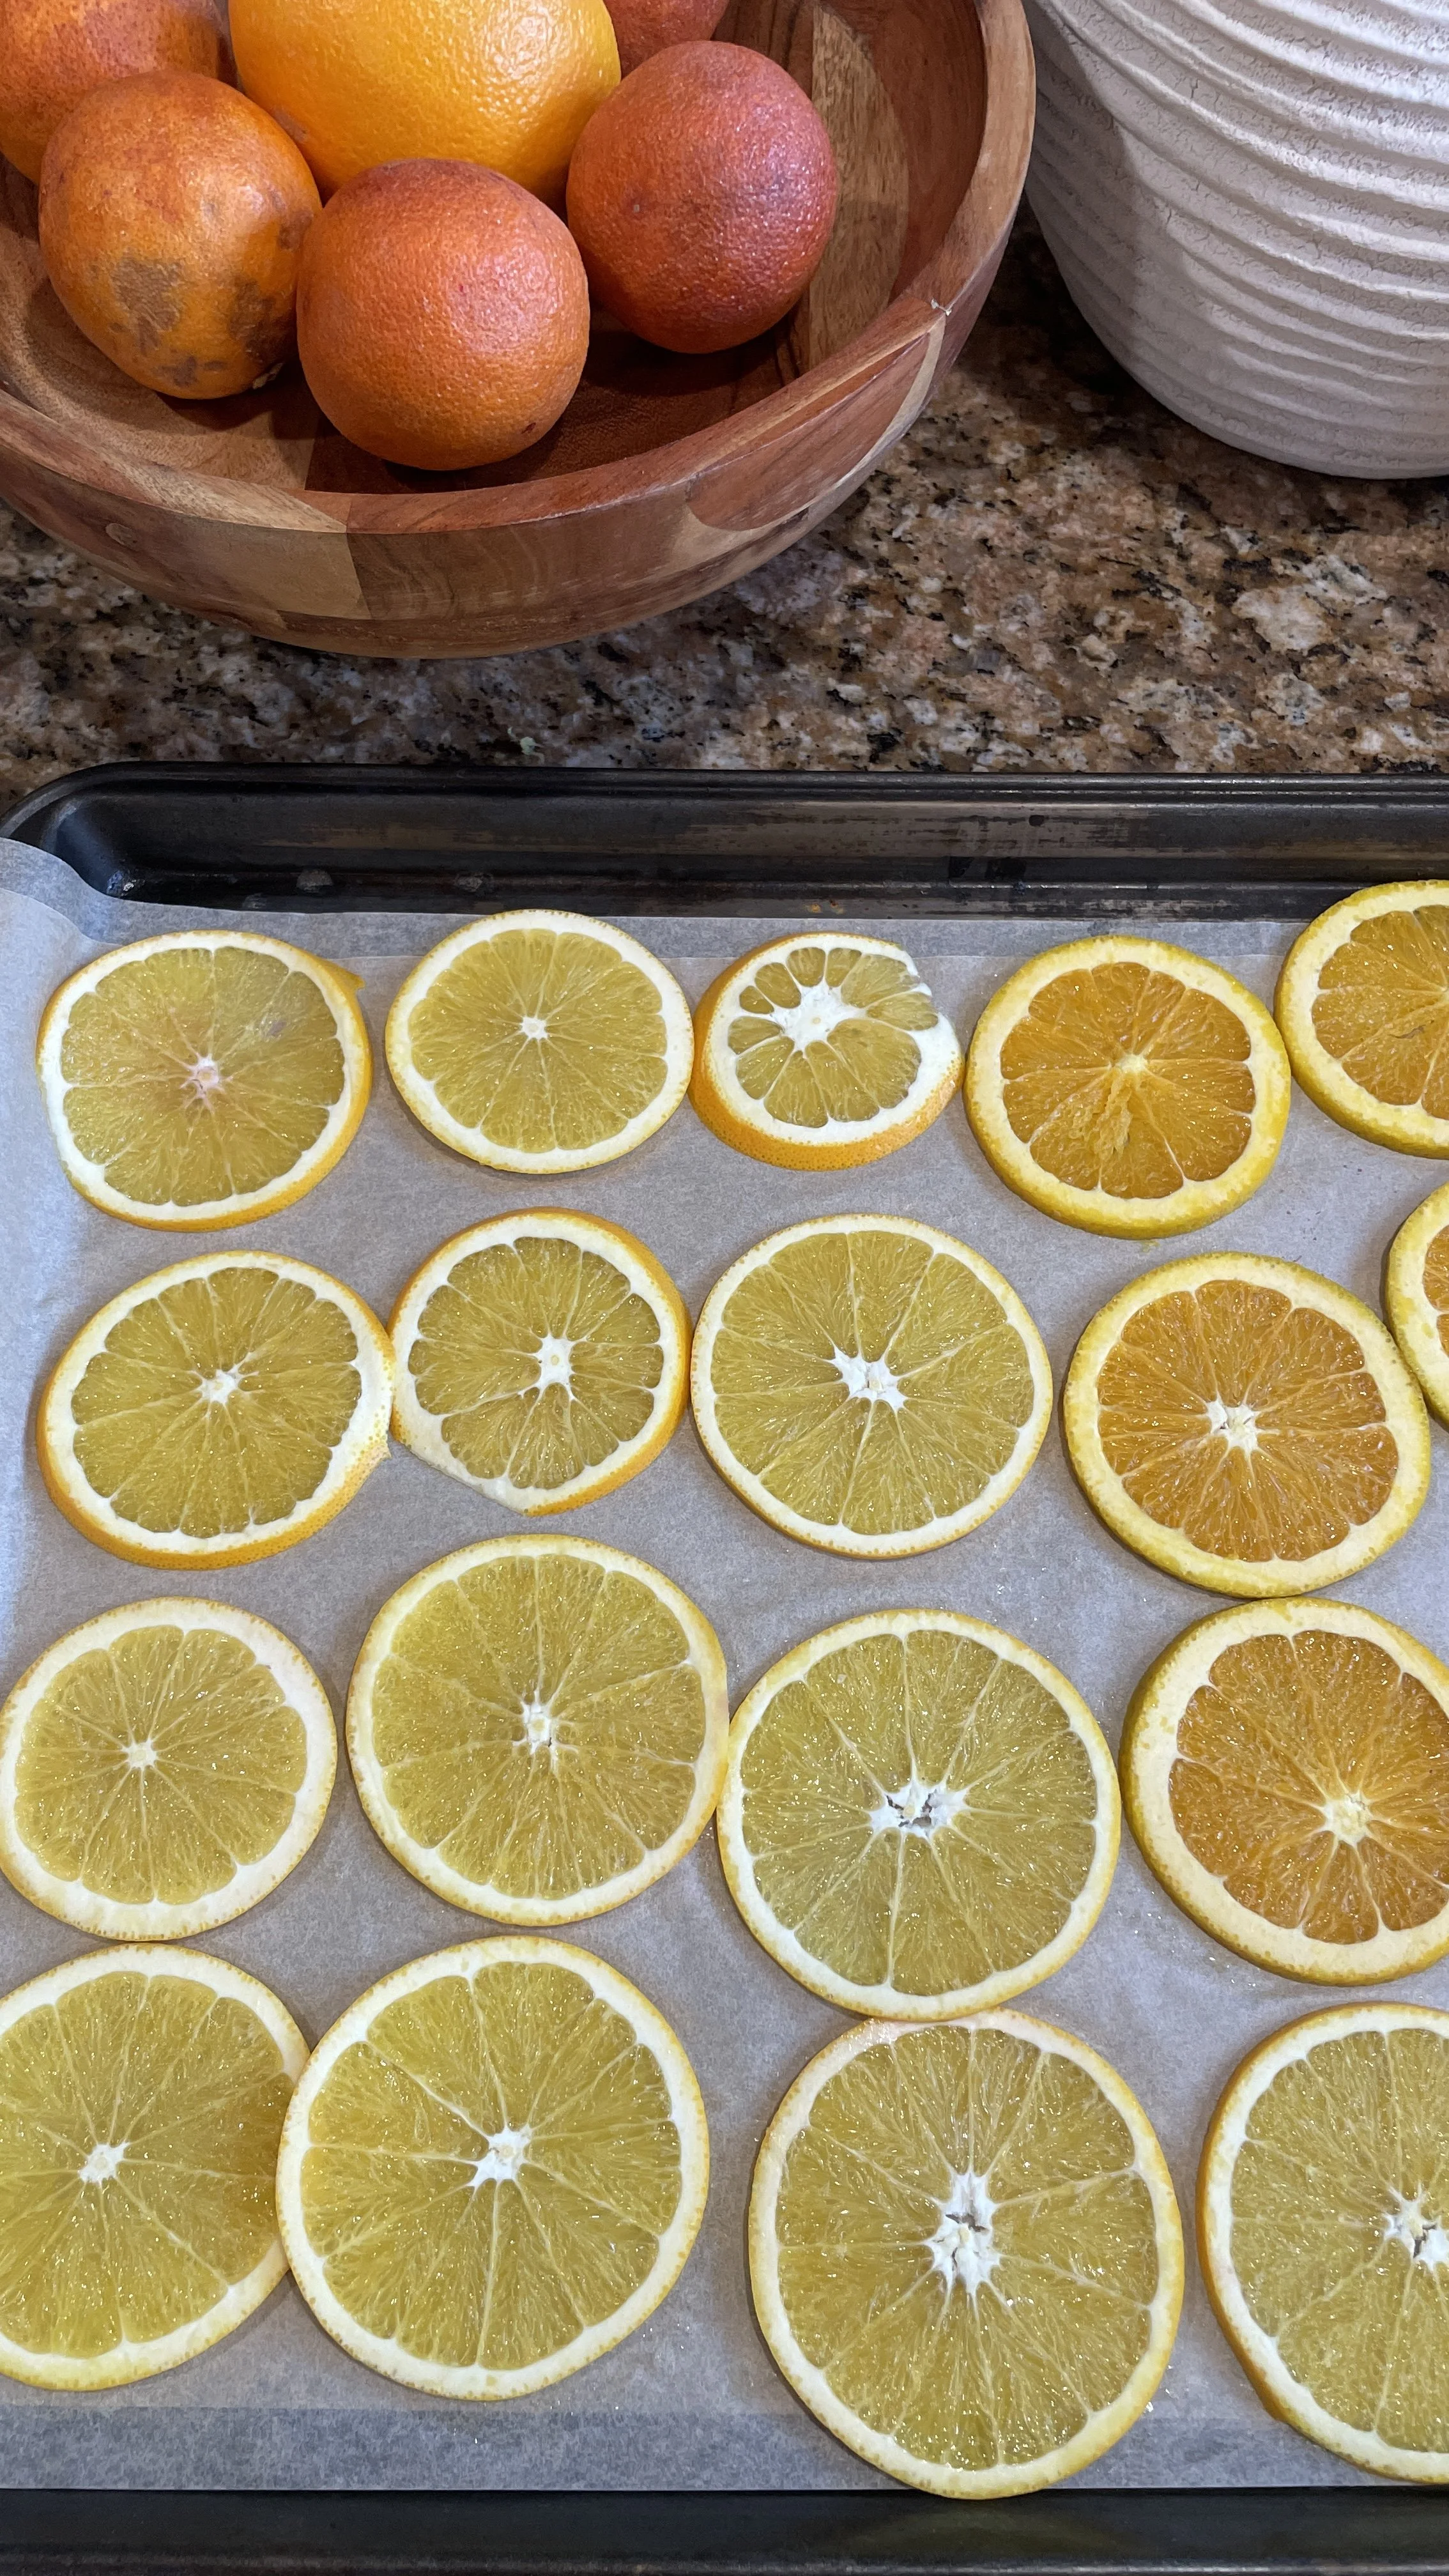
2. Slice the oranges into thin rounds
Aim for:
About the thickness of two stacked quarters, or
Roughly the width of a graham cracker
This is the ideal thickness for even drying and the prettiest glow.
*Note - I used the 3mm setting on my Mandolin slicer and they turned out perfectly! Just make sure to use the protective sleeve or glove or, go very slow and stop well before the orange ends. Please be extra careful!!
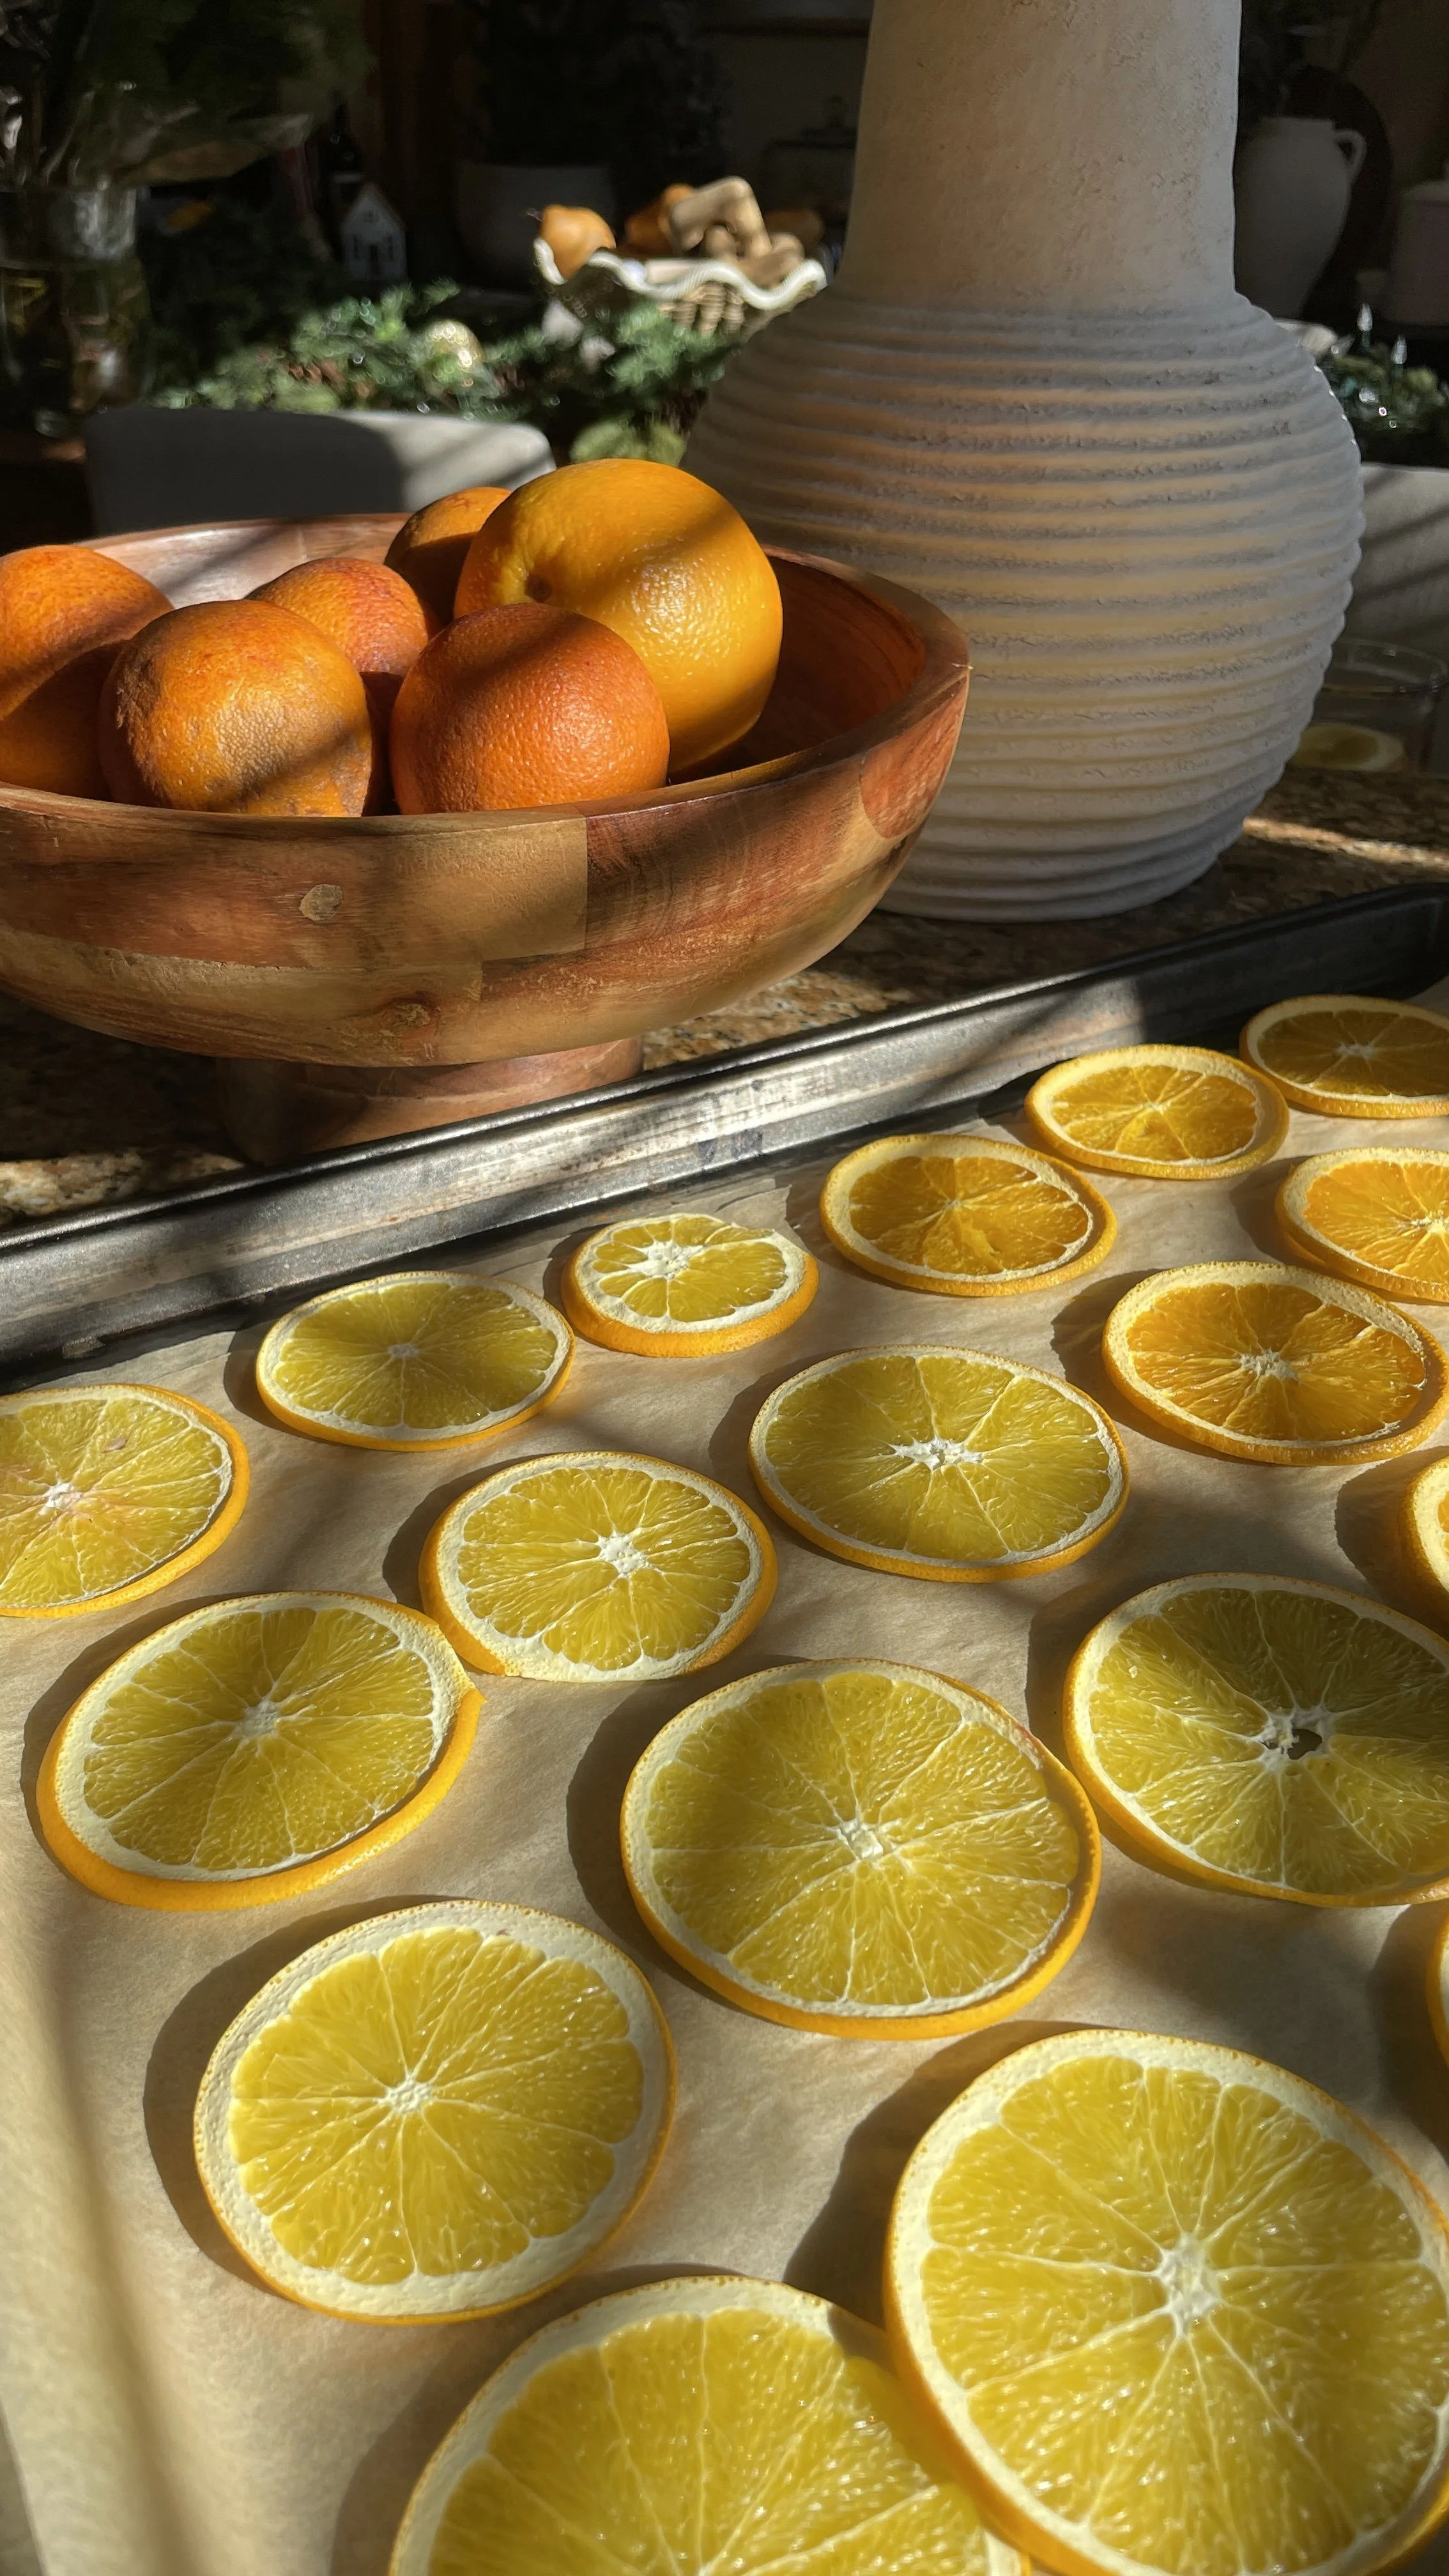
3. Arrange slices in a single layer between 1-2 parchment-lined baking sheets
Make sure there’s no overlapping — or you’ll get steamed oranges instead of dry.
4. Blot both sides with a paper towel
Lay the paper towel/s over the oranges and lightly blot to remove moisture. Do this for each orange and then flip them and repeat.
This step helps to remove excess moisture, dry faster and more evenly (no stickiness, no ant attraction).
5. Bake for 4–6 hours at 170°F, or your lowest oven setting
I did check mine and flipped every hour just to make sure there was no browning or extreme edge curling. It’s easy, it took less than 20 seconds to flip each tray.
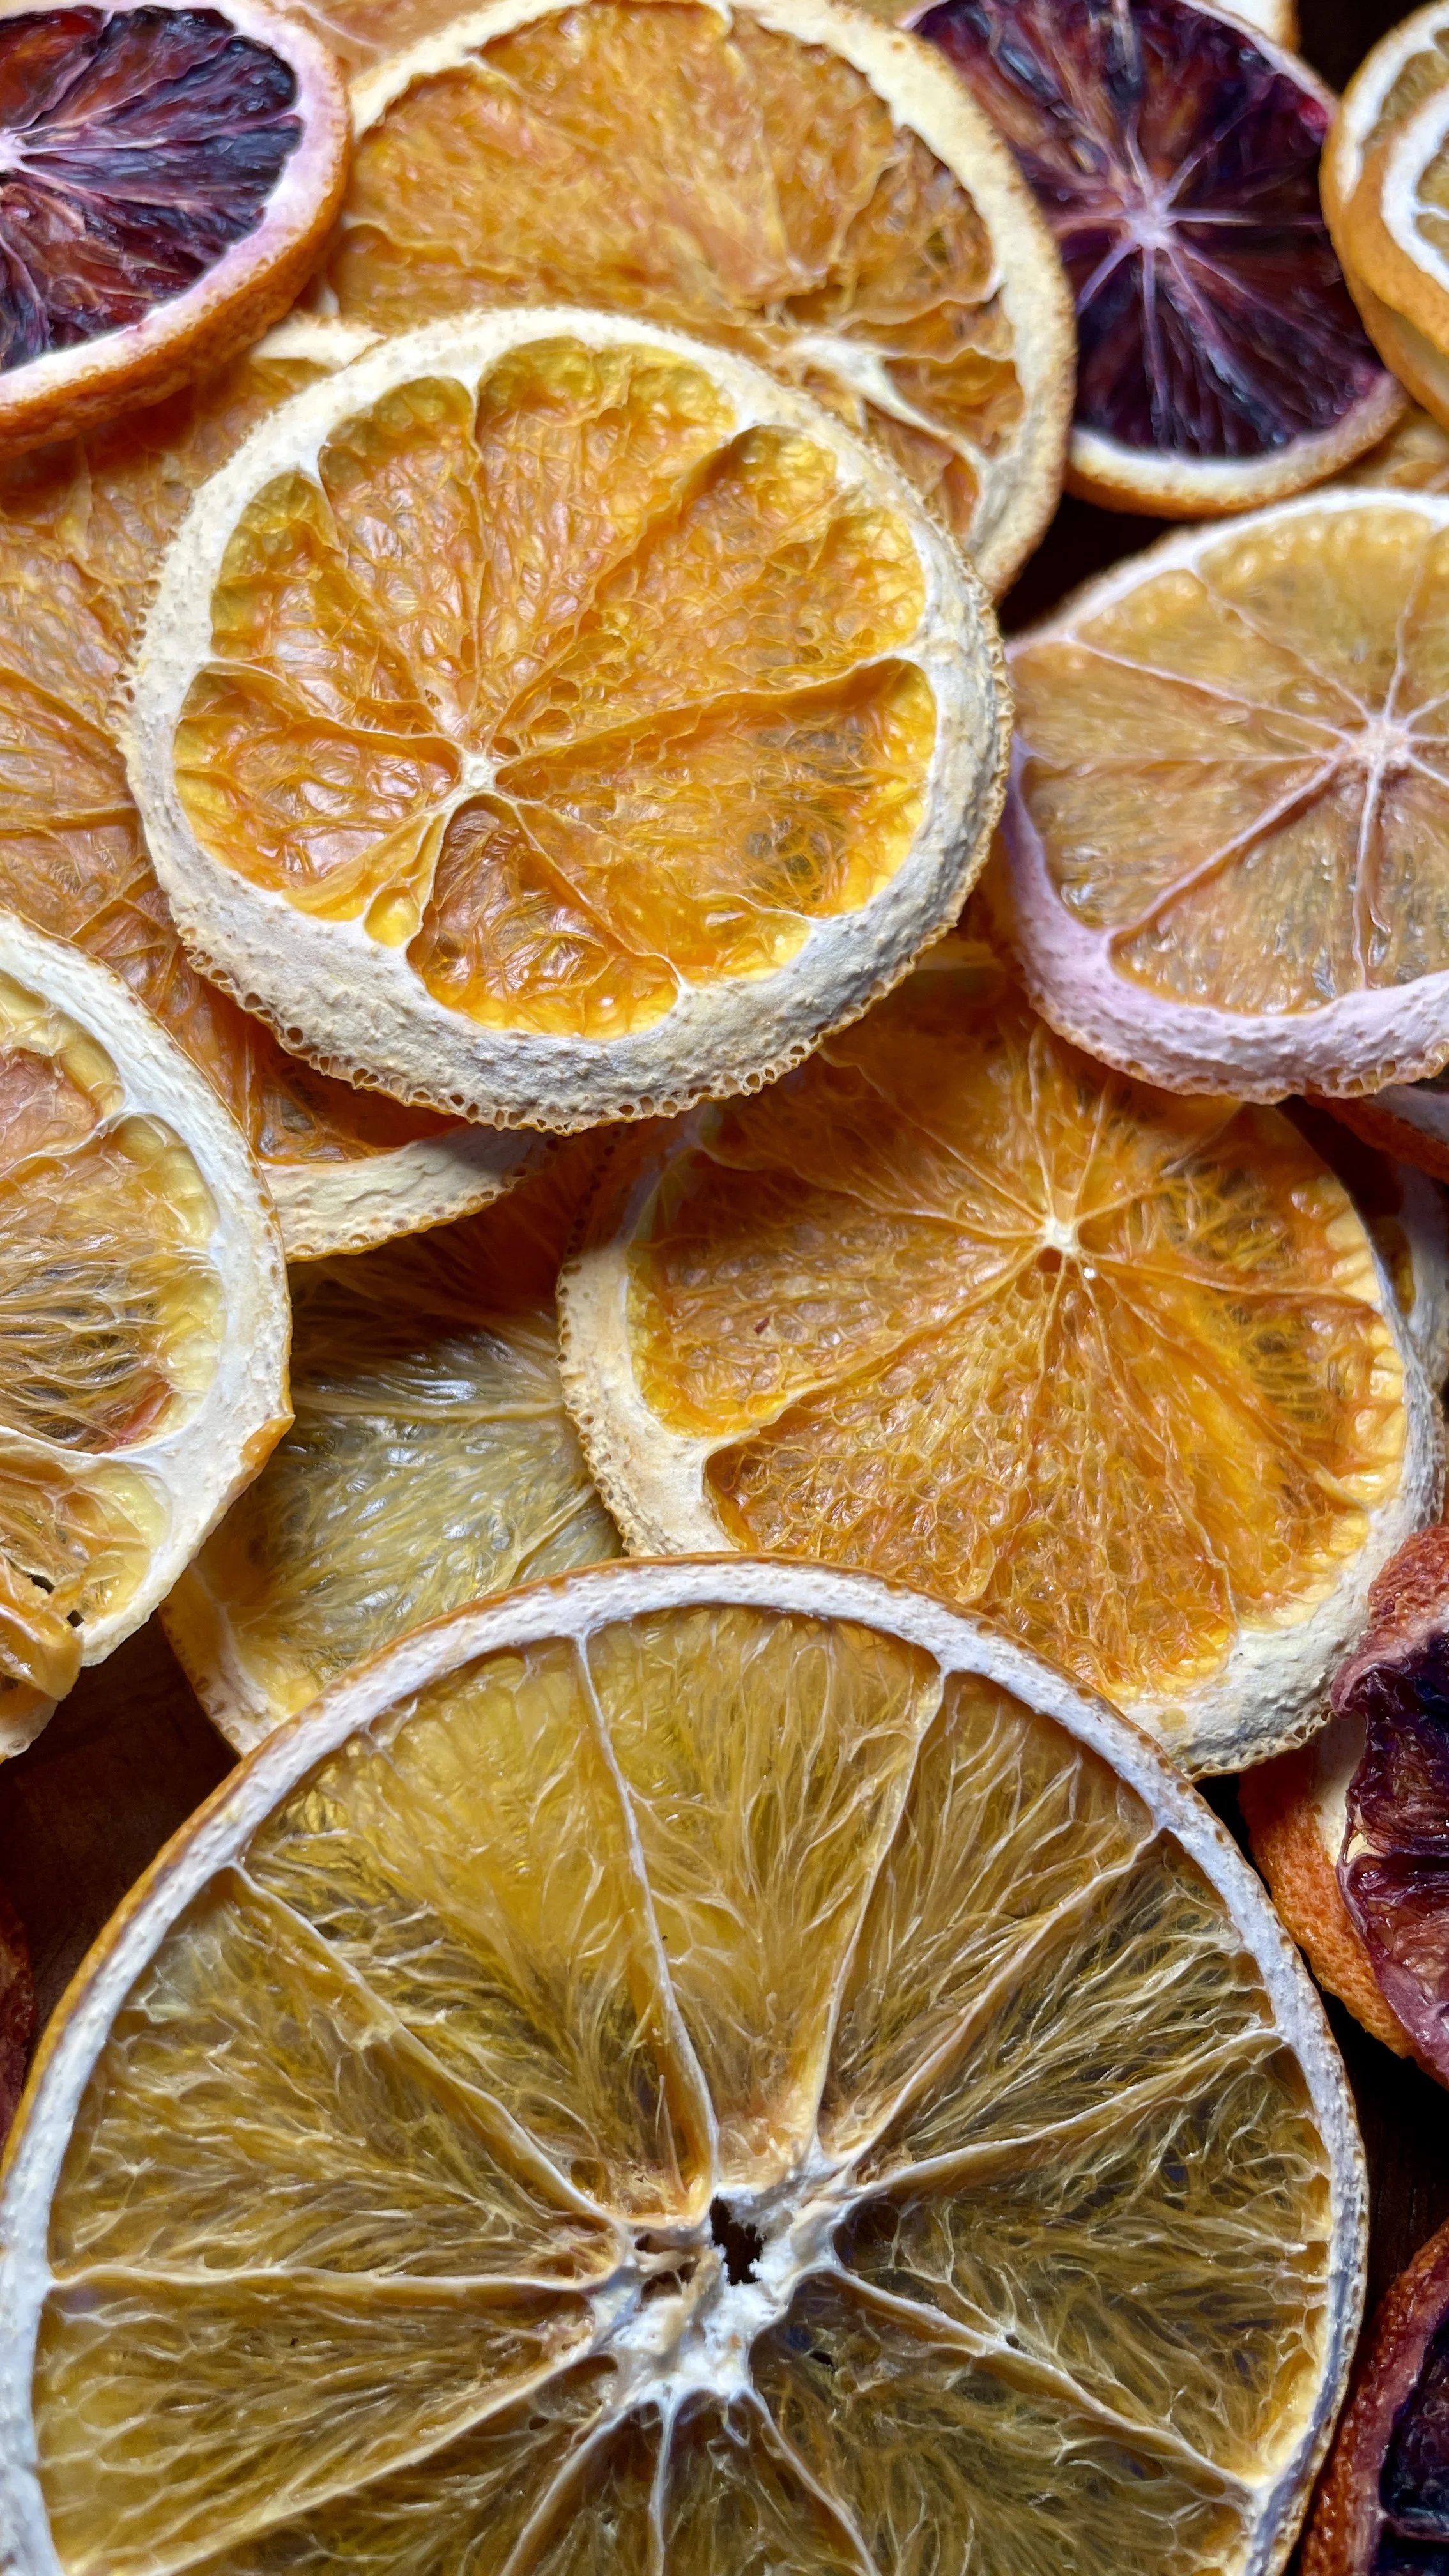
They’re done when:
They’re dry to the touch
No longer sticky
Centers look leathery, not wet
Edges have no browning
6. Let the slices cool completely
As mentioned above, after my active drying time, I left the trays in the oven for an hour with the oven turned off. They firmed up a bit more as they cooled and a few did curl around the edges. If you’d prefer totally flat oranges, try slicing your oranges a bit wider than I did.
If you skip the 1-hour oven drying time, you can just remove them from the oven and let them cool to room temperature. This helps them firm up and prevents moisture from forming in storage.
Storage
Once fully dry, store in:
An airtight jar - My exact jar used is linked here
A sealed container
They’ll last for several weeks up to a few years!
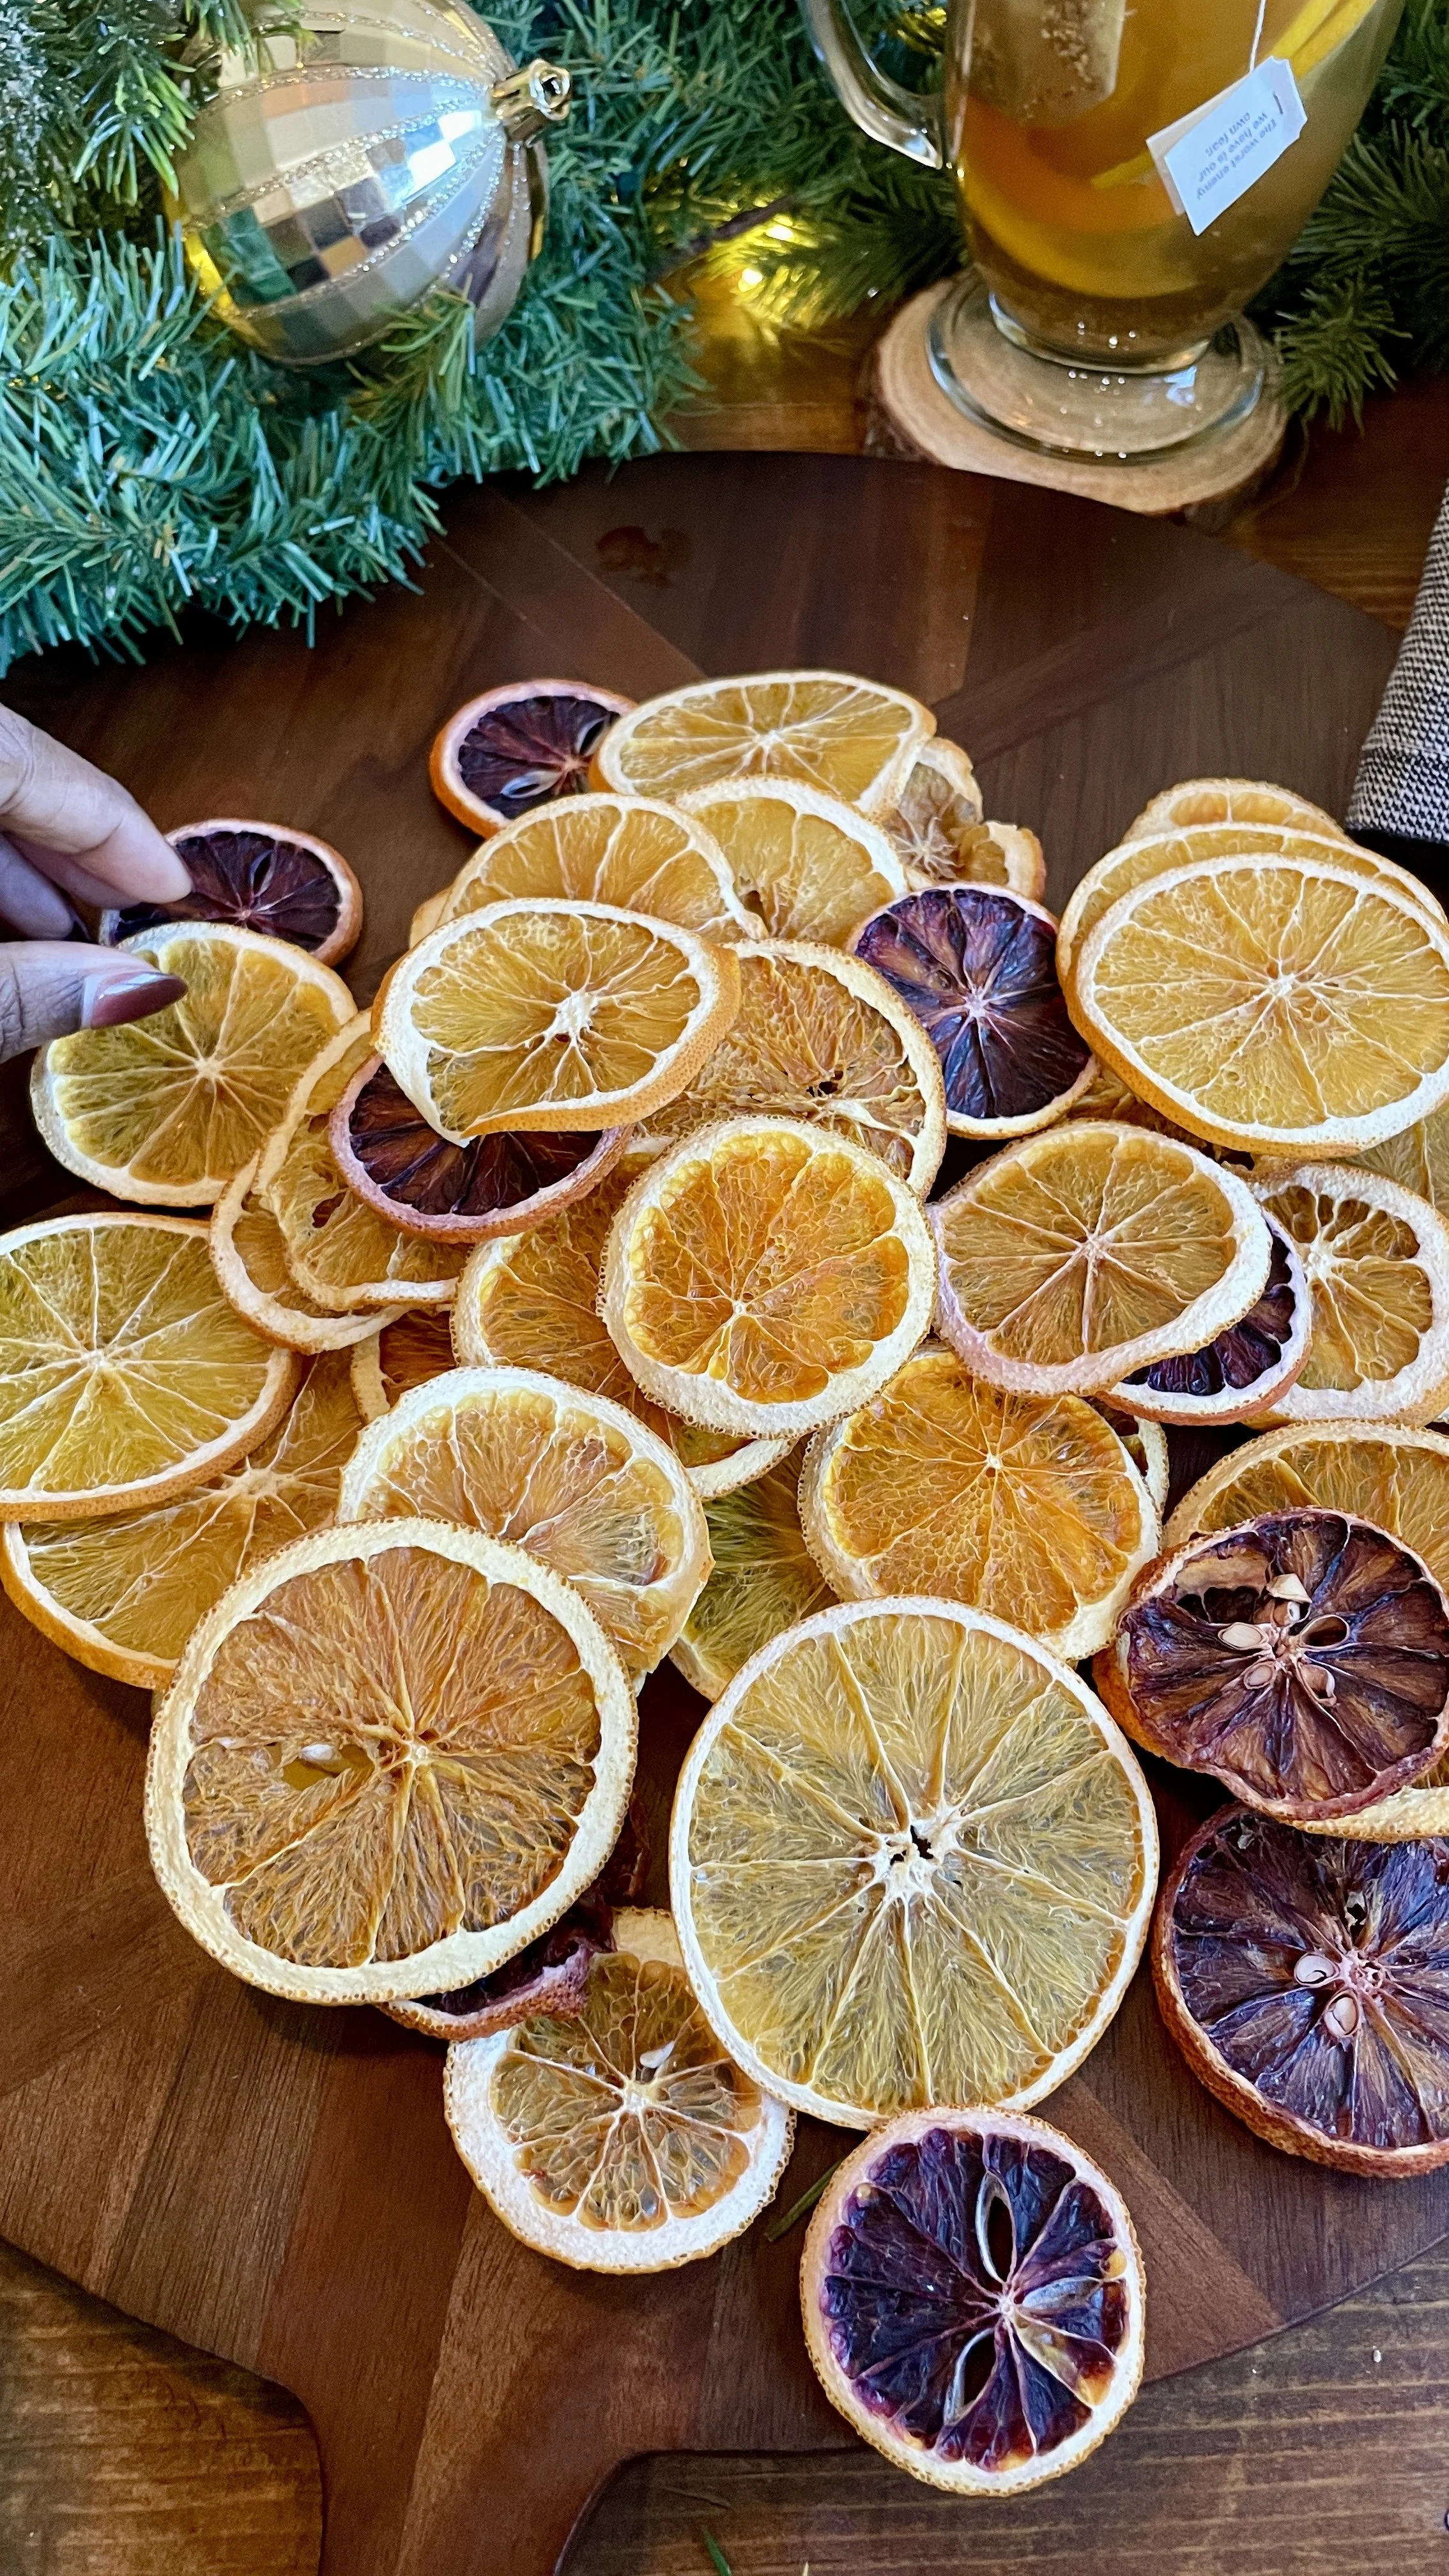
How to Use Them
Hang individually as ornaments
I’ll be adding to my edible Christmas tree I’m making for Weston!Make a simple garland with popcorn
Add to wreaths
Decorate gifts
Float in beverages or decorate charcuterie boards
Use in simmer pots for natural fragrance
Enjoy friends!
With Love,
Ambyr