
How to Build an Indoor Herb Garden That Actually Lasts
The low-maintenance herb setup your kitchen’s been waiting for

Note - This post contains affiliate links. I may earn a small commission if you shop through them. Read more about our disclaimers here.
The Pot | The Herbs | Assembly | Care/ Tips | Shop
I’ve been seeing these herb gardens everywhere lately… and honestly, I get it.
They’re beautiful. They feel like spring. They make you want to cook more, linger in the kitchen a little longer, maybe even romanticize your entire life for a second.
And since I already cook with fresh herbs all the time, this felt like the perfect crossover moment.
So… I did a thing.
I made my own herb garden—but I wanted mine to be a little different.
Not just something quick or aesthetic (even though we love her), but something that would actually last.
The Foundation (aka the pot)
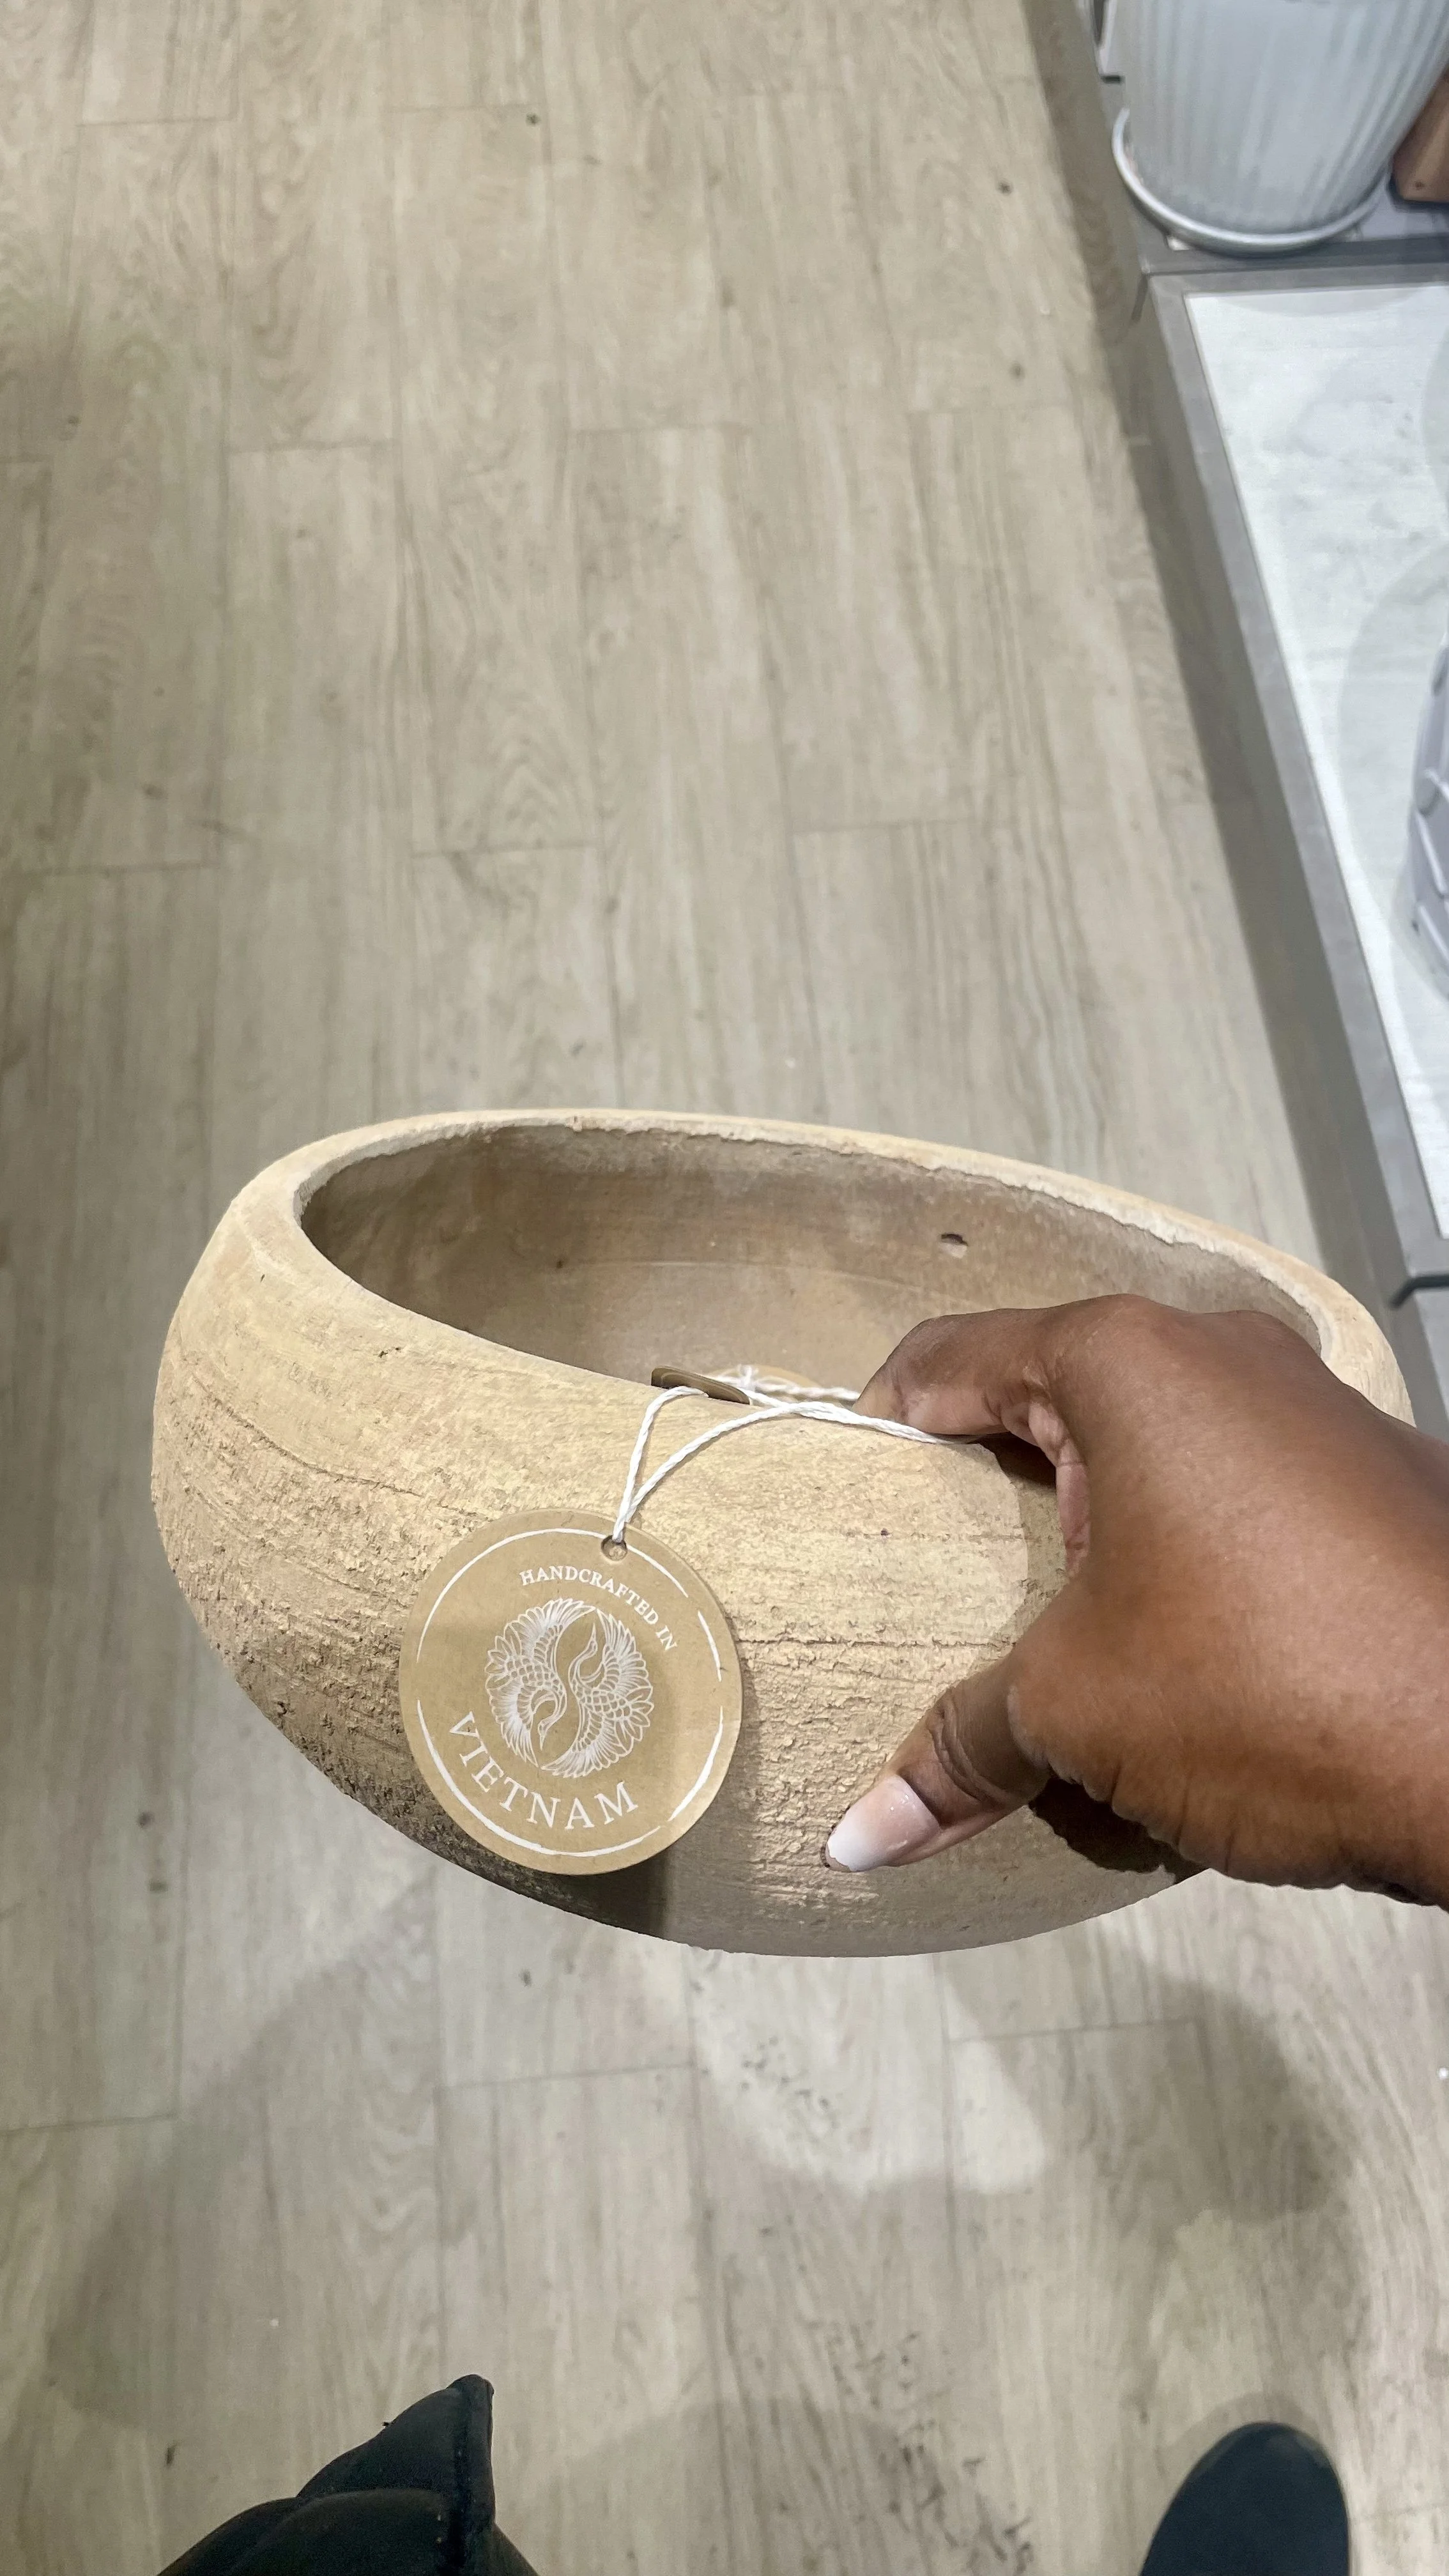
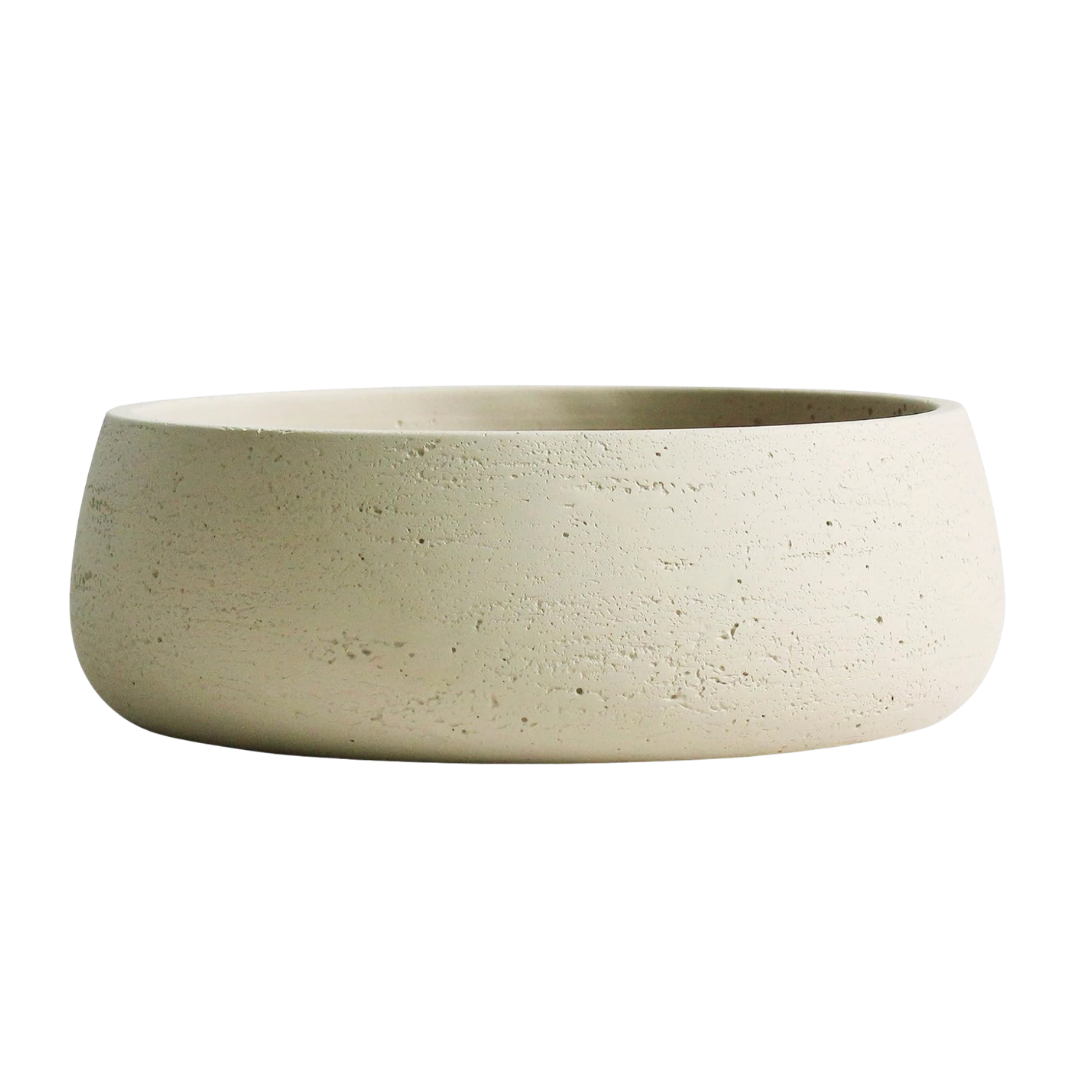
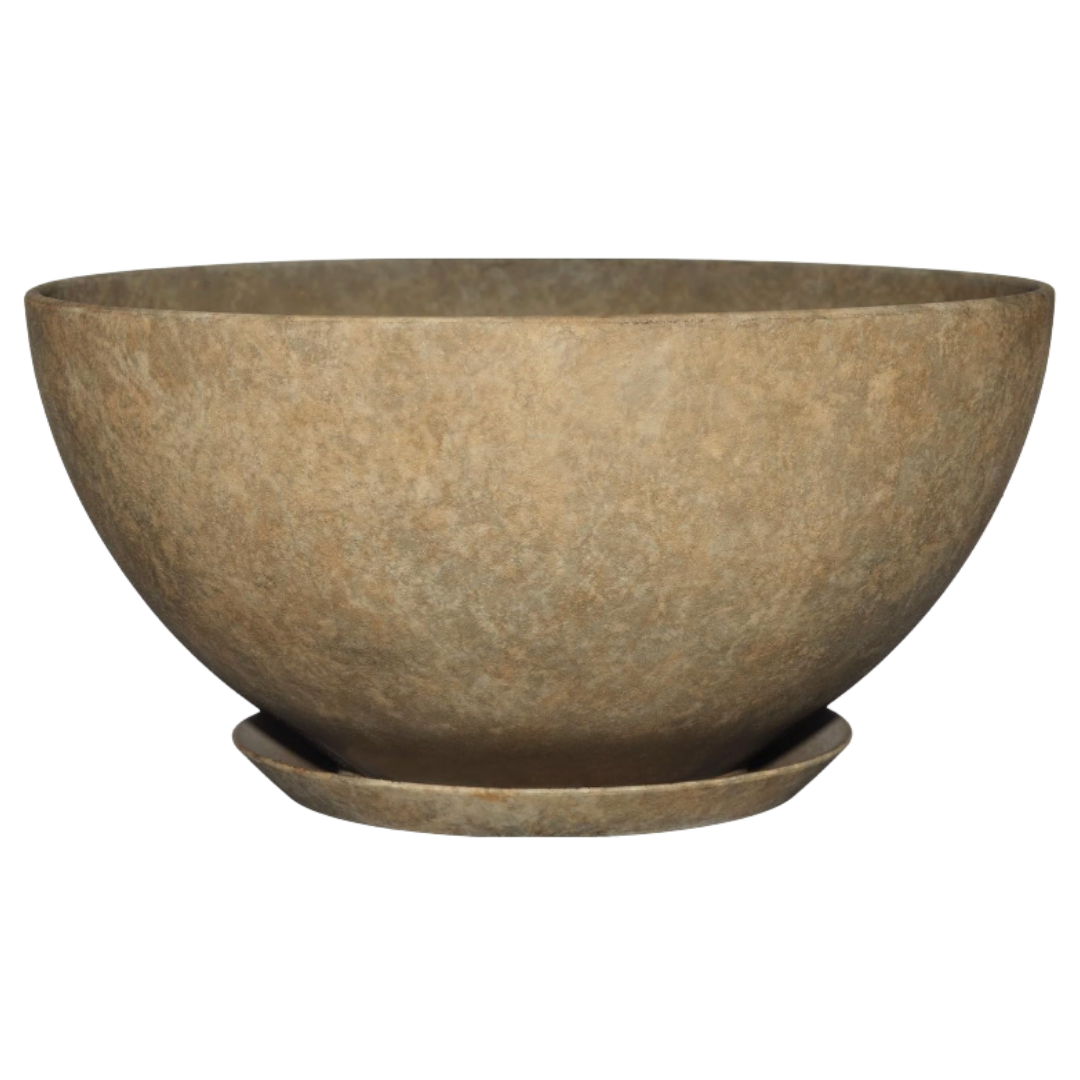
I found this planter at HomeGoods for $14.99 and immediately knew it was the one.
I did check Lowe’s first, but everything felt a little too plastic or glossy. I wanted something that looked like it came straight out of the European countryside—aged, textured, effortless.
This one fit the bill perfectly.
And the best part? She already had a drainage hole.
I just placed a small catch terracotta dish underneath (something I already had at home), so excess water has somewhere to go. Easy.
Choosing the Right Herbs (this is where it matters)
A lot of the herb gardens I saw online included basil and mint.
Which sounds great… until you realize they don’t thrive in the same conditions as everything else.
• Basil needs more frequent watering
• Mint… she’s a little aggressive 😅 (she’ll take over if you let her)
So instead, I chose herbs that:
• thrive in similar soil
• prefer drier conditions
• and can peacefully coexist
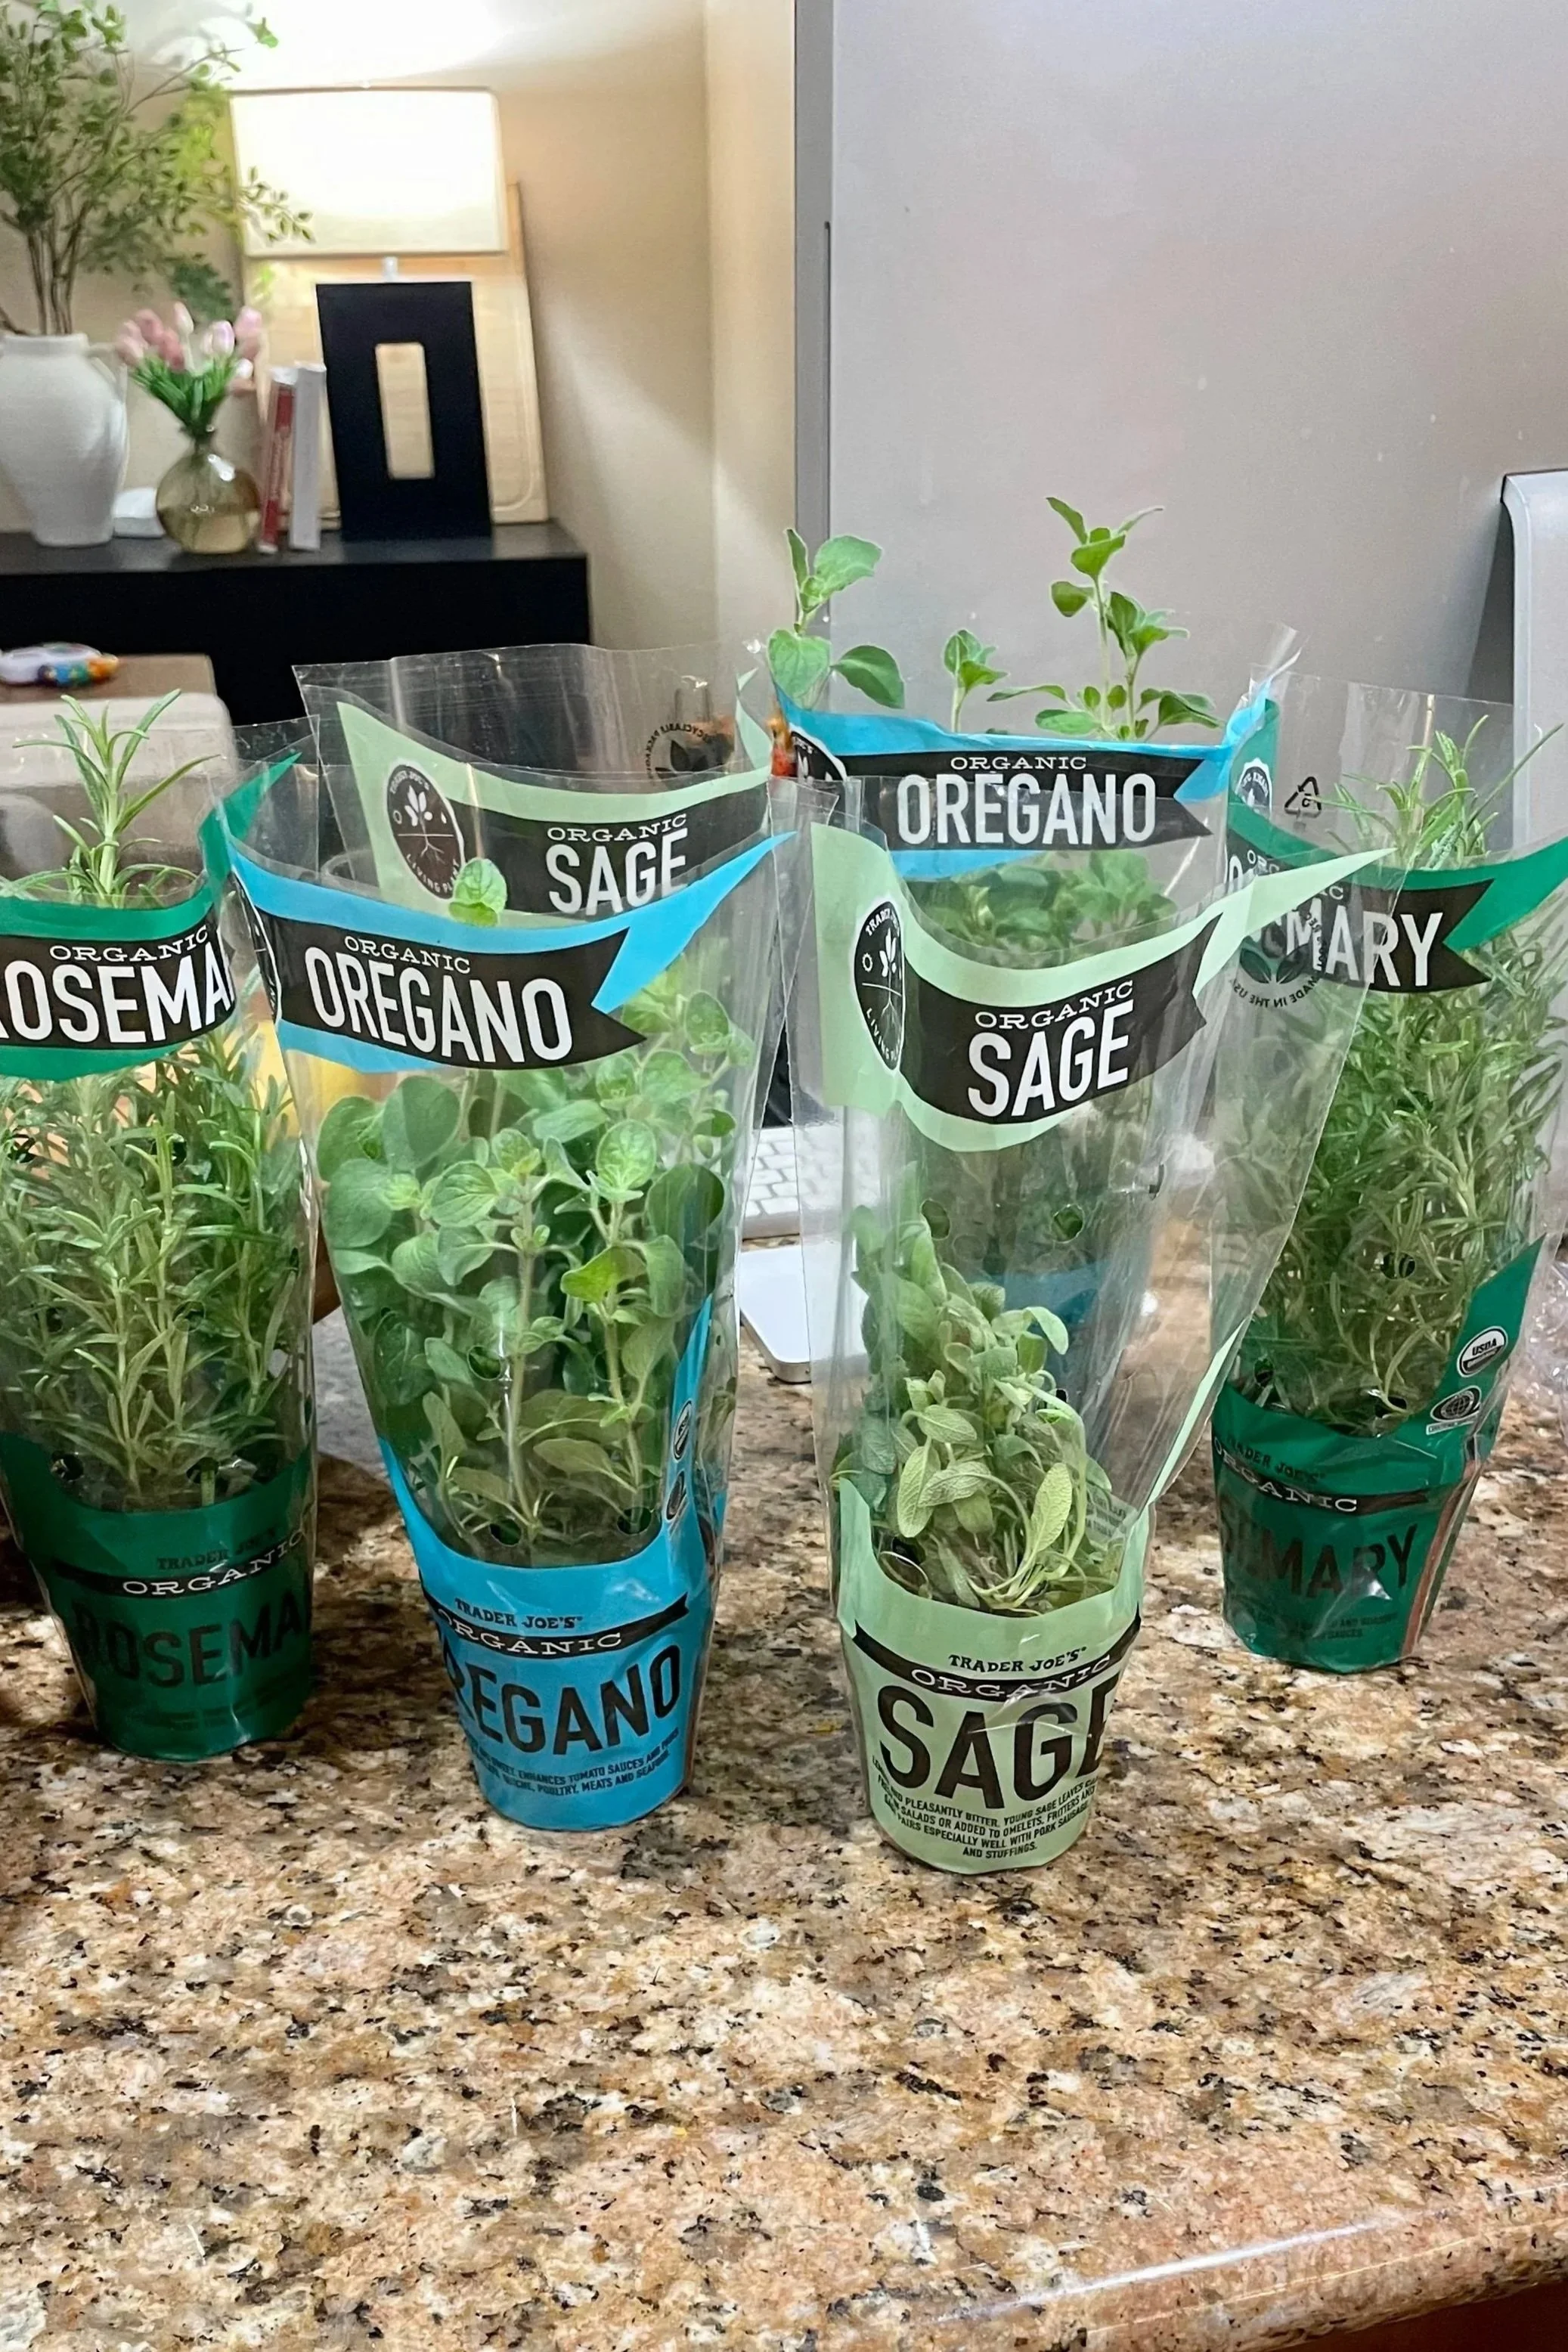
I went with:
• Rosemary (2)
• Oregano (2)
• Sage (2)
They’re hardy, low maintenance, and actually grow well together.
(Also—this is your sign to make my sage soup. Fresh sage in that recipe? Unreal.)
Where I got everything
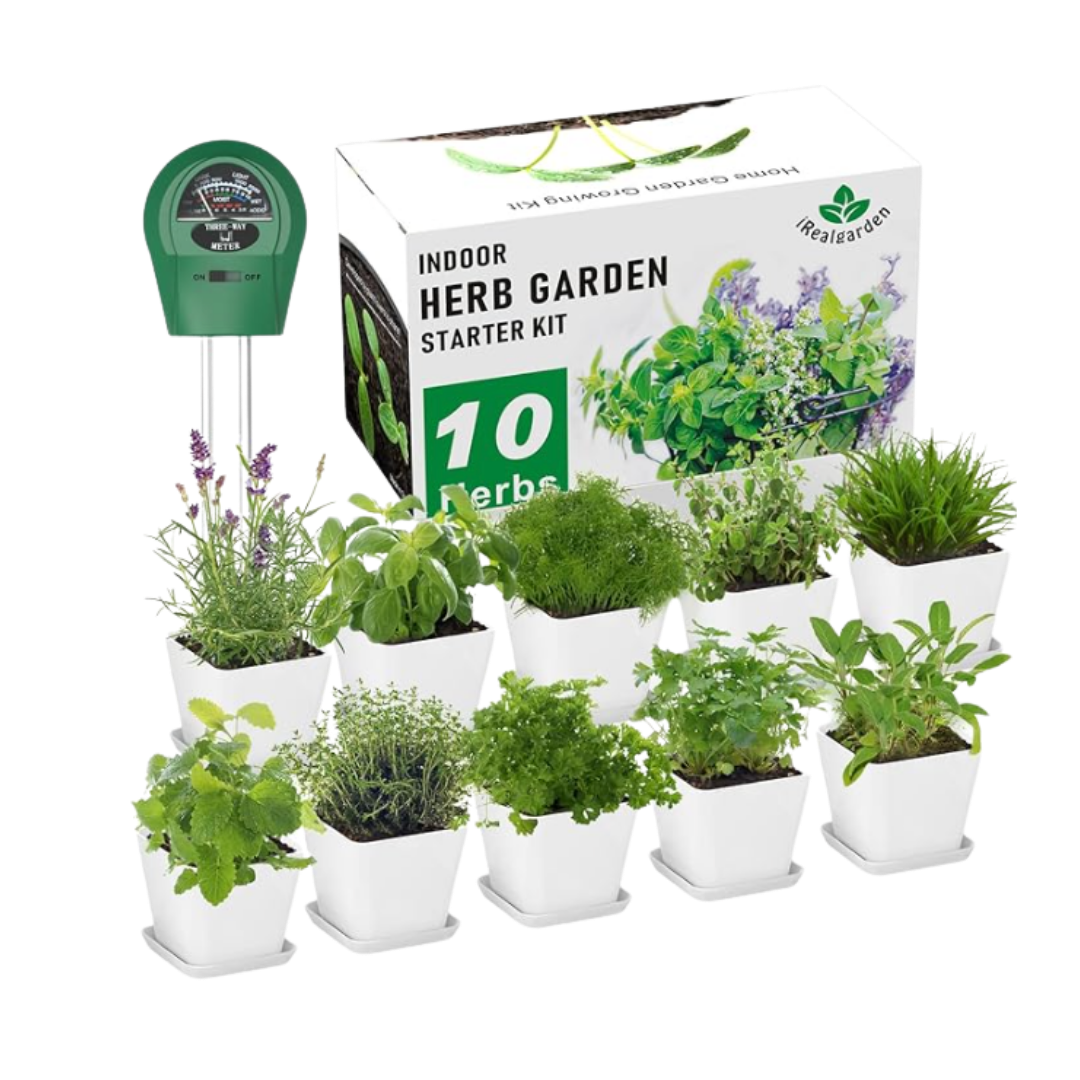
I checked a local nursery, but honestly… Trader Joe’s came through.
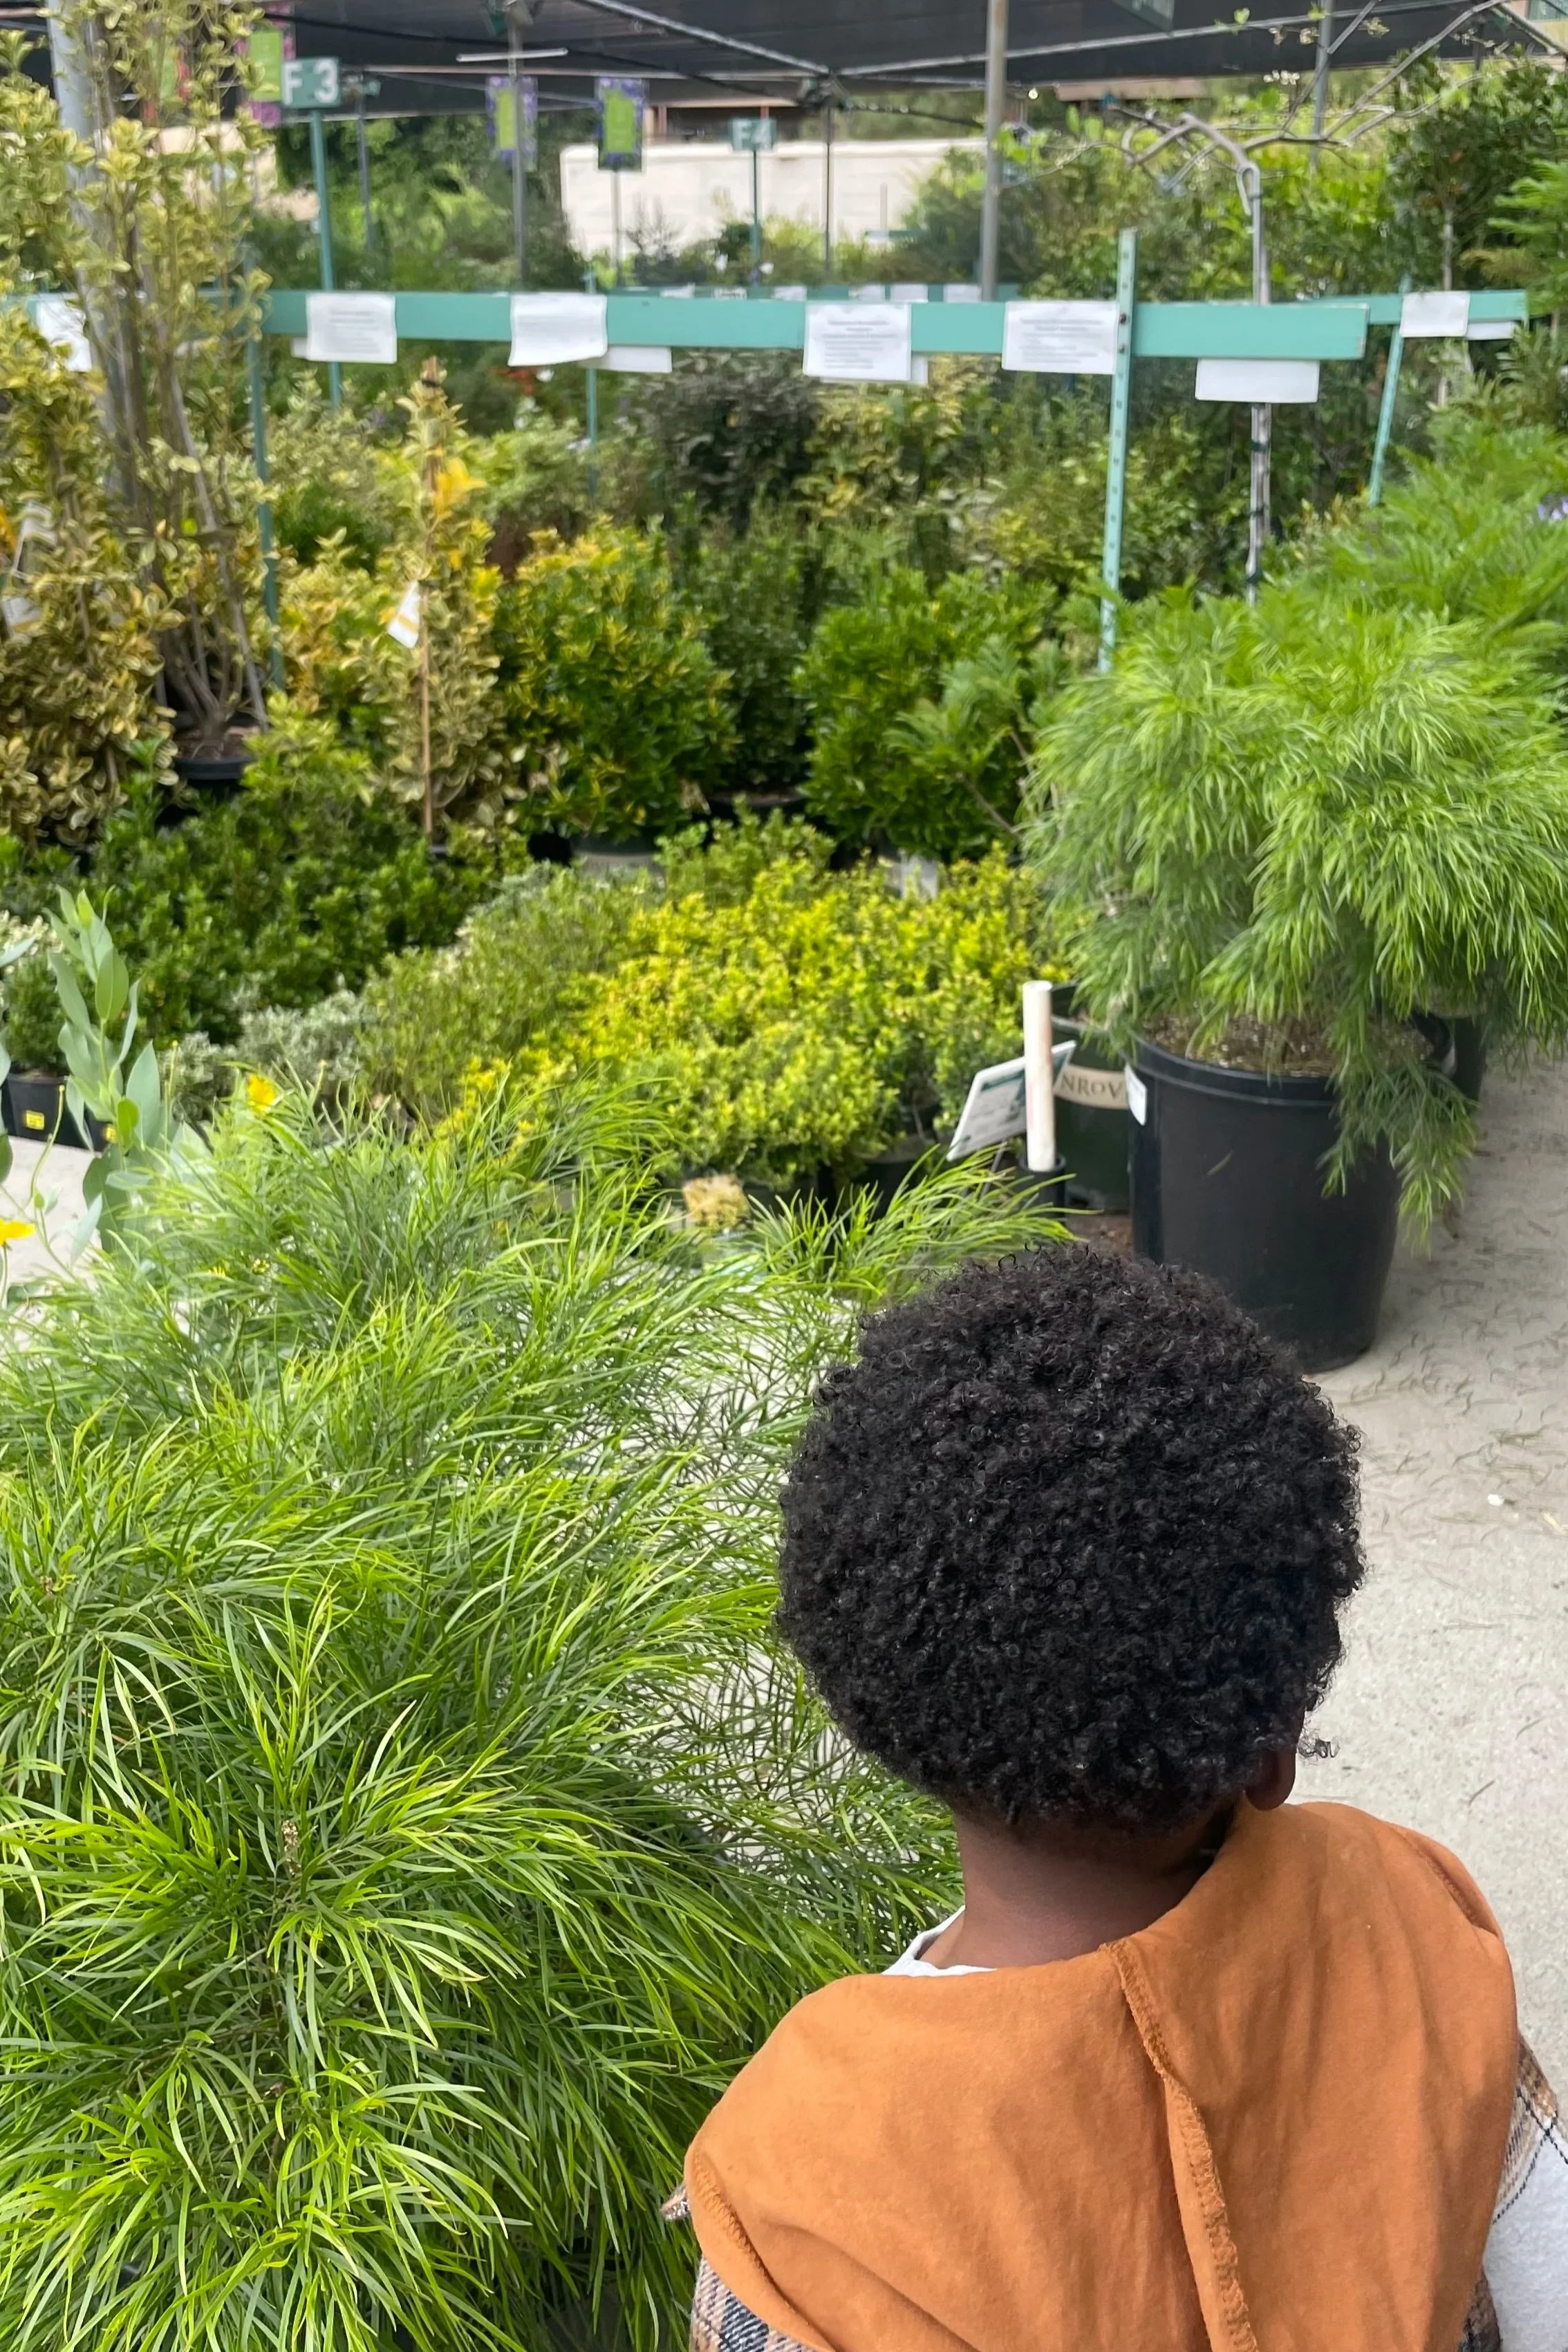
The herbs were about $3.99 each, healthy, and easy to work with. (Seriously, check your local grocery store or purchase an herb garden)

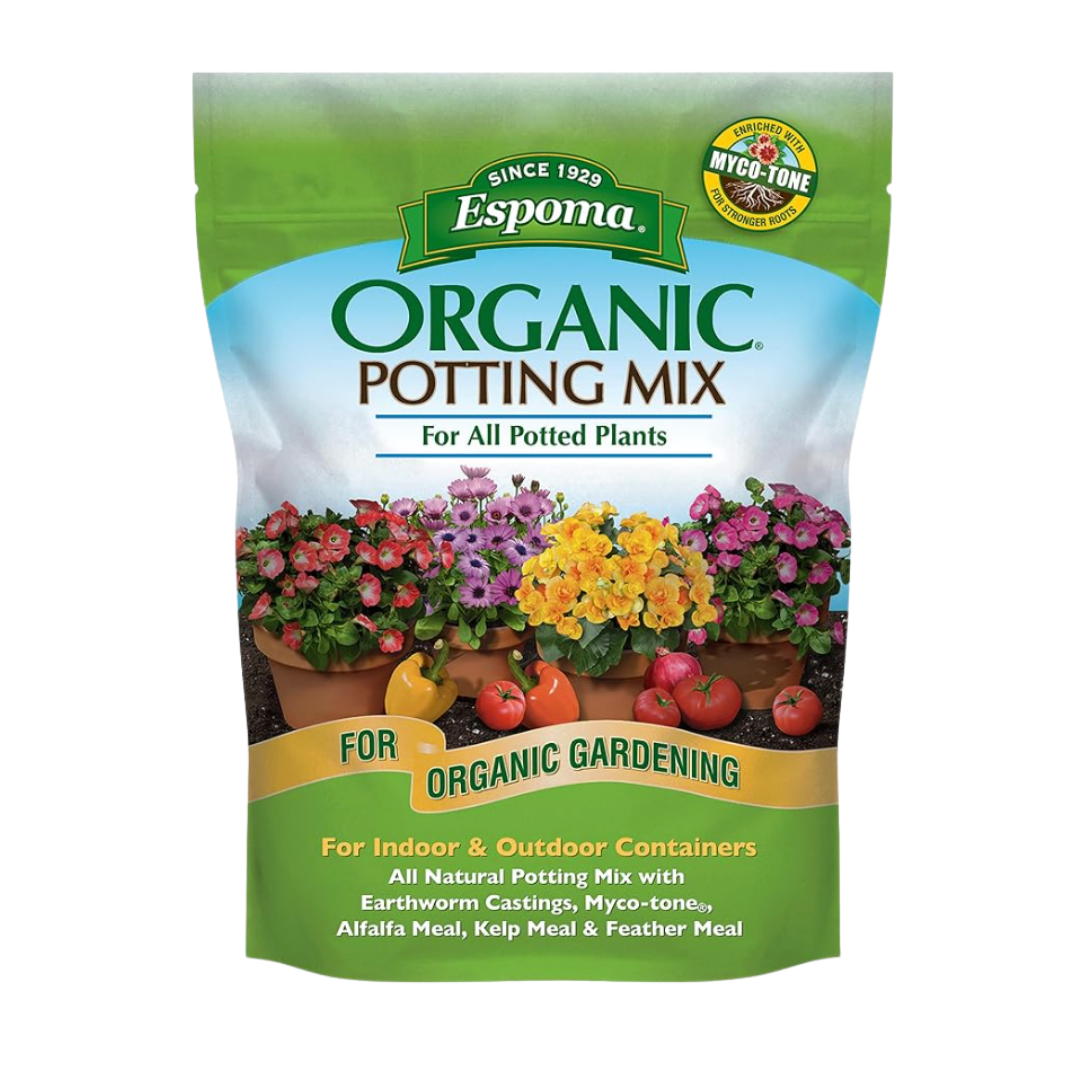
For soil, I already had some at home, but if you’re starting fresh:
👉🏾 Look for a well-draining potting mix (see above).
Something labeled for herbs, vegetables, or container plants is perfect.
Bonus points if it includes:
• perlite (for airflow)
• and organic matter (for nutrients)
Herbs hate sitting in soggy soil—so drainage is everything.
How to Build It
This part is actually really simple.
1. Start by adding a layer of soil to the bottom of your planter so your herbs have a soft base to sit on
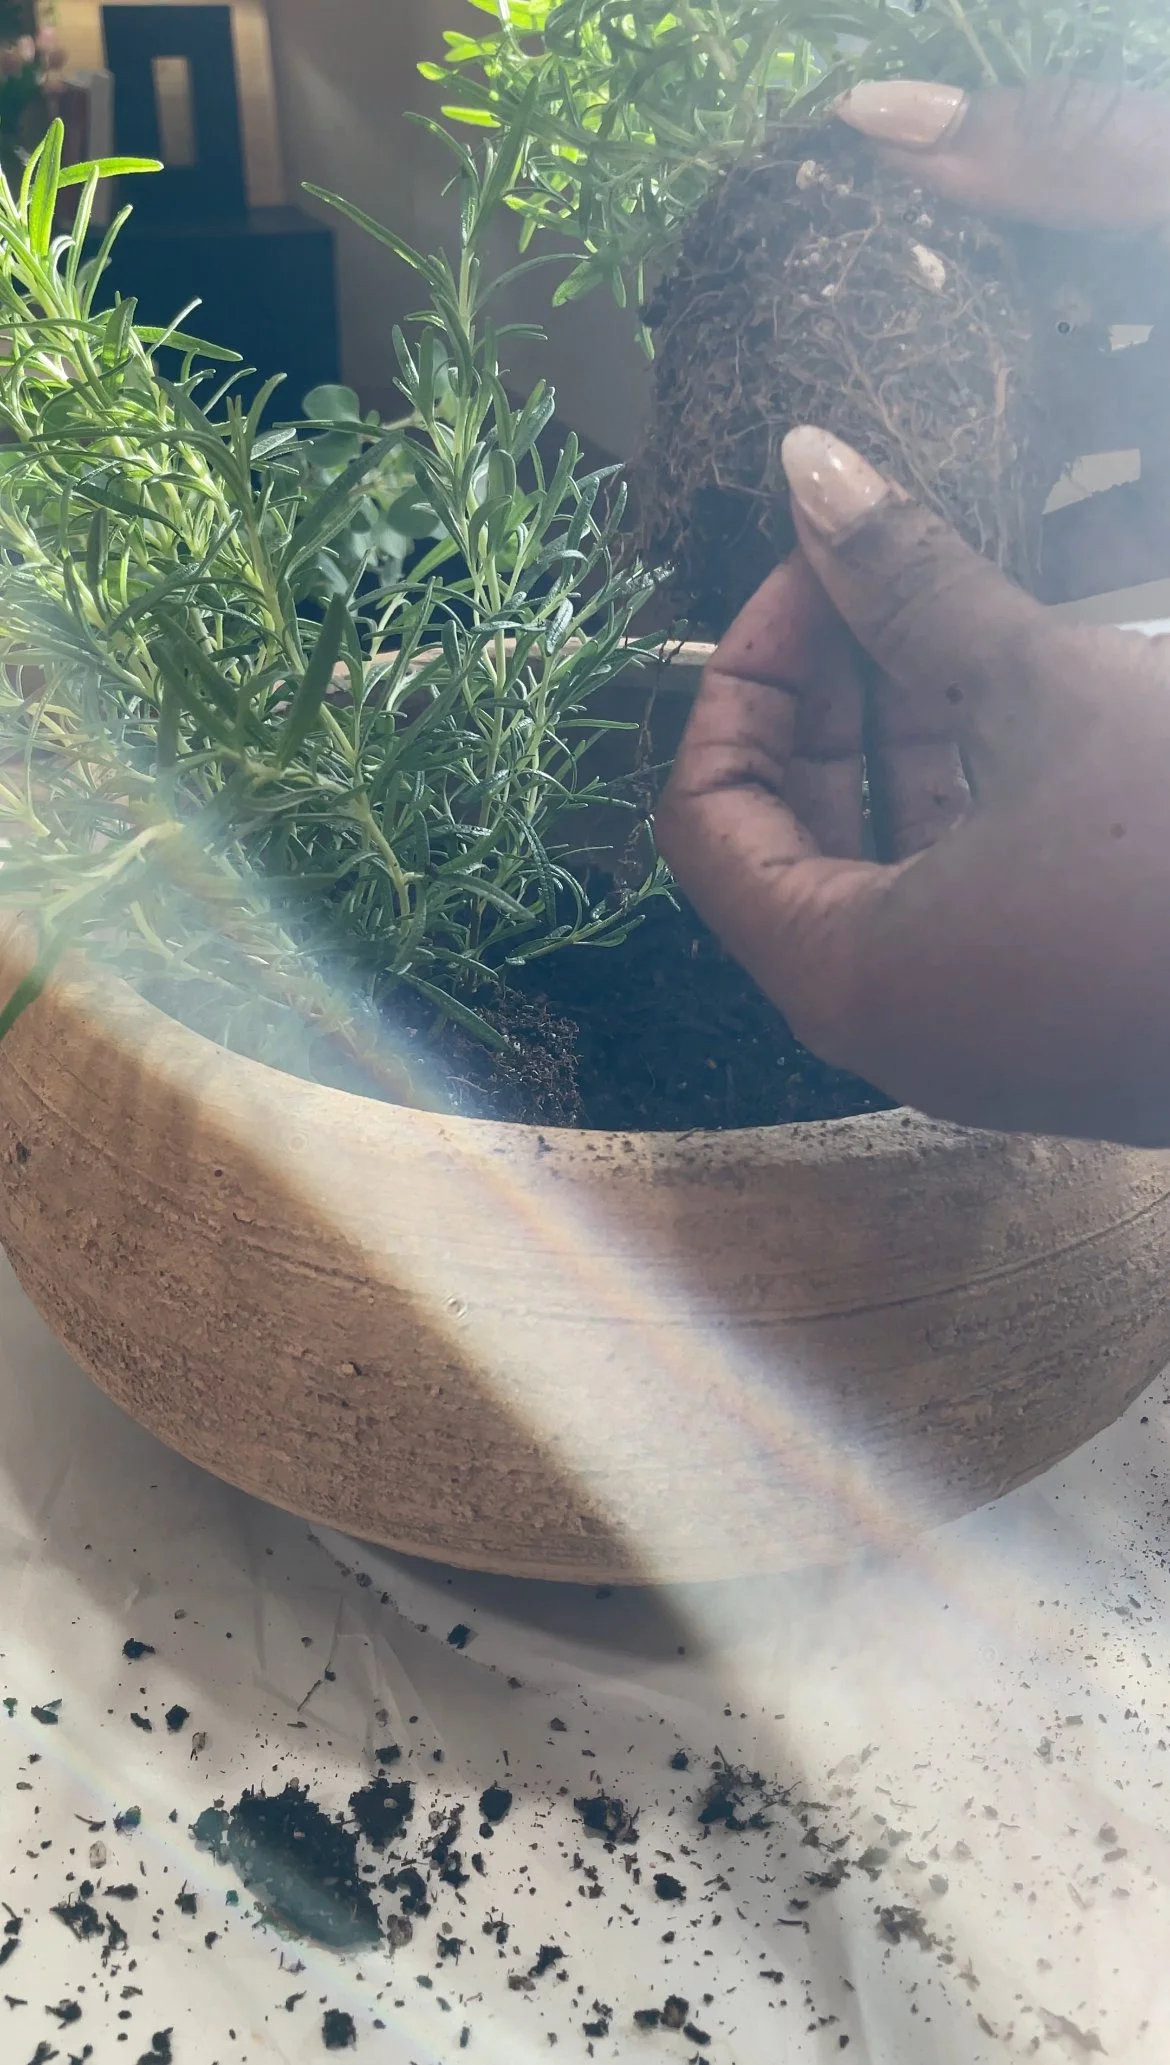
2. Remove each herb from its container, one at a time
3. Gently “tickle” the roots at the bottom to loosen them
This step matters more than people think—
it helps the roots spread out and adjust to their new home instead of staying compact and root-bound.
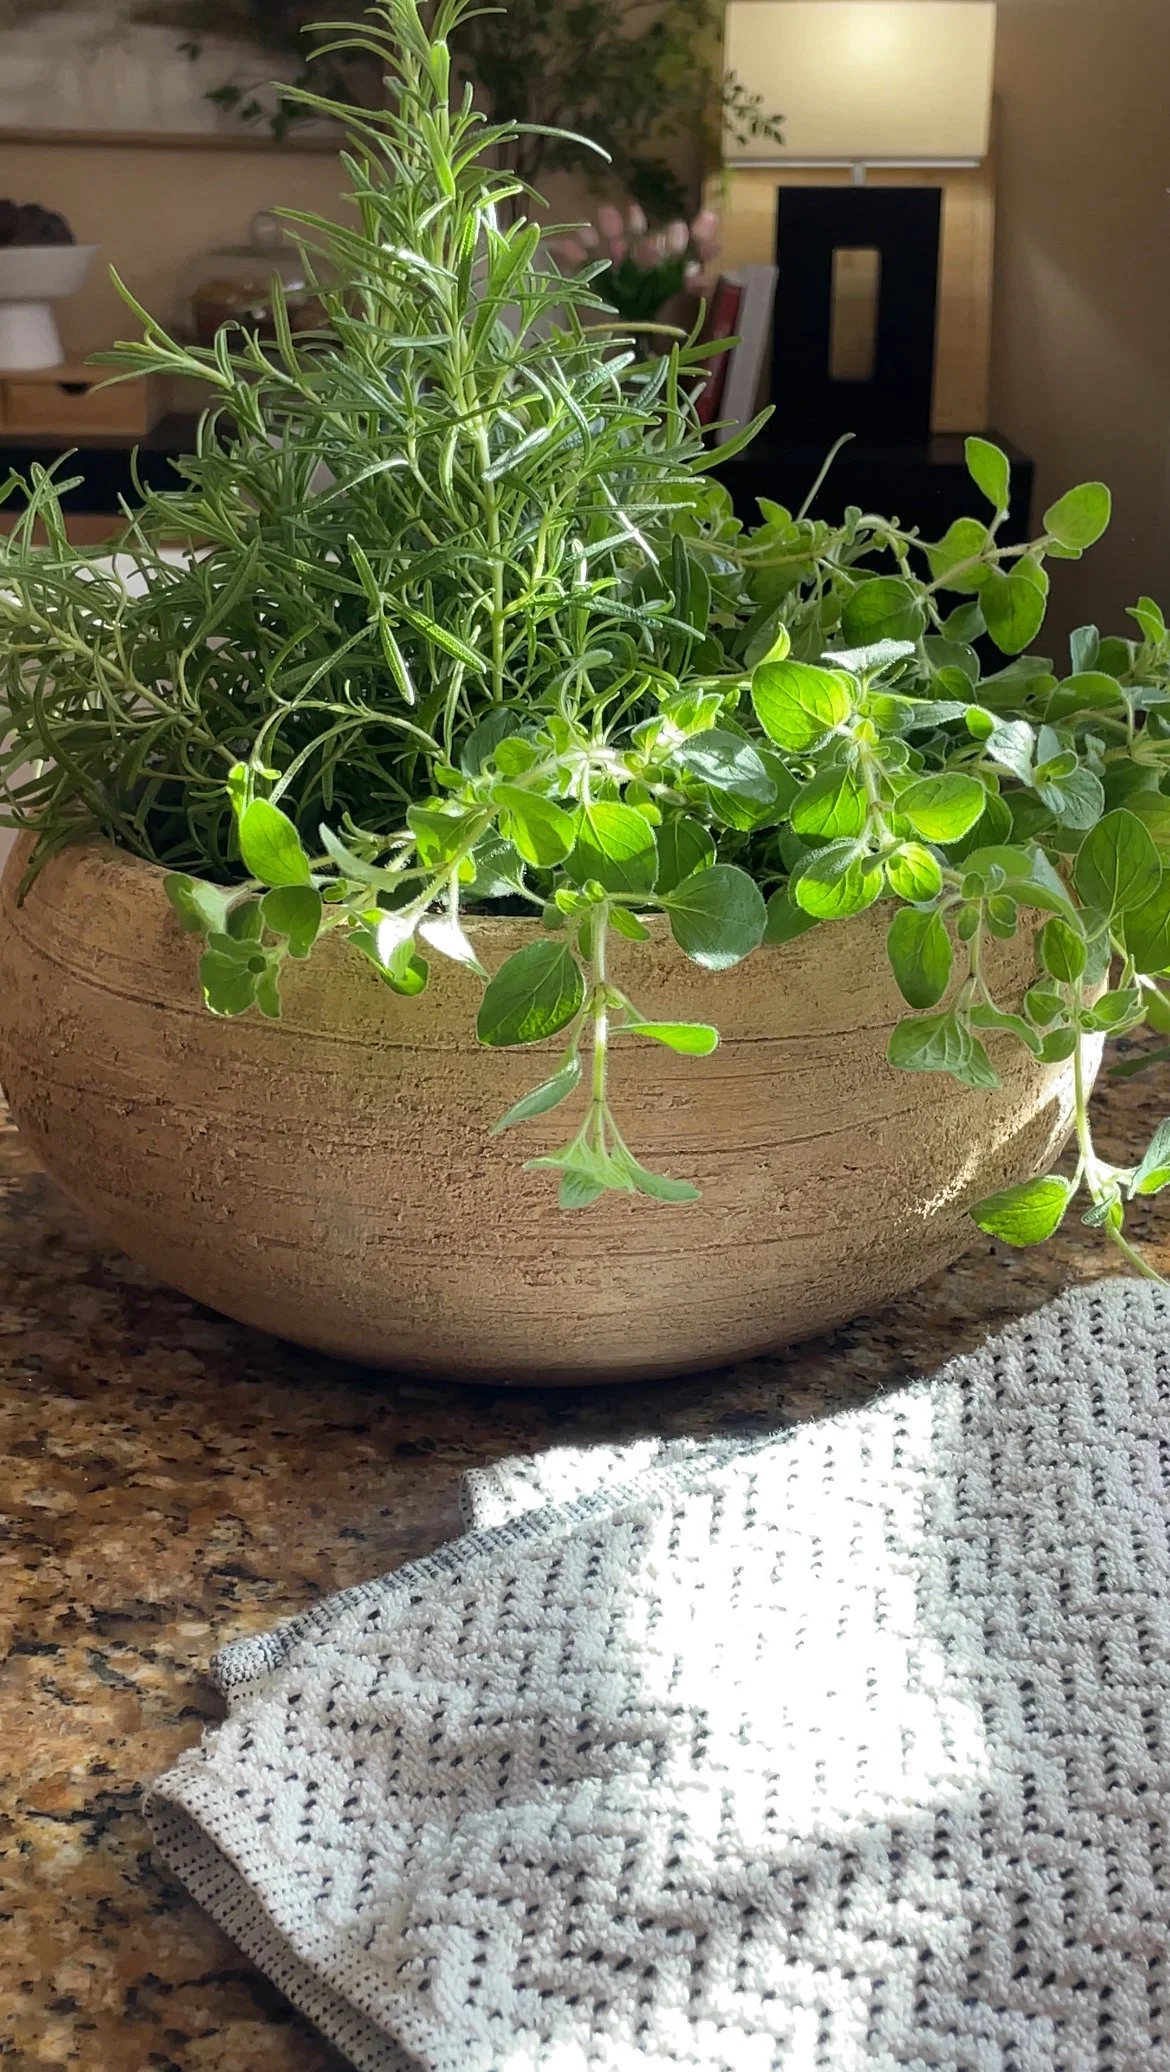
4. Place your herbs into the pot, grouping them naturally (I did rosemary, oregano, then sage)
5. Fill in with more soil around each plant until everything is covered and secure
6. Lightly shape and trim if needed
7. Then give it a generous drink of water
Mine took a full watering before I saw water come through to the dish underneath—which is exactly what you want.
Care + Routine
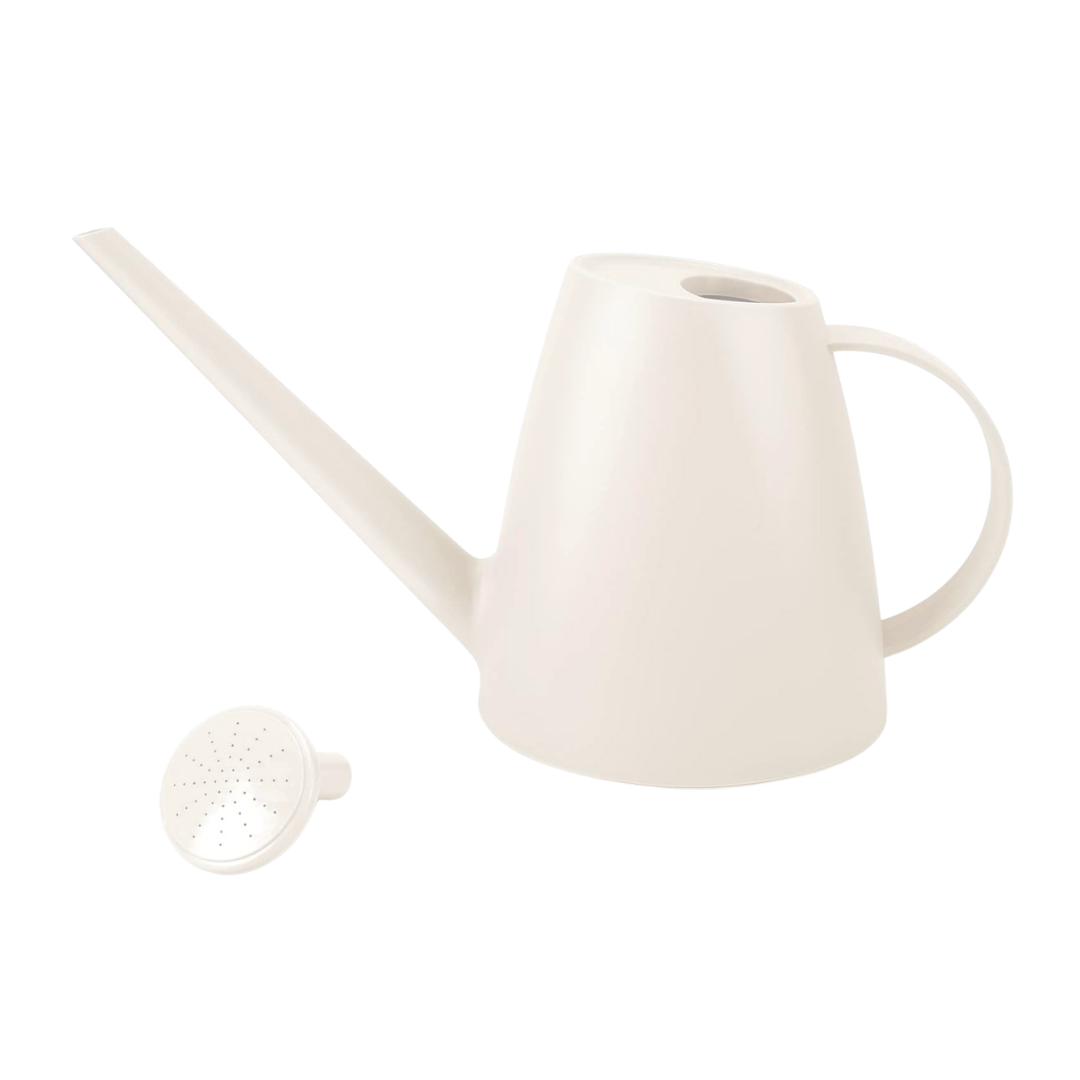
Place your herb garden somewhere with good sunlight (a kitchen counter near a window is perfect).
Water about once a week, depending on how dry the soil feels.
I’ll be watering mine on Sundays—my slow day. It just fits the rhythm.
A Few Tips That Make a Difference
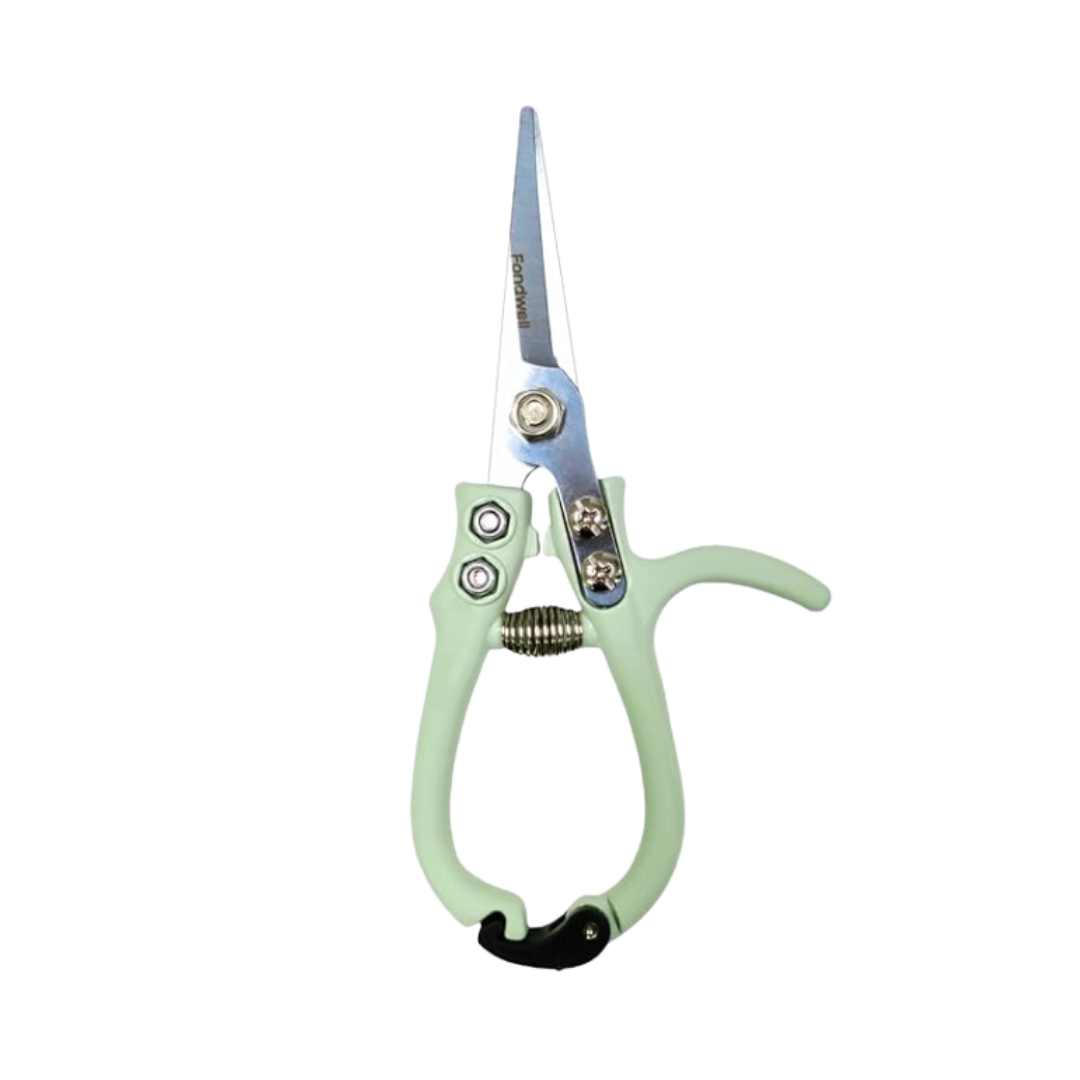
1. Snip, don’t pull
Use kitchen scissors, or pruning shears (see above) to cut your herbs instead of pulling them off. This keeps the plant healthy and encourages fuller, bushier growth instead of stressing it out.
2. Prune regularly
Even if you’re not cooking, trim a little here and there. Pruning signals the plant to grow back stronger and prevents it from getting leggy.
3. Let’s talk about bugs (because… real life)
Most indoor herb issues come from one thing:
👉🏾 too much moisture
Bugs (like fungus gnats) love damp soil.
To avoid them:
• Let the top layer of soil dry out between waterings
• Make sure your pot has drainage (you’re already ahead here)
• Avoid overwatering
If you do notice bugs:
• Let the soil dry out more than usual (a few extra days)
• This disrupts their life cycle and usually clears things up quickly
4. Top vs Bottom Watering?
You can water from the bottom, and it’s great for encouraging strong root growth.
But for something like this?
👉🏾 Top watering is completely fine—as long as excess water can drain out.
That’s the key.
Final Thoughts
This little herb garden has already changed how my kitchen feels.
It’s fresh. It’s alive. It’s something I’ll actually use.
And more than anything—it’s something that’s meant to last.
If you make your own, I would love to see it 🤍
Tag me on IG so I can hype you up properly!
Before you go — I made something for you. ✨
Join the Ambyr Things community and the 30-Day Practicing Rest Calendar + 10 Gentle Journal Prompts lands in your inbox instantly.
A gentle companion for slowing down and savoring the season.
With Love,
Ambyr