
How to Style Faux or Fresh Flowers Like a Pro — in 4 Easy Steps
Simple techniques florists use to make any arrangement look effortless and real.
Note - This post contains affiliate links. I may earn a small commission if you shop through them. Read more about our disclaimers here.
Flowers instantly change the mood of a room.
Whether you’ve picked up a fresh bouquet at the market or are styling realistic faux stems that last all season, the secret to making them look professionally done comes down to just a few simple techniques.
The good news? You don’t need a florist’s background to get it right — just a little layering and balance.
Here’s my go-to method for arranging flowers so they look fresh, elevated, and effortless every time.
Step 1: Create Your Tape Grid
Before you even add a single stem, set yourself up for success with a tape grid. Grab your vase and start by making a criss cross grid over the top of your vase using clear floral tape (regular tape also works).
Once you’ve created the grid, wrap a final strip of tape around the rim of the vase, securing the ends of each strip where they meet the edge. This extra step keeps the grid in place and locks your foundation so the greenery and flowers stay exactly where you want them.
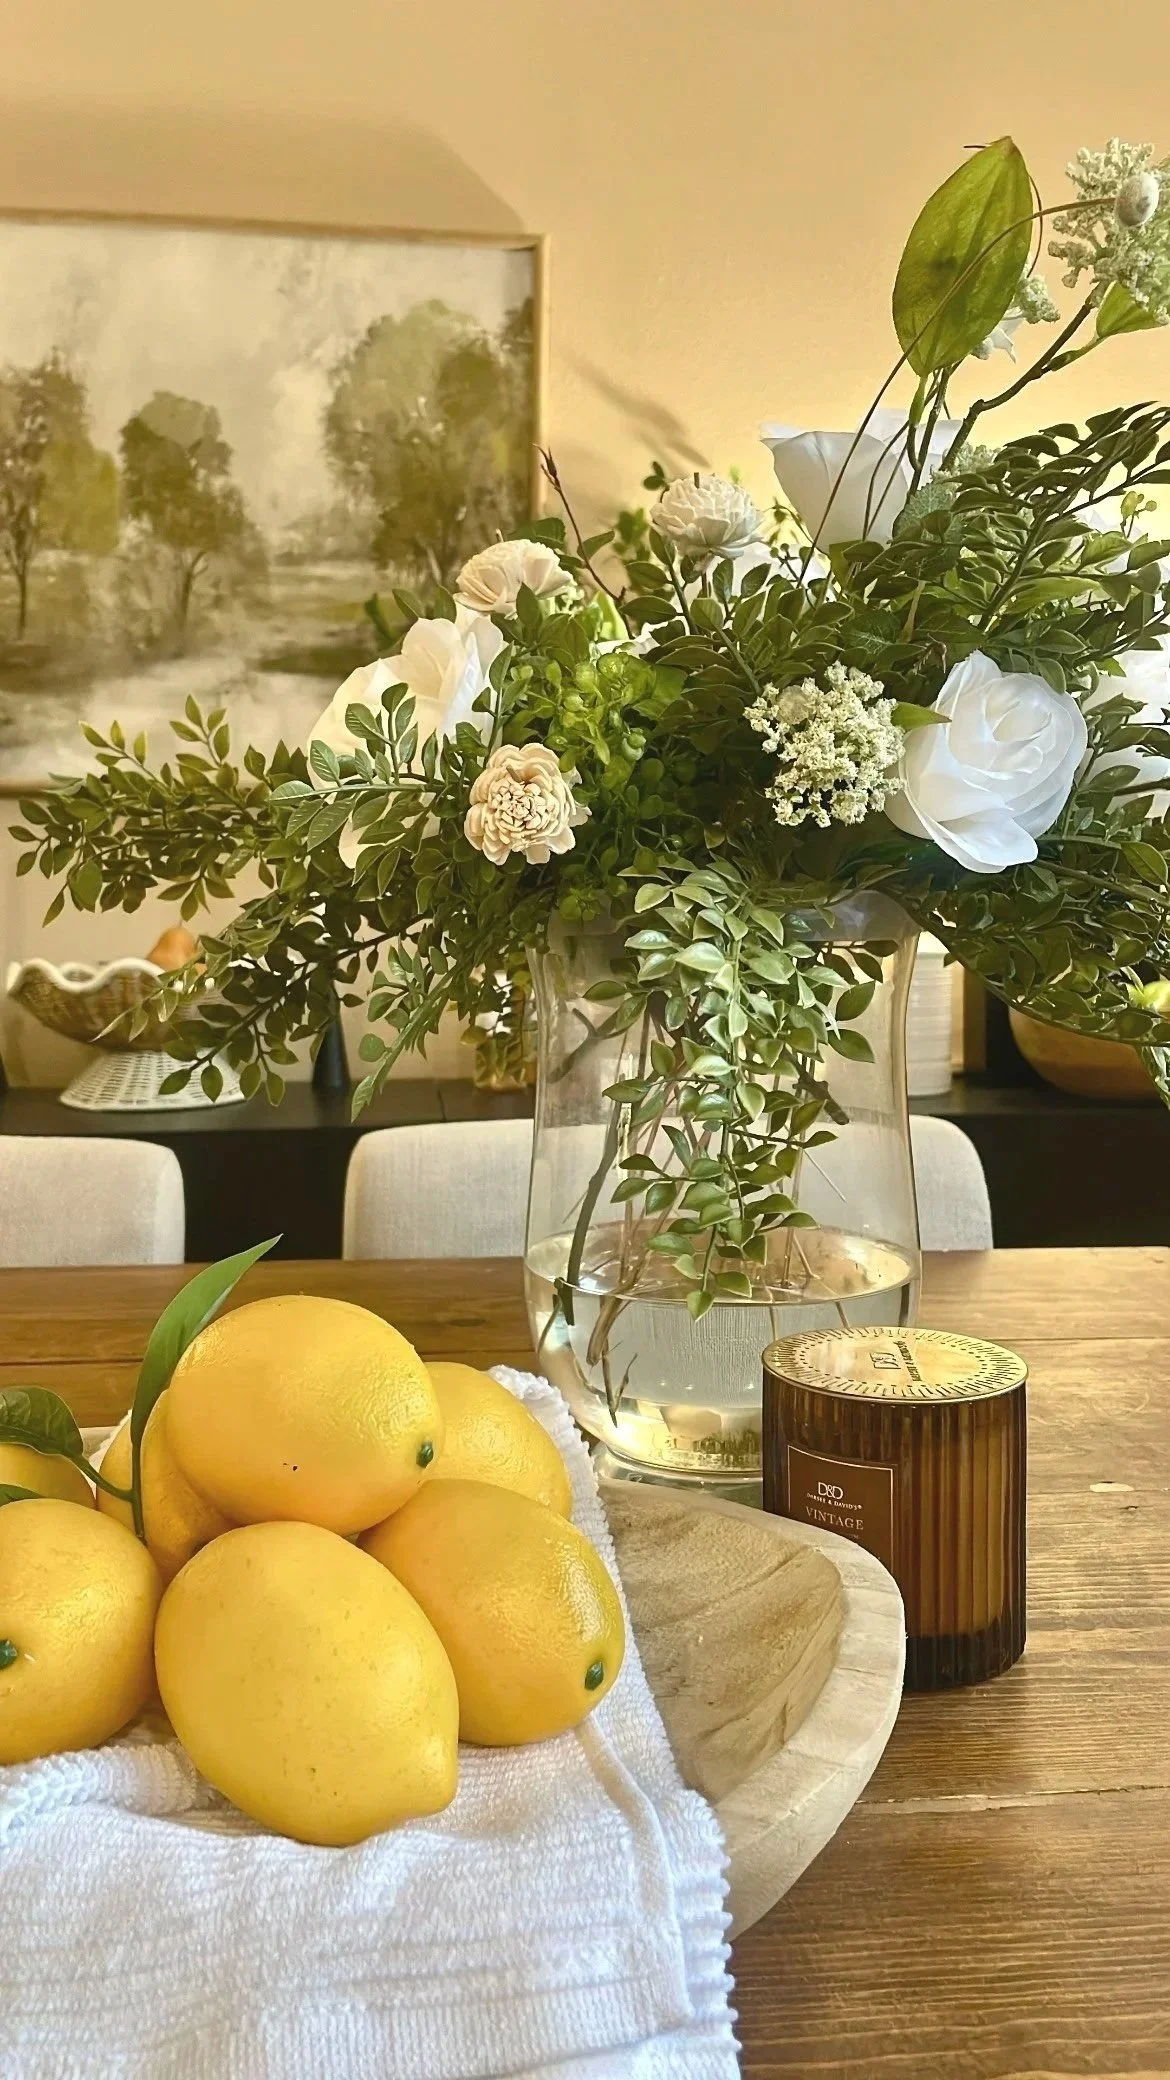
💡 Pro Tip: Always add water to your vase — even when you’re using faux florals. In a clear vase, the water makes the arrangement look more realistic, and in any vessel, it adds weight to keep everything stable and prevent tipping.
Step 2: Build Your Base
I like to do this with two variations of greenery or filler stems, usually a lighter and darker one to create contrast. These pieces will be the foundation, add shape, and help your arrangement feel full.
Begin by placing them in the outer squares of your design. Spread them out so they touch all sides of your vase or bowl. Think of this step as sketching the outline before adding detail — it sets the stage for everything else.
Step 3: Add Your Main Flowers
Next, bring in your stars — the larger blooms that draw the eye. My rule for arrangements is two variations for each step, so that includes your main flowers too. Place them in a triangle pattern (one high, one mid-level, one low) to create depth and movement.
Since your greenery and filler have already framed the shape, you’re now building toward the center. This layering technique prevents your flowers from looking flat or crowded and gives the arrangement that natural, professional flow.
Step 4: Layer in Texture/ Accents
Finish with smaller blooms, delicate sprays, or textured fillers like berries and grasses. Rotate your vase as you go and tuck stems into any open gaps.
These lighter details soften the overall look and give the arrangement that organic, “not too perfect” feel that makes it look real.

Pro Styling Tips
Mix faux and fresh stems for the best of both worlds — longevity and freshness.
Always remove leaves that fall below the water line. They rot quickly, make water murky, and shorten the life of fresh blooms.
When cutting your stems/ blooms, don’t line everything up like soldiers 😂 . Let some stems peek higher and some sit lower. The “staggered” look adds depth and makes arrangements feel natural.
For fresh stems (especially roses), starting in warm water helps them hydrate and open. Then you can switch back to cool, clean water, changing every 3 days. You don’t need to remove your tape grid — just pour the old water out carefully and refill through the openings (a watering can makes this super easy to do) .
Revive droopy fresh flowers with homemade “flower food”: mix a teaspoon of sugar, a splash of clear soda, and just a drop of bleach into the vase water. The sugar feeds the blooms, the soda gives them a boost, and the bleach keeps bacteria at bay.
Pay attention to how you cut stems: most flowers do best with a diagonal cut to increase water intake, but woody stems (like hydrangea or lilac) often benefit from a straight cut or even a small vertical split at the base to help them drink more.
Don’t forget the vessel — the vase or bowl sets the tone just as much as the flowers do.


Final Thoughts
Arranging flowers doesn’t have to be complicated. With just these four steps, you can style faux or fresh blooms so they look like a professional put them together — without the stress or cost of weekly florist visits.
Save this guide for the next time you’re refreshing your space, and let your flowers do what they do best: bring life, beauty, and joy into your home. 🌿
With Love,
Ambyr