The Best Lemon Bars Recipe — Perfectly Tart, Melt in Your Mouth
The last bite that never, ever disappoints
I only started making lemon bars last year. A friend brought some over and after one bite I knew two things — these are incredible, and I need to make my own recipe to pass down.
Since then I've made them six times! Once for our neighborhood 4th of July party. Gone. People still ask me about them.
And while I love them for summer, to me — lemon lives in the spring. There is something about that bright, tart, sunshine flavor that belongs on an Easter table more than anywhere else. These are the last bite that doesn't disappoint… ever.
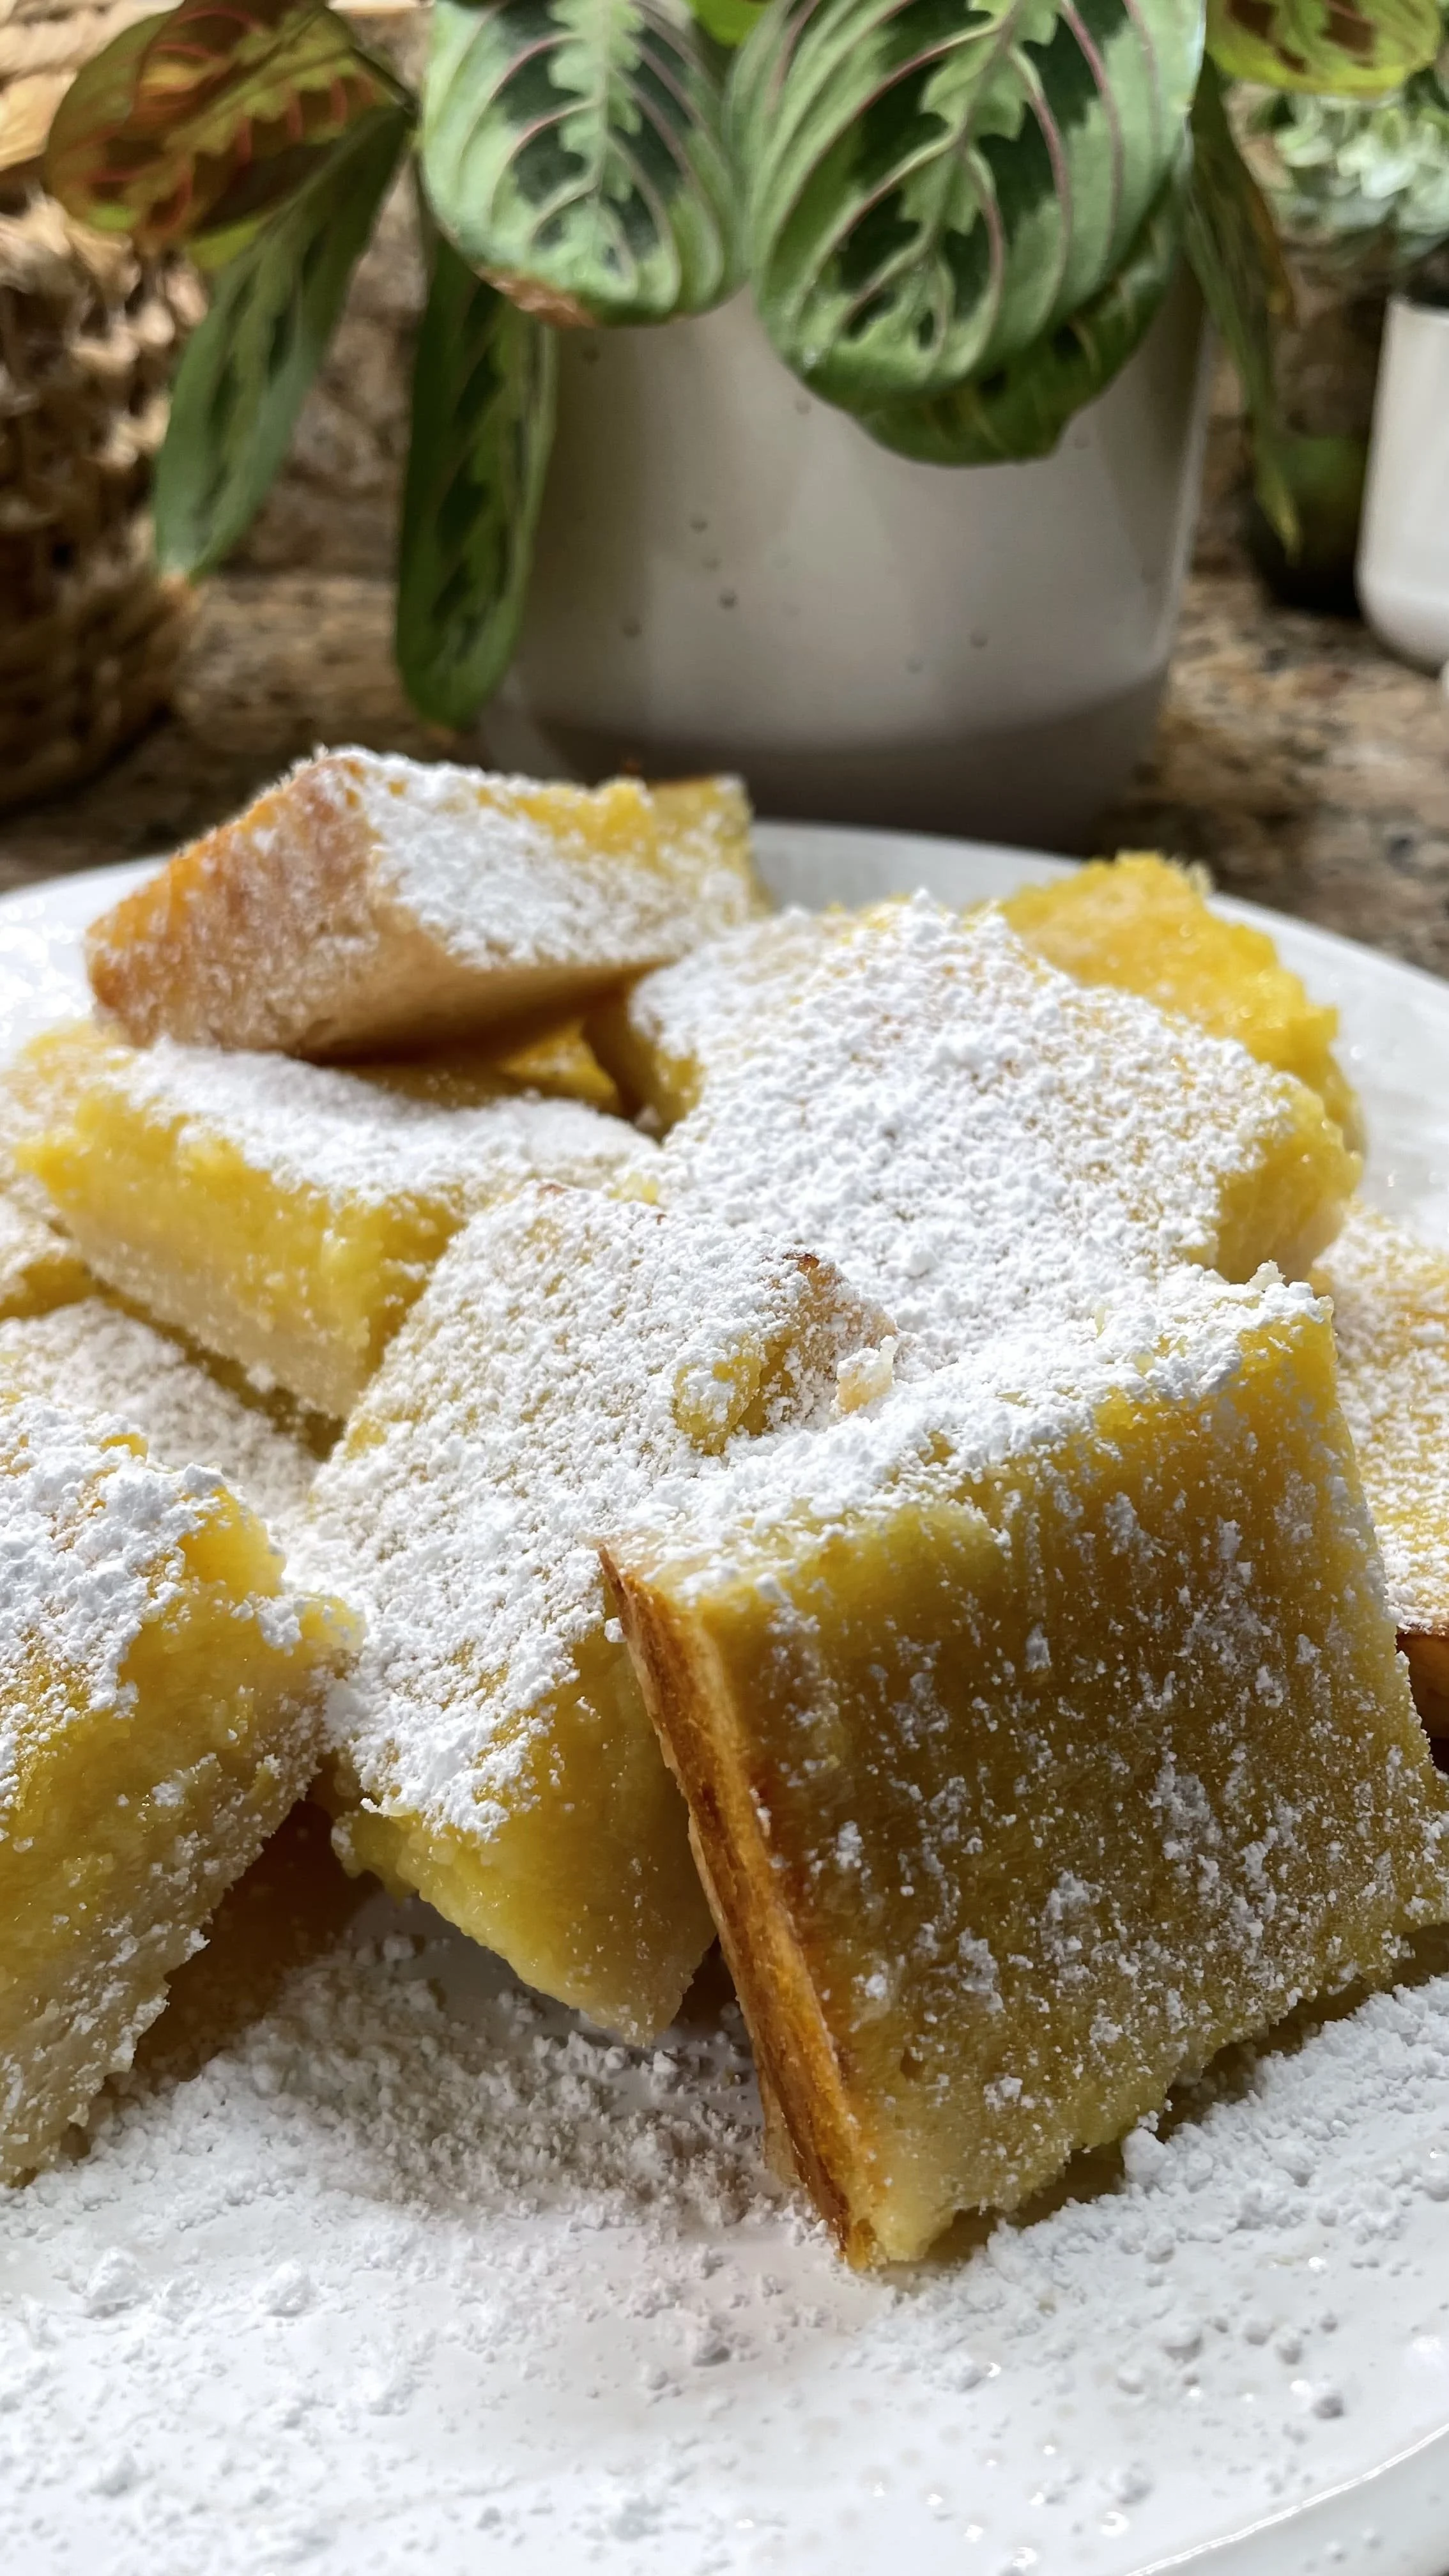
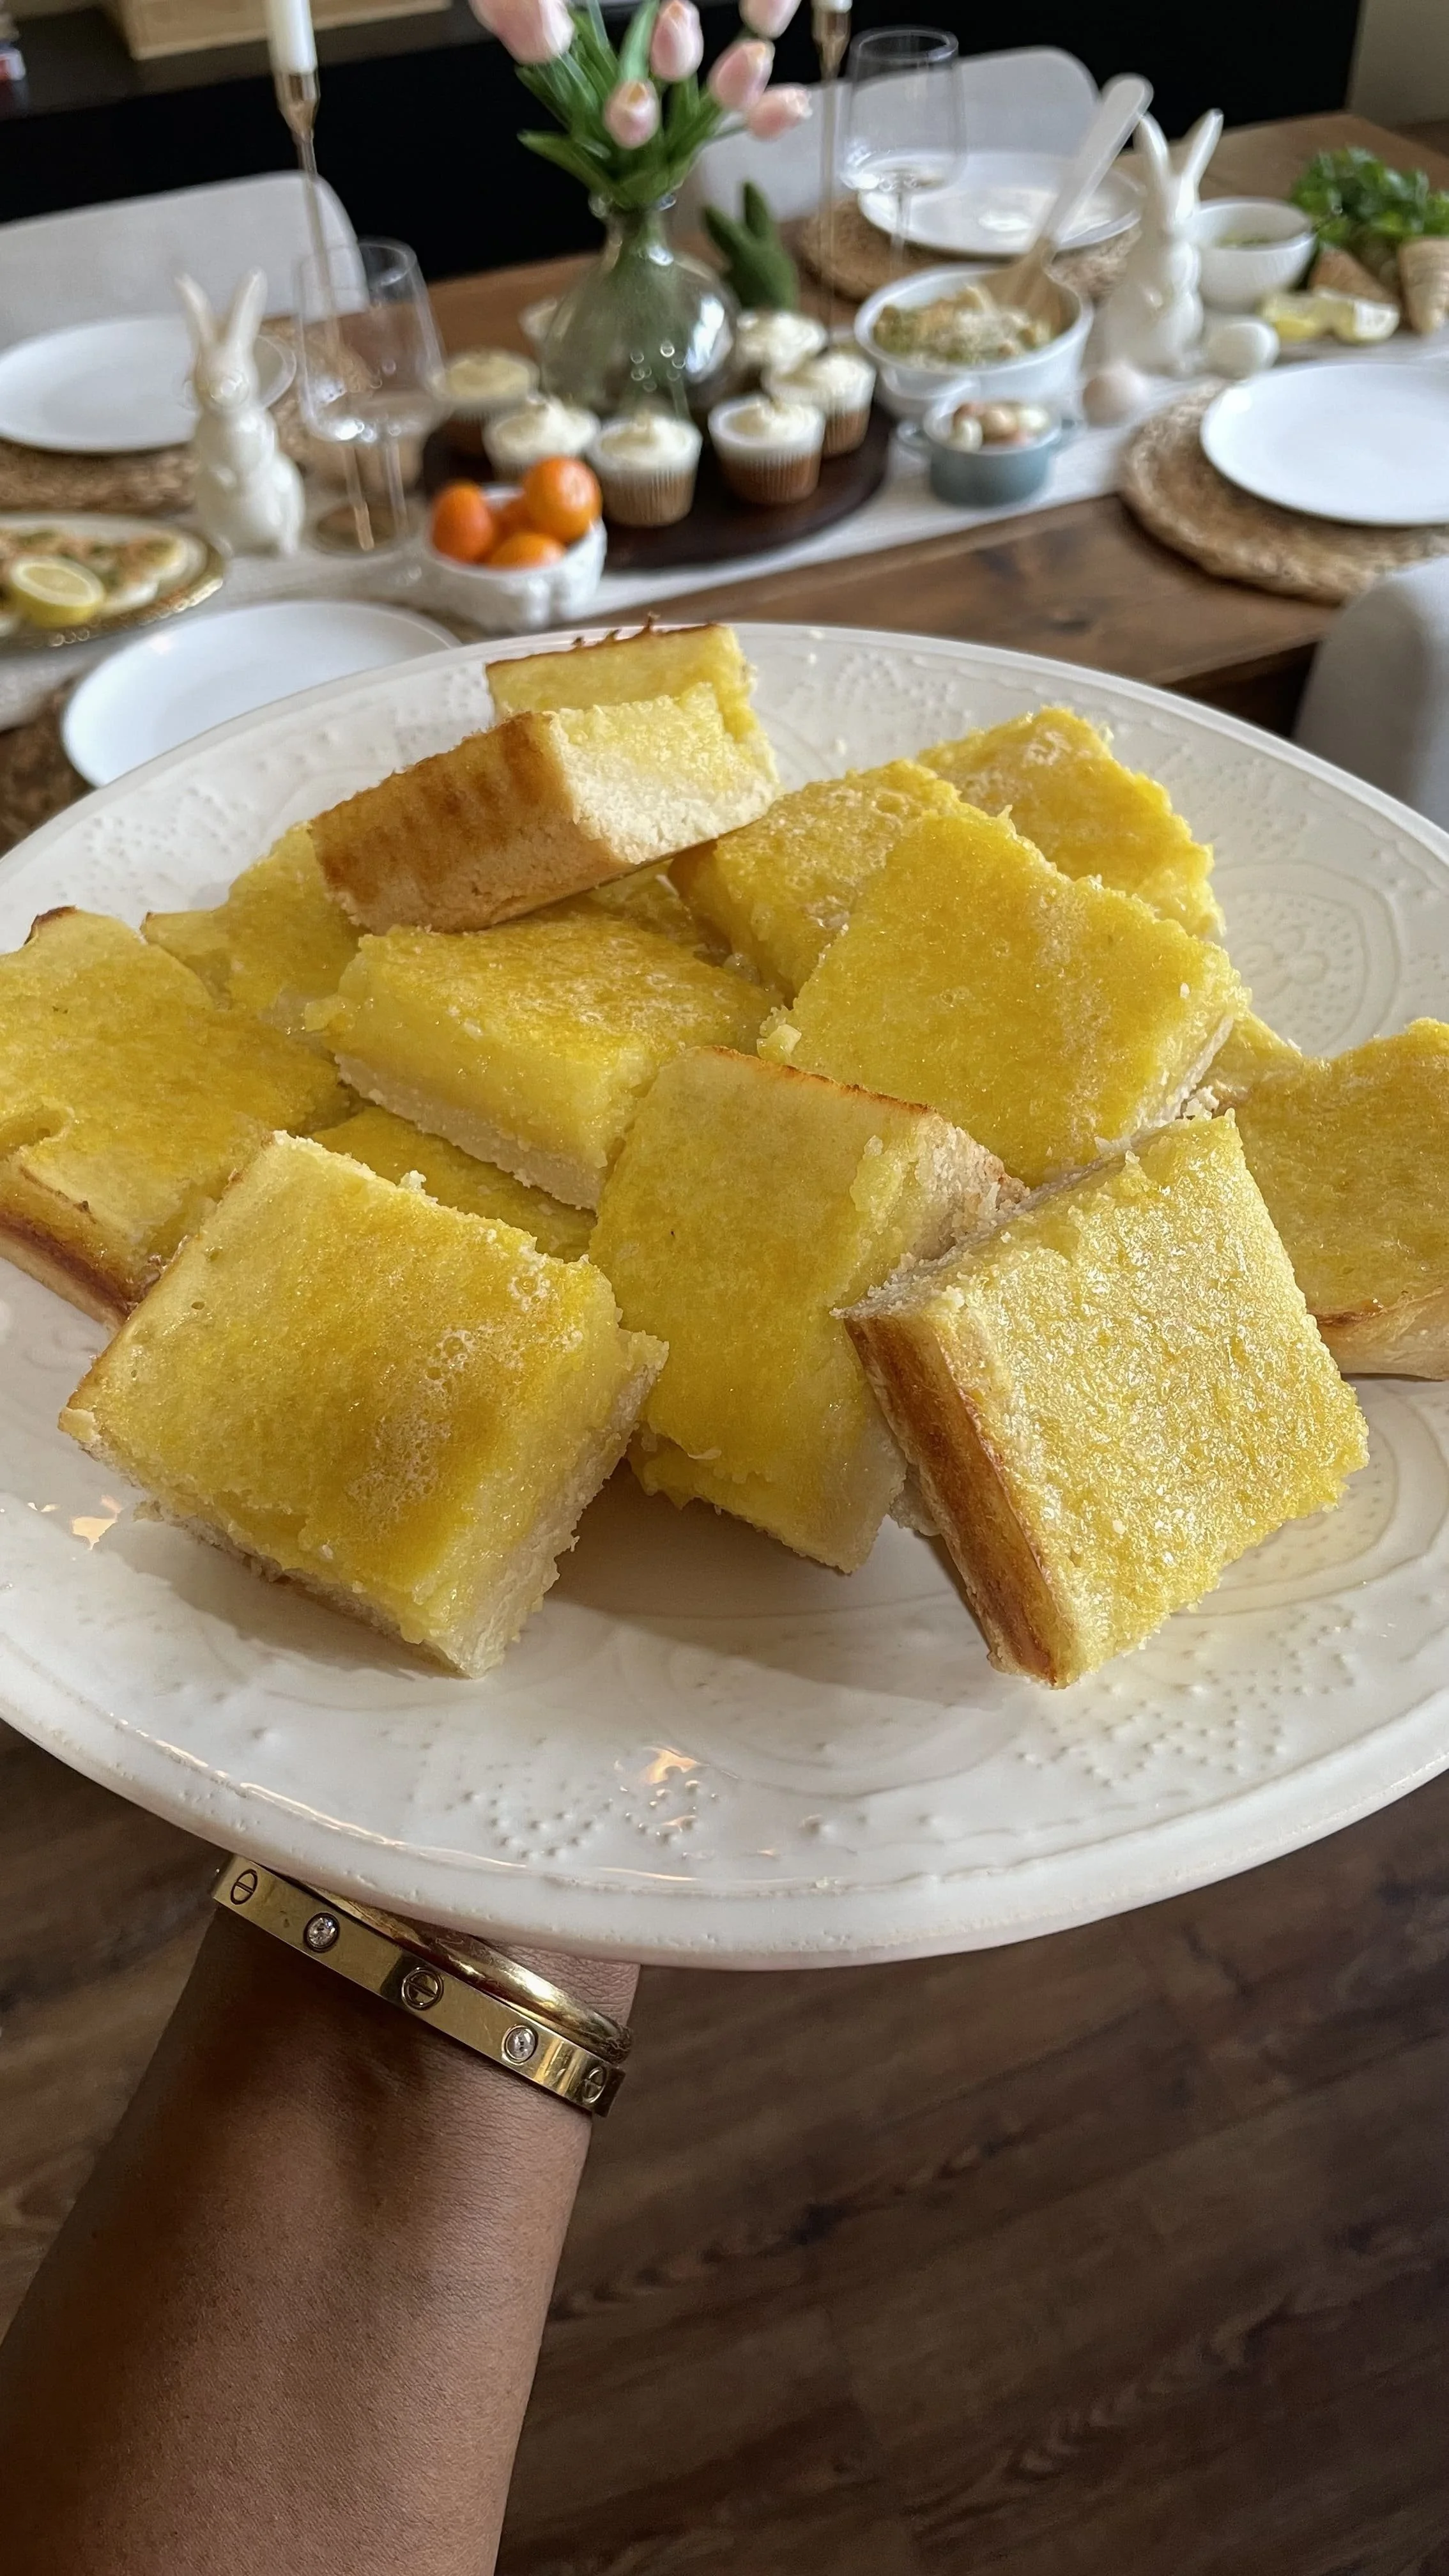
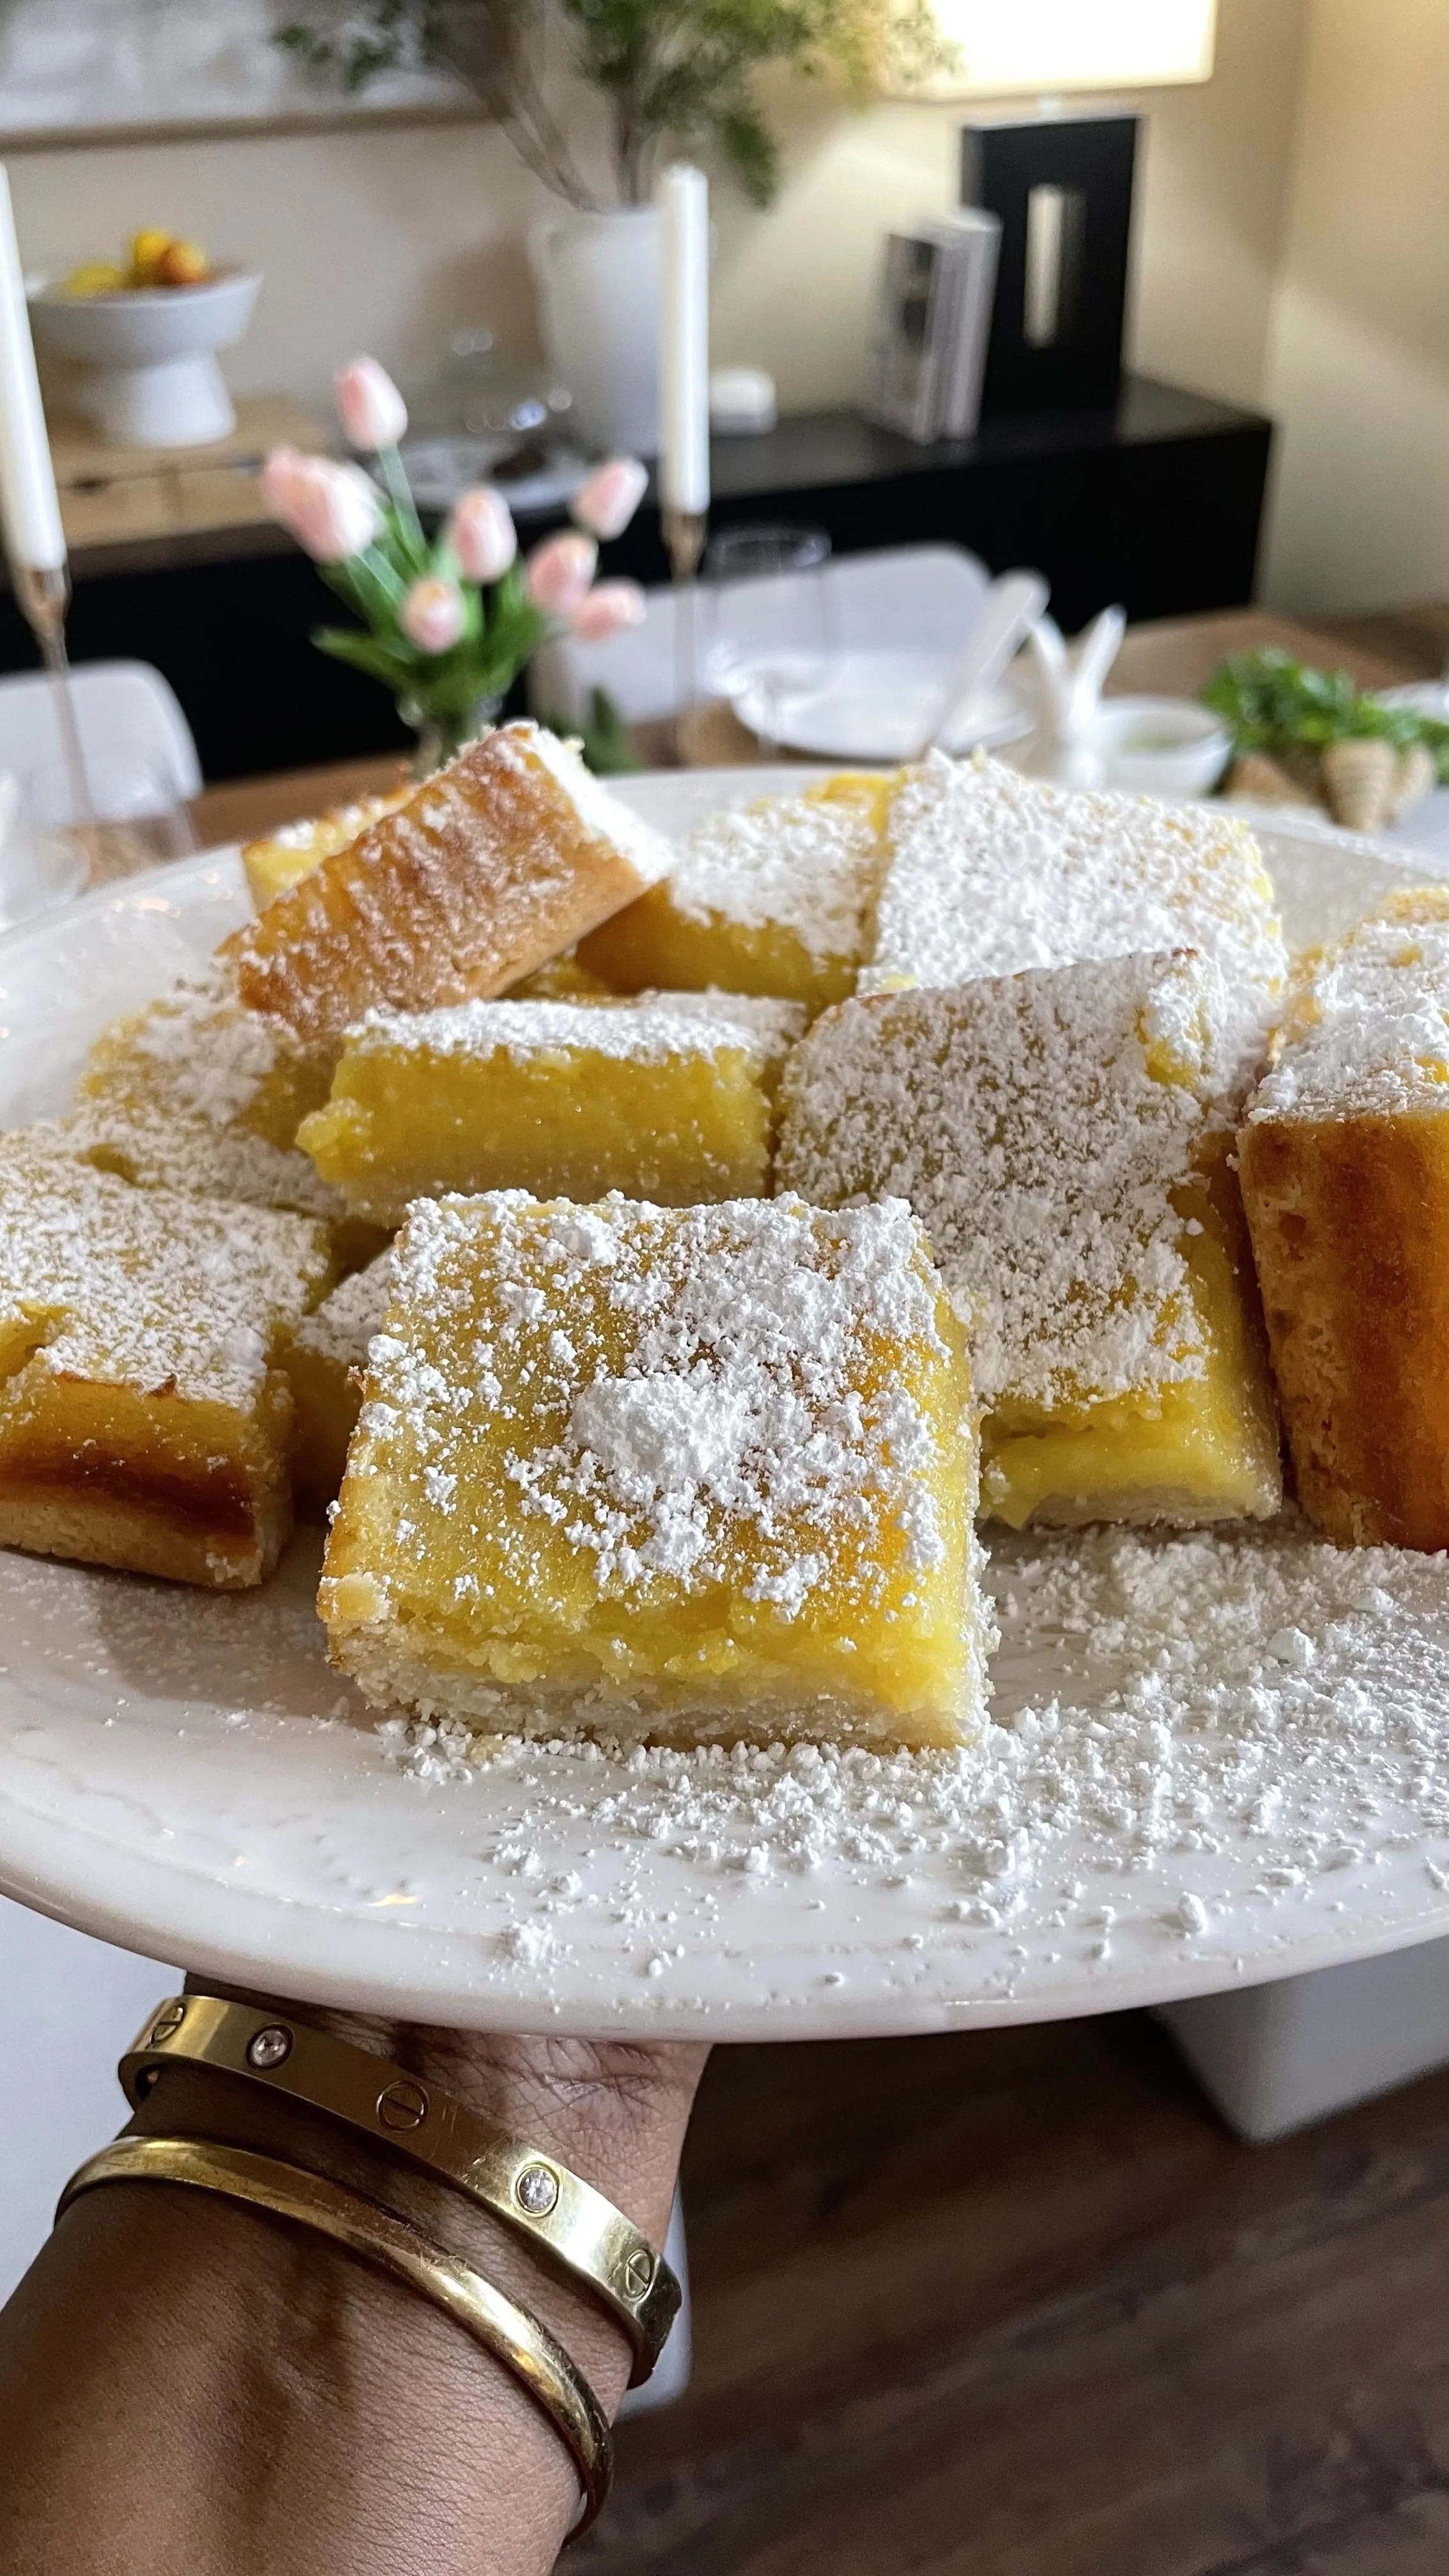
The crust is buttery and tender. The filling is silky, perfectly tart, and set just right. The powdered sugar on top makes them look like they came from a bakery — even though they took about 45 minutes start to finish.
I'm serving these at our Easter table this year and I already know what's going to happen. 😄
Enjoy, darling!
With Love,
Ambyr
This recipe is featured in the Ambyr Things Spring & Easter Catalog. You can find it alongside all past seasonal edits here — or subscribe to be the first to receive the next one before it goes live.
Lemon Bars
What’s In Them
Serves: 16–24 bars
Prep Time: 10 minutes
Bake Time: 40–45 minutes
Cool Time: 1–2 hours (fully cooled before cutting)
Total Time: ~2 hours
Ingredients:
For the crust:
1 cup unsalted butter, softened (not melted)
½ cup powdered or granulated sugar
2 cups all-purpose flour
¼ tsp salt
For the filling:
1½ cups sugar
¼ cup all-purpose flour
4 large eggs
Zest and juice of 2 large lemons
Optional: pinch of salt
For finishing:
Powdered sugar for dusting
Edible flowers (optional but stunning)
Lemon twists (optional)


How To Make Them
Instructions
Step 1 — Preheat and prep. Preheat your oven to 350°F. Line your baking pan with parchment paper leaving a little overhang on the sides — this is how you'll lift the whole slab out cleanly once cooled. Do not skip this step.
Step 2 — Make the crust. In a mixing bowl or food processor combine the butter, sugar, flour, and salt. Mix until a crumbly dough forms. Press evenly into the bottom of your prepared pan — use the flat bottom of a measuring cup to get it smooth and even. Bake for 18–20 minutes until just barely golden at the edges.
A note on the butter: Softened butter gives you a slightly more crumbly, classic shortbread crust. Melted butter produces a smoother, denser crust. Both are delicious — use whatever works for you.
Step 3 — Make the filling. While the crust is baking, whisk together the sugar, flour, eggs, lemon zest, and lemon juice until smooth and fully combined. Don't overmix — just whisk until it comes together.
Step 4 — Pour and bake. Pour the filling directly over the hot crust the moment it comes out of the oven — no cooling needed. Return to the oven and bake for 22–25 minutes until the custard is fully set and no longer soft in the center — you want it firm and confident when it comes out of that oven.
Step 5 — Cool completely. This is the hardest part. Let the bars cool to room temperature in the pan — at least 1–2 hours. Do not rush this. Cutting into warm lemon bars is the fastest way to a beautiful mess.
Step 6 — Dust and cut. Once completely cooled, dust generously with powdered sugar. (Dust after cooling — powdered sugar on a warm bar disappears like a ghost. Ask me how I know. 👻) Lift the whole slab out using the parchment overhang and cut into clean bars with a sharp knife. Wipe the blade between cuts for clean edges.
Step 7 — Garnish and serve. Arrange on a plate or board. Add edible flowers and lemon twists for a spring presentation that looks absolutely stunning. Serve at room temperature. 🤍
A Few Notes
Zest your lemons before juicing. Always. It is almost impossible to zest a juiced lemon and you will be annoyed with yourself.
The parchment overhang is non-negotiable. It is the difference between clean bars and a crumbled disaster.
Make them the day before. Lemon bars are genuinely better the next day — the filling firms up, the flavors deepen, and the powdered sugar stays put. Perfect for Easter prep.
Cutting clean bars. A sharp knife wiped clean between every cut gives you those beautiful bakery-style edges. Worth the extra 30 seconds.
Store covered in the fridge for up to 4 days — if they last that long.🤍