
How to Apply Press-On Nails With Glue That Last 3–4 Weeks
A simple, salon-free method for natural-looking nails that don’t pop off after a few days
This post may contain affiliate links, which means I'll receive a commission if you purchase through my link, at no extra cost to you. Please read full disclosure here.
Updated in 2026 to reflect my current process and tips for longer wear.
When I started wearing press-on nails many years ago, they’d only last a few days before popping off.
And since I talk with my hands and I’m not a salon or acrylic nail girly, I needed a better solution.
The good news? I could keep using my favorite nail brands and the glue they provided.
The only thing that needed updating was how I prepped my natural nails. 👇🏾
Here’s What You’ll Need And Why:

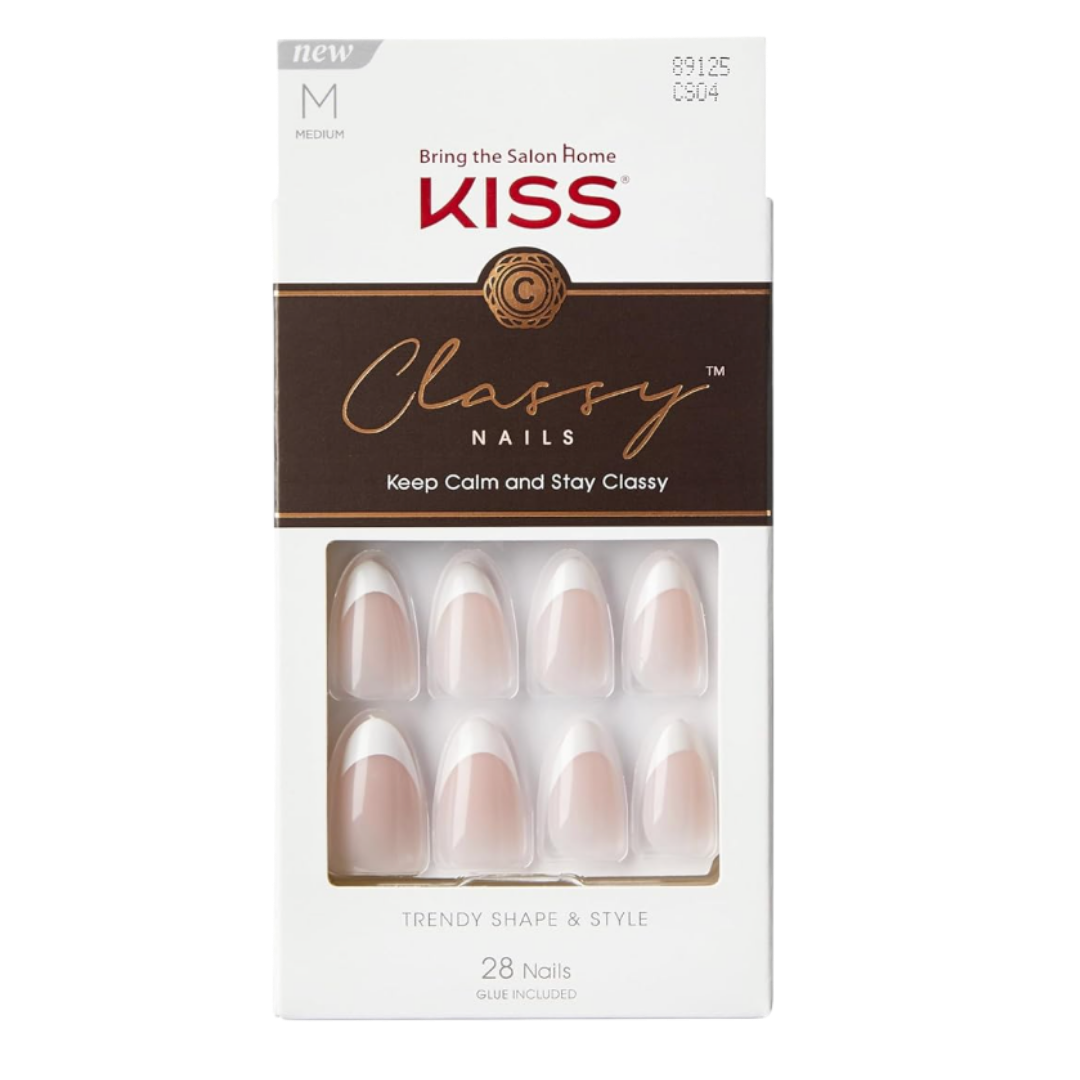


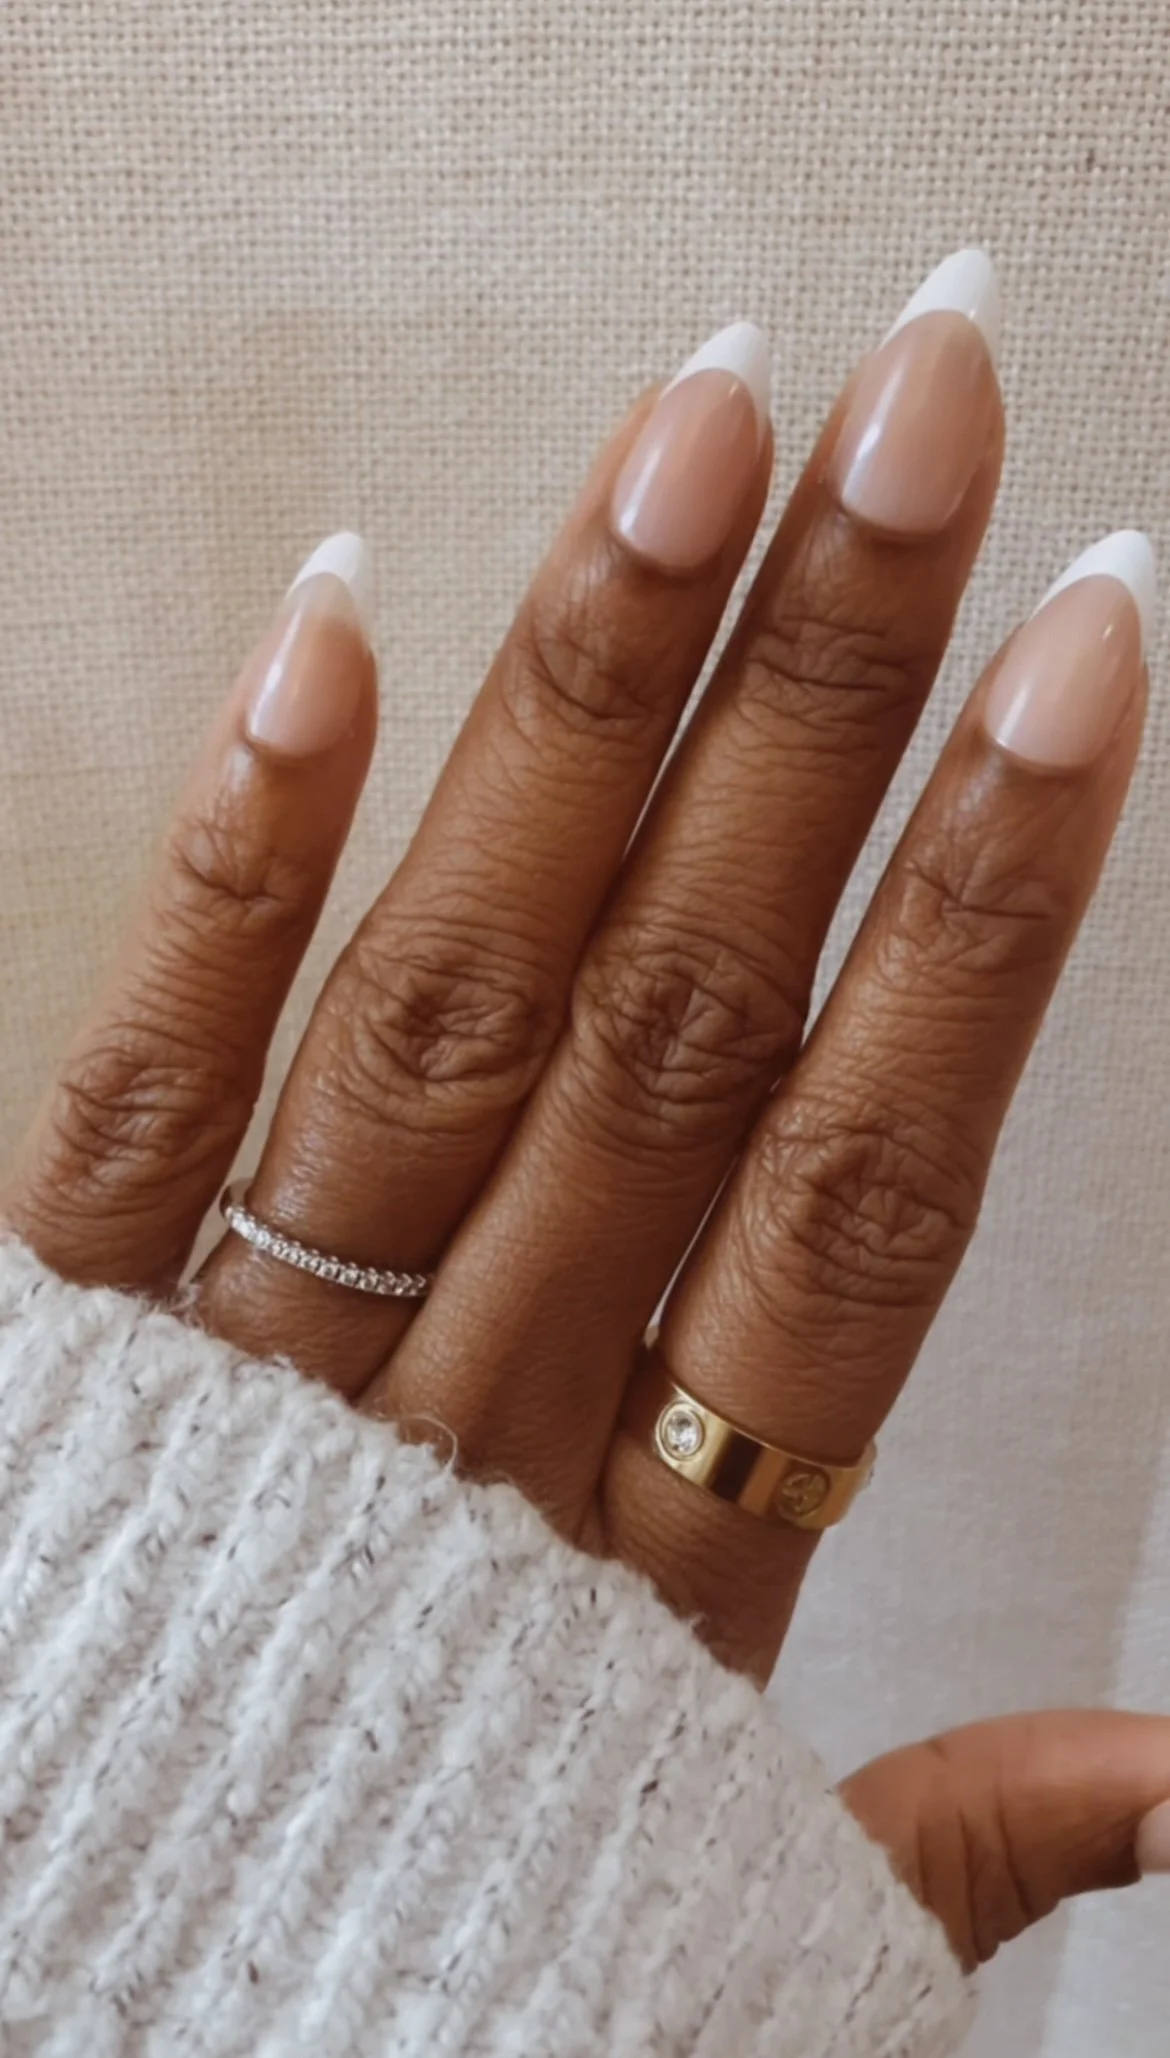
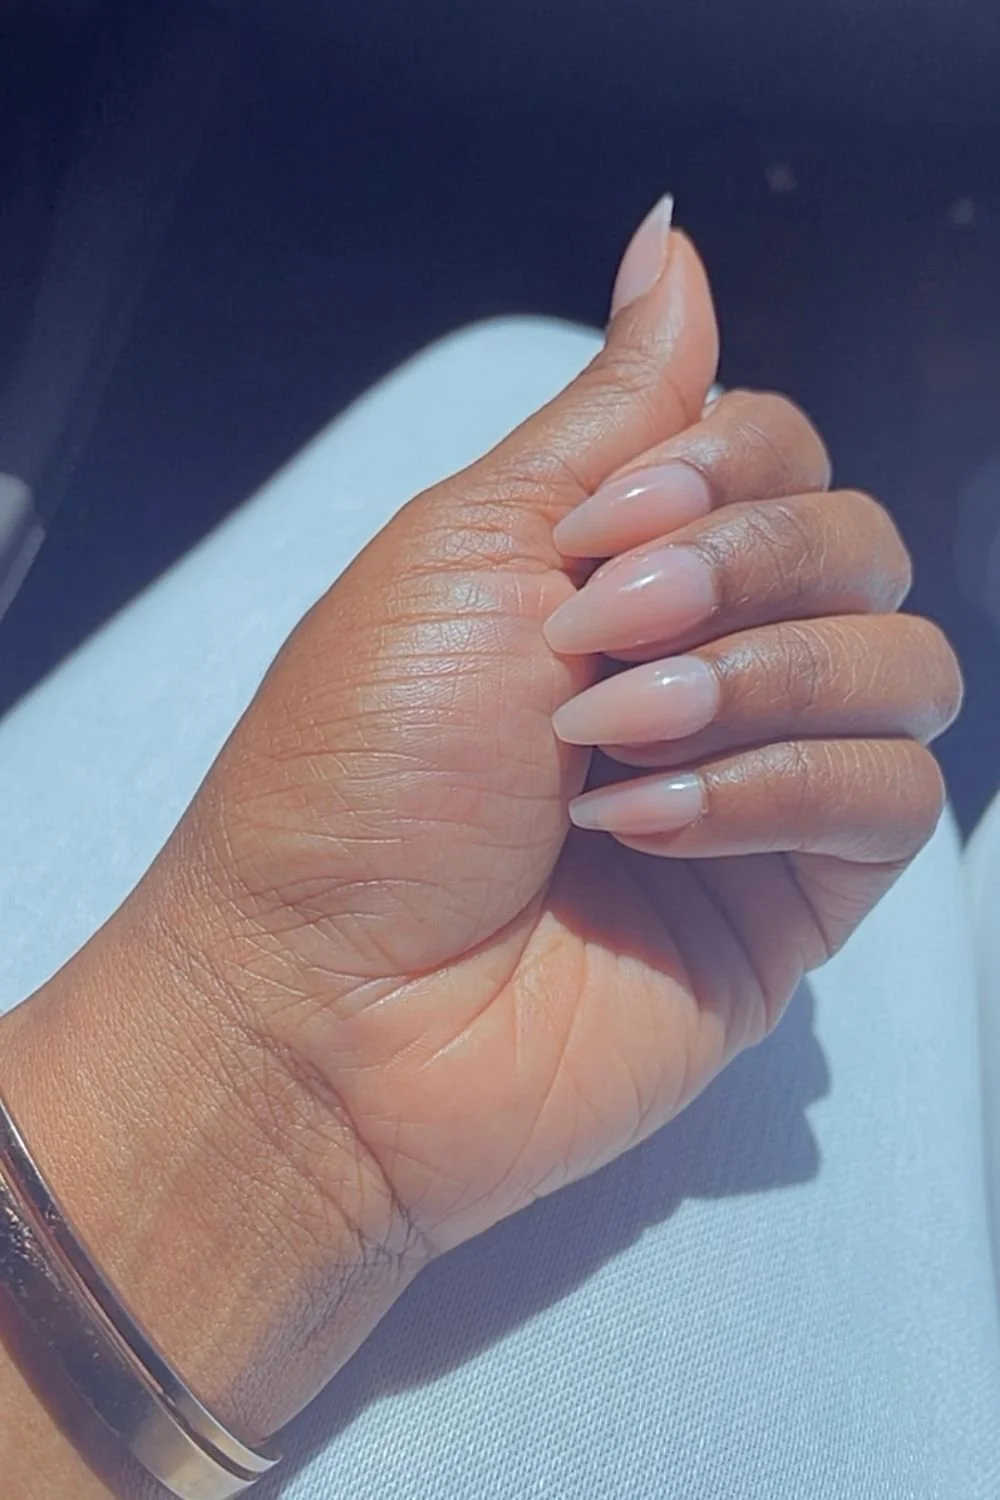
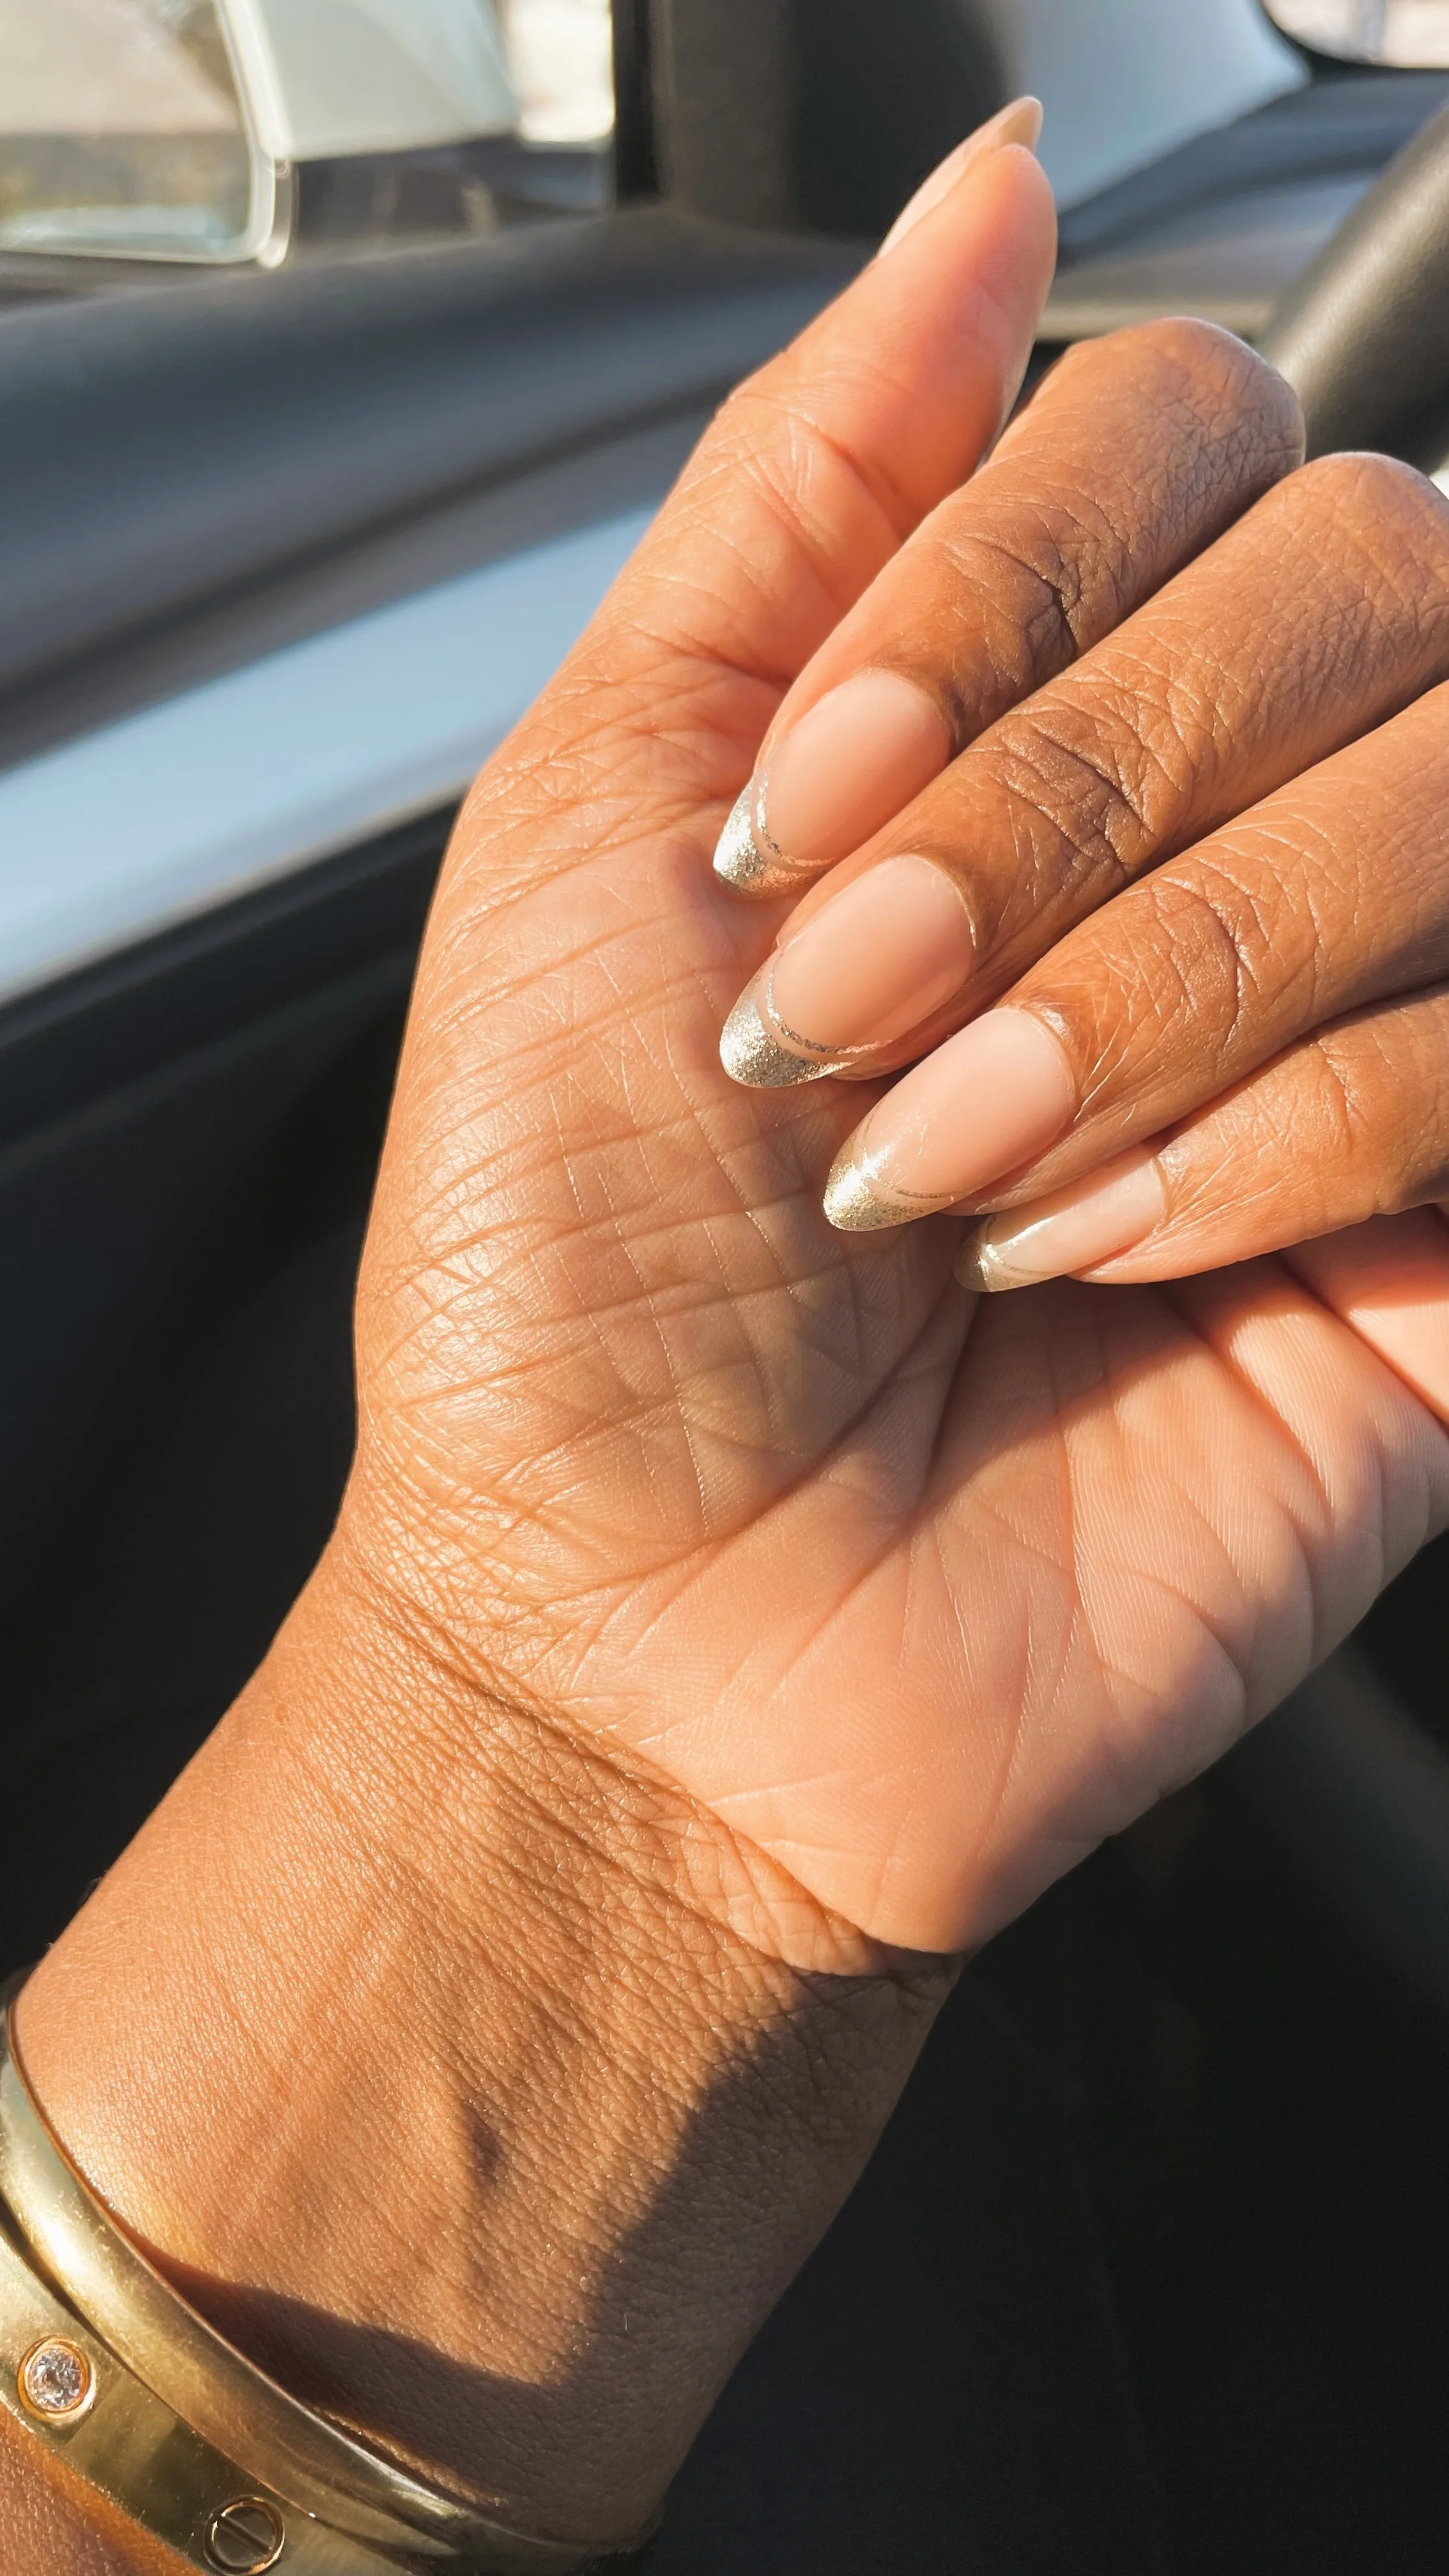
Press-On Nails - Grab the press-on nails you want. Pick a style and shape you like. I usually buy a longer length since filing makes them shorter.
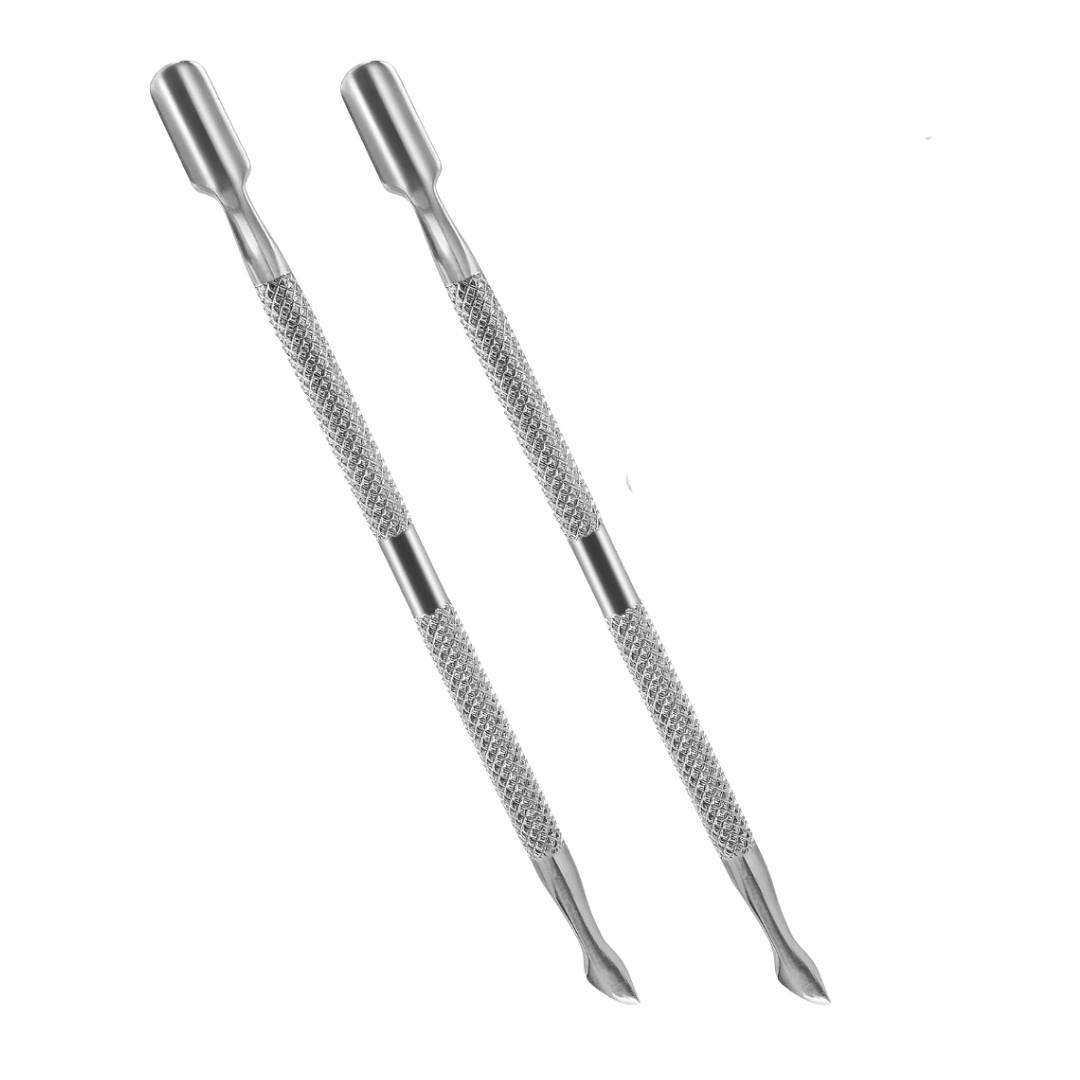
Cuticle Pusher - This tool gently pushes back your cuticles. Doing this helps the press-on sit flat and stick better to your nail.
Skipping this step often leads to lifting, especially near the base of the nail.Alcohol Prep Pads - Use these to clean your natural nails before application. They remove oils, residue, and dust, which helps the glue bond properly.
No oils = stronger hold.
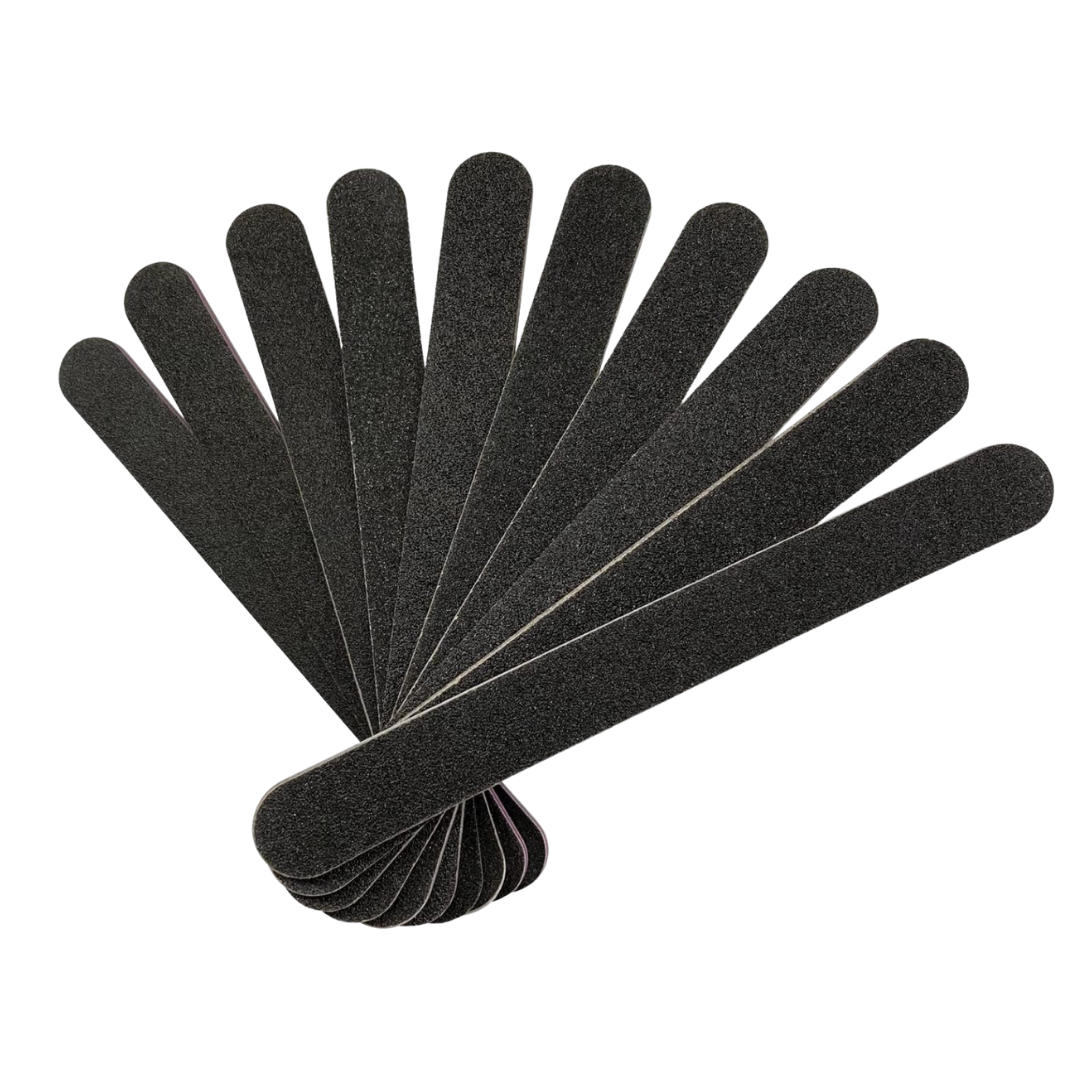
(You can also use rubbing alcohol on a cotton pad if needed.)Nail Files/ Emery Boards - These are used both before and after application.
Before: to shape your natural nails and lightly rough the surface.
After: to customize the press-ons so they match your preferred shape and length.This step is key to making them look realistic instead of bulky.
Nail Clippers - I use my son’s nail clippers because they are smaller and gentler.
They help me trim my natural nails so they don’t show under the press-ons. I also use them to shorten the press-ons if needed.
Step 1 - Prep
1. Push Back Your Cuticles
Use a cuticle pusher to gently push your cuticles back.
This gives the press-on a flat surface to stick to.
2. Remove Oil and Dead Skin
Use the nail file to lightly buff your entire natural nail, removing oil and residue.
The nails should be matte and dusty, not shiny, when you’re done.
3. Clean, File, & Cut
If needed, use an alcohol wipe, or alcohol sprayed on a q-tip, to gently clean any dirt underneath your nails.
Then, cut them low for a seamless look under the press-ons.
File neatly.
Step 2 - Apply
This is where everything comes together. Take your time here—it goes fast once you get started.
1. Fit the Nails
Before using glue, fit each press-on nail to your natural nails.
Use the size numbers on the bottom of each press-on to find the best fit.
They should cover your nail from side to side without pressing into your skin.
Everyone’s sizing is different, so don’t skip this step.
Once fitted, lay the nails out in order so you know which one goes next.
Tip:
I line mine up like this:
Left hand → pinky, ring, middle, index, thumb
Right hand → thumb, index, middle, ring, pinky
2. Apply the Glue
Open your nail glue and decide where to start.
I usually start with my thumbs, but you can start wherever feels easiest.
Add one drop of glue to the middle of the press-on nail and one to your natural nail.
Use the tip of the glue bottle to form a cross or lowercase “t” on your natural nail.
Wait about 4 seconds.
Press the nail onto your natural nail and hold for 10 seconds.
Repeat until all press-ons are applied.
That’s it.
Once they’re on, scroll down 👇🏾
Before You Customize, Read This

Before you start shaping and filing, there’s one important thing to know.
I recommend waiting at least 20 minutes after applying your press-ons before customizing them.
You can customize them right away, but doing so may mean they last about 2 weeks or less before one pops off.
I’ve done this plenty of times.
Even with showering, frequent hand washing, cleaning, and cooking, my nails usually last right around 2 weeks when I customize early.
(I also try not to soak my hands in water—I use the dishwasher when I can.)
If 2 weeks sounds perfect to you, feel free to customize as soon as the 20-minute mark.
If you want stronger hold and longer wear, waiting a bit longer is worth it.
There’s no wrong choice—just choose what works best for you.
Step 3. Customize
1. Cut (If Needed)
If the nails feel too long, trim them first.
Cut a little at a time.
This helps you avoid cutting them too short.
This step is optional—only do it if you want a shorter length.
2. Shape the Nails
Use a nail file to shape your press-ons the way you like.
File slowly and gently to smooth the edges.
Shaping after cutting gives you more control over the final look.
3. Thicken the Tips
To add thickness and prevent cracking or breaking, lightly file across the top edge of each nail.
*Pro Tip:
Hold the file flat and move it side to side across the nail tip. Your palm should face you. File in the direction from pinky to thumb and back again.
4. Dry Wipe Your Hands
Try not to wash your hands right after filing. Wipe off dust with something dry and give the glue time to set first.
You can apply sanitizer and moisturizer to your hands, —just keep it on your skin and avoid the nail itself.
Conclusion
That’s all you need.
This process might look like a lot at first, but once you do it once, it becomes second nature. The prep and small details are what make press-on nails last.
Take your time, go slow, and don’t stress about being perfect.
Your nails will still look great.
With Love,
Ambyr