
The Dutch Apple Pie My Husband Refuses to Share
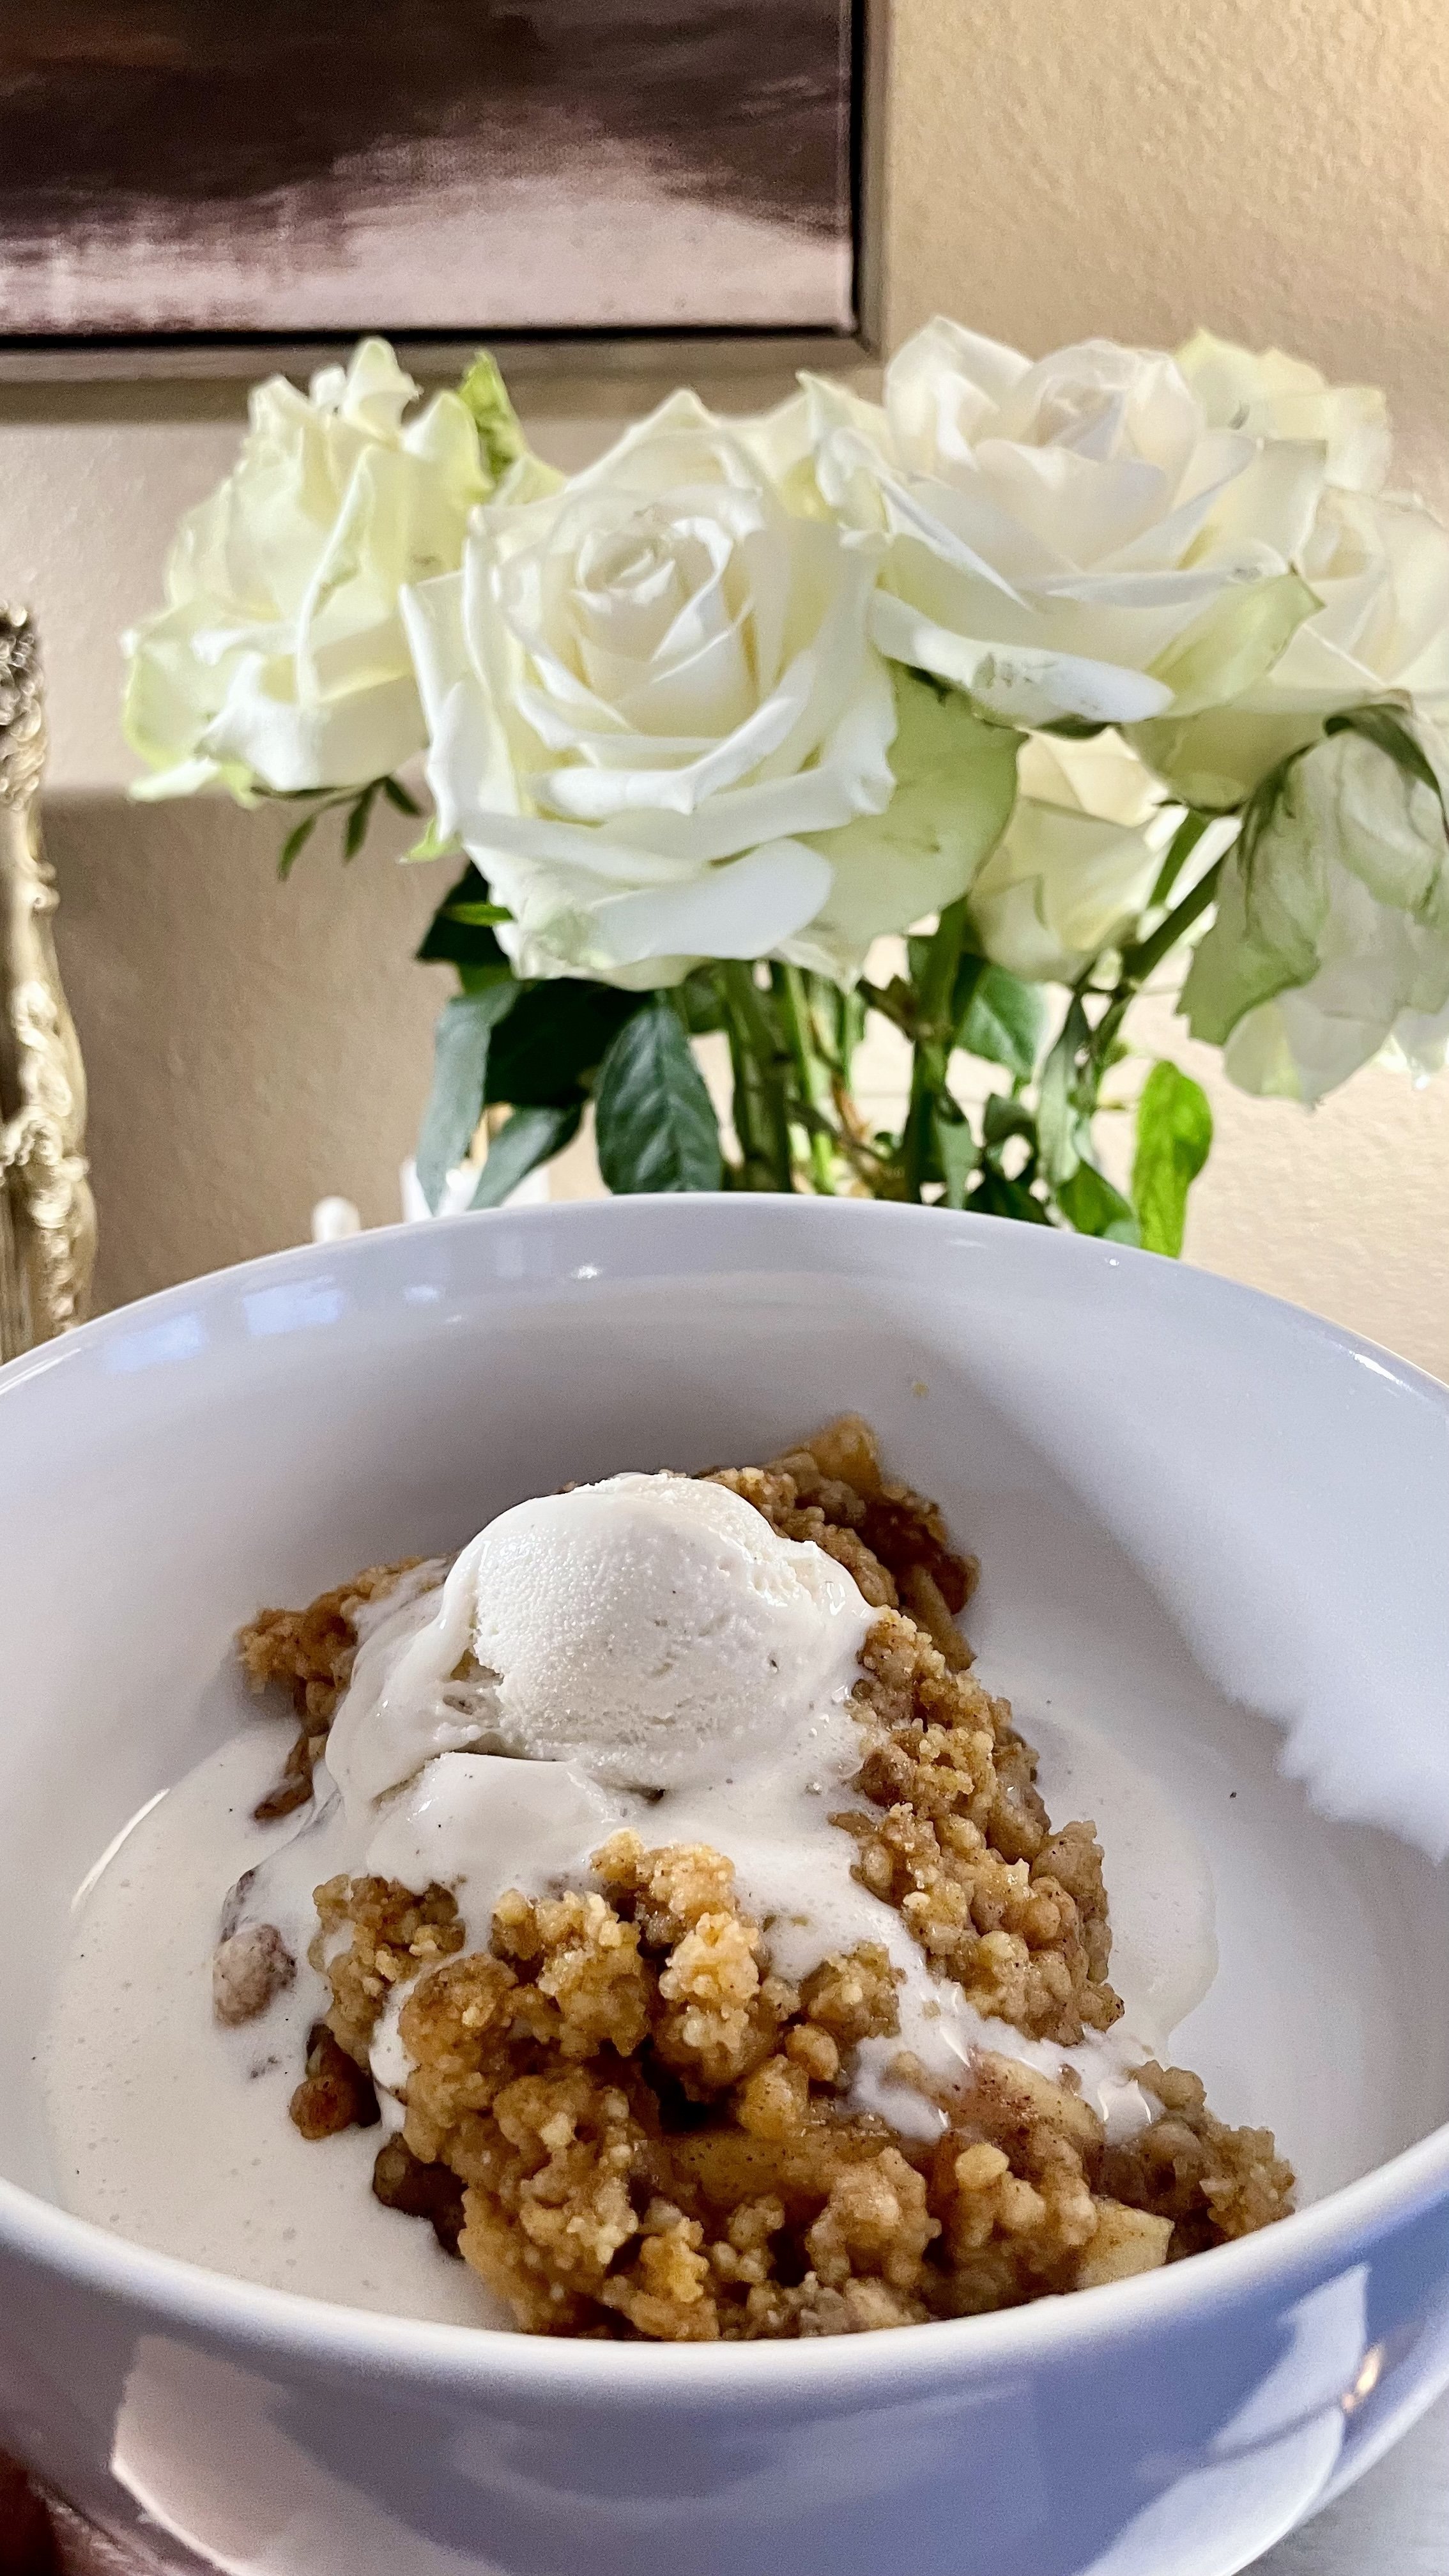
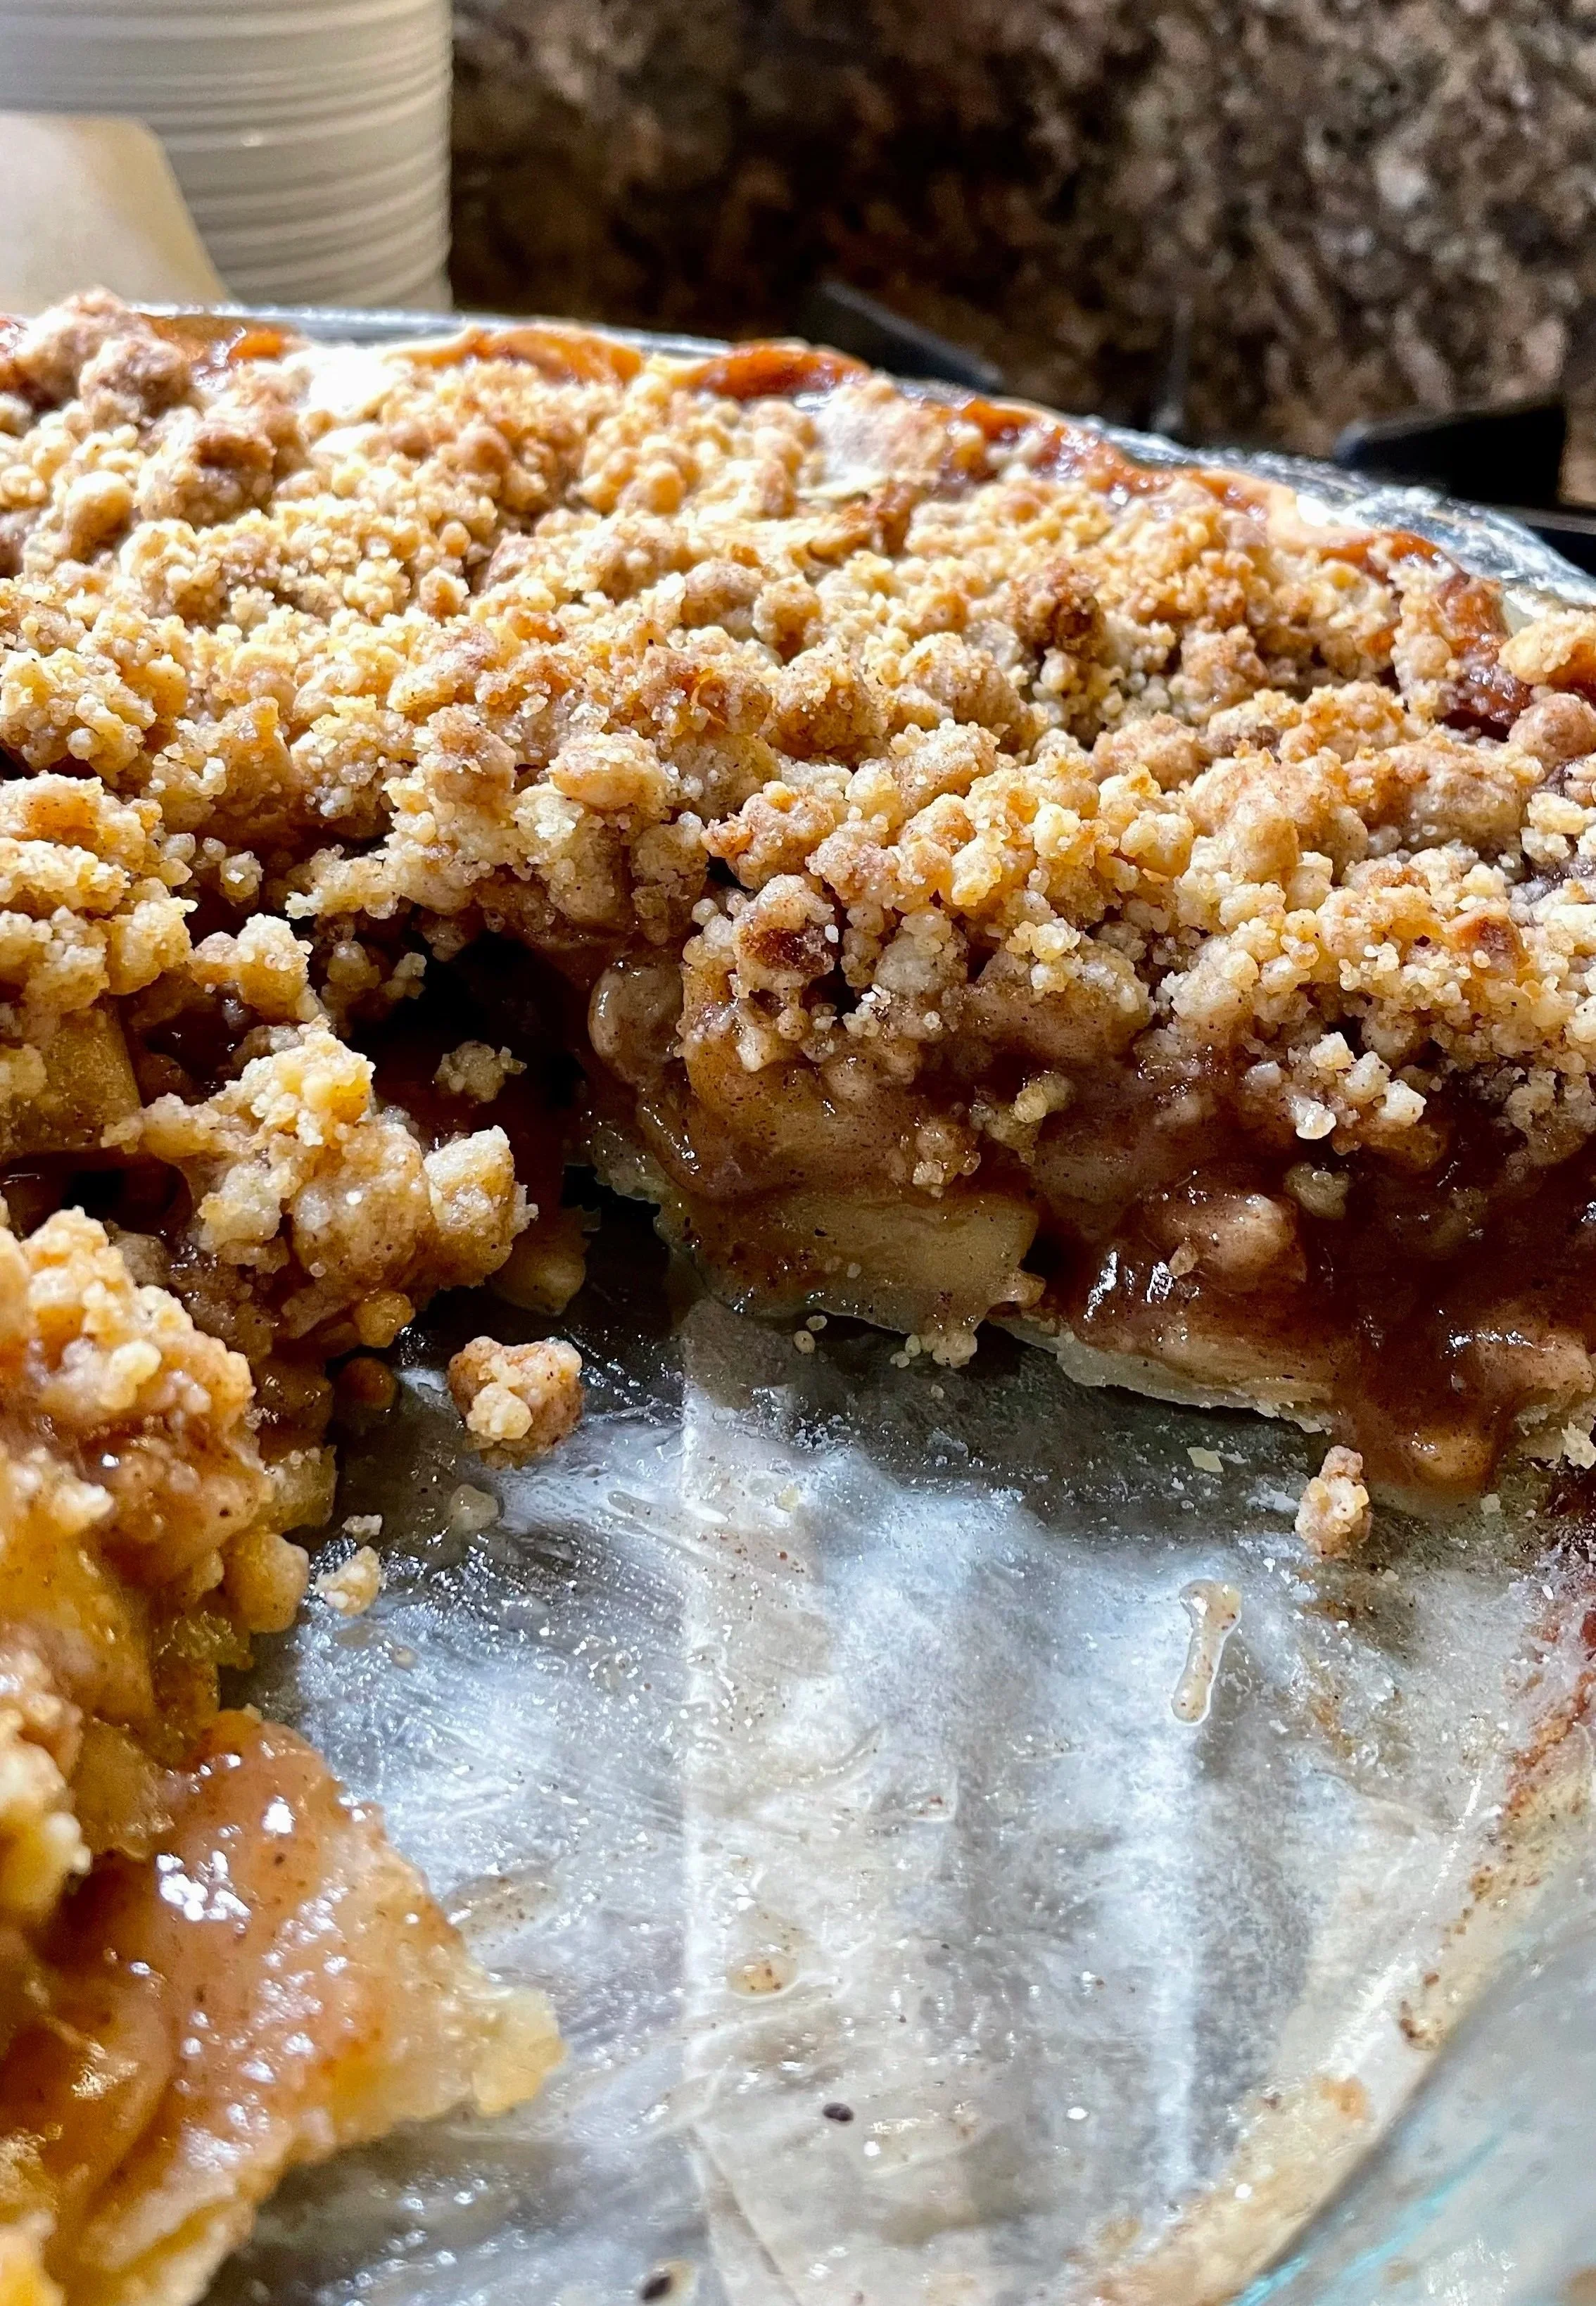
Tender, caramelized apples beneath a thick, buttery brown sugar crumble—warm from the oven and absolutely begging for a scoop of vanilla gelato.
Recipe | FAQs | Read The Story

The Best Dutch Apple Pie with Cinnamon Apples & Brown Sugar Crumble
Full Recipe
Yield: 1 9-inch pie, about 8–10 slices
Prep Time: 35 minutes
Cook Time: 55 minutes
Cooling Time: 3 hours
Chill Time: Overnight
Total Active Time: 1 hour 30 minutes
Total Time: About 4½ hours + overnight chilling
Ingredients
For the Apple Filling
5 Granny Smith apples, peeled, cored and sliced
2 Golden Delicious apples, peeled, cored and sliced
4 Honeycrisp apples, peeled, cored and sliced
1 cup granulated sugar
½ cup packed brown sugar
⅓ cup all-purpose flour
2 teaspoons ground cinnamon
1 teaspoon ground nutmeg
½ teaspoon ground cardamom
⅛ teaspoon freshly ground clove
½ teaspoon kosher salt
3 tablespoons lemon juice — bottled is perfectly fine
1 tablespoon pure vanilla extract
Water, as needed while cooking
For the Brown Sugar Crumble
1 cup all-purpose flour
¾ cup packed brown sugar
1 teaspoon ground cinnamon
¼ teaspoon kosher salt
½ cup (1 stick) Kerrygold salted butter, melted
For Assembly & Serving
1 store-bought 9-inch pie crust
Madagascar Vanilla bean gelato, for serving

Instructions
1. Prep the apples.
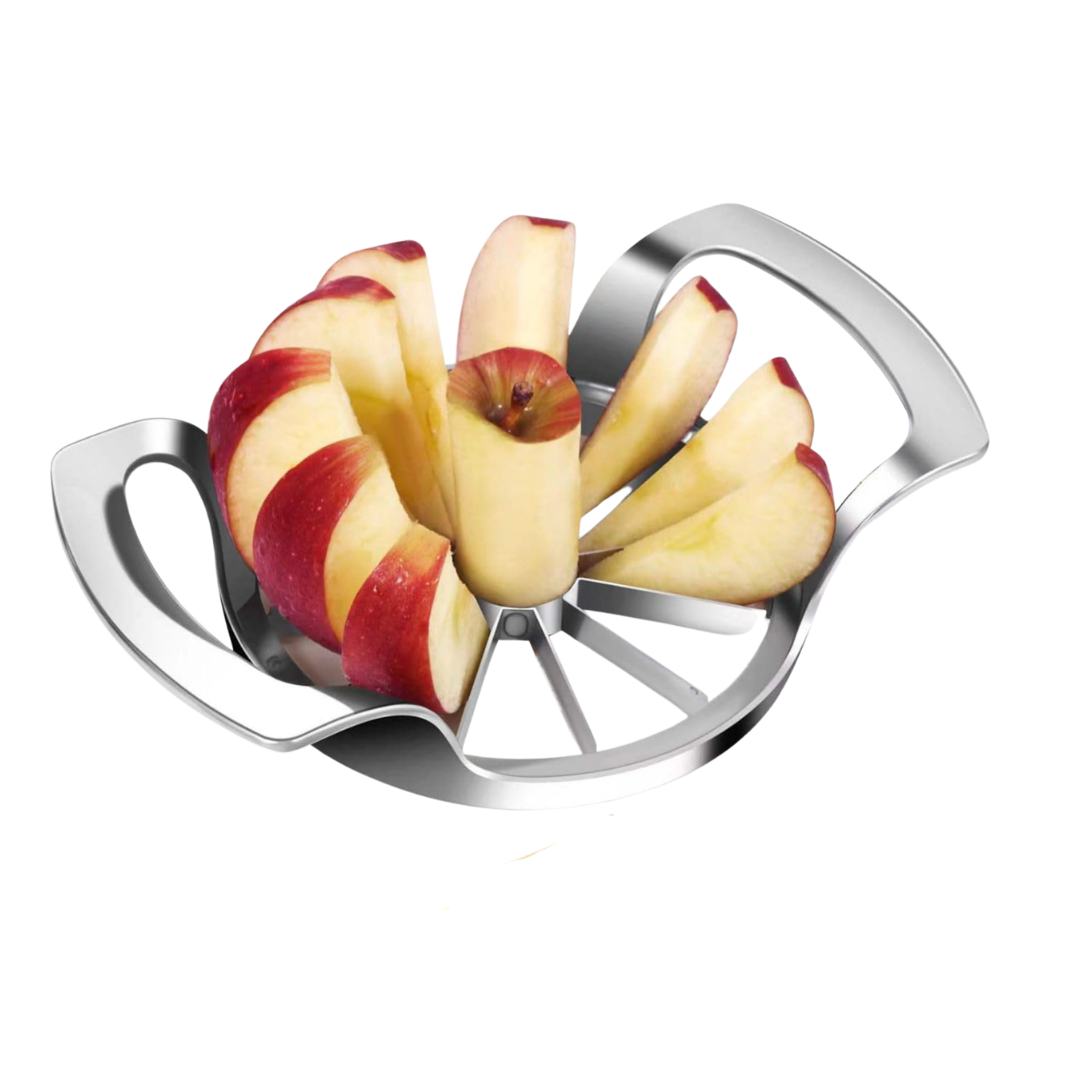
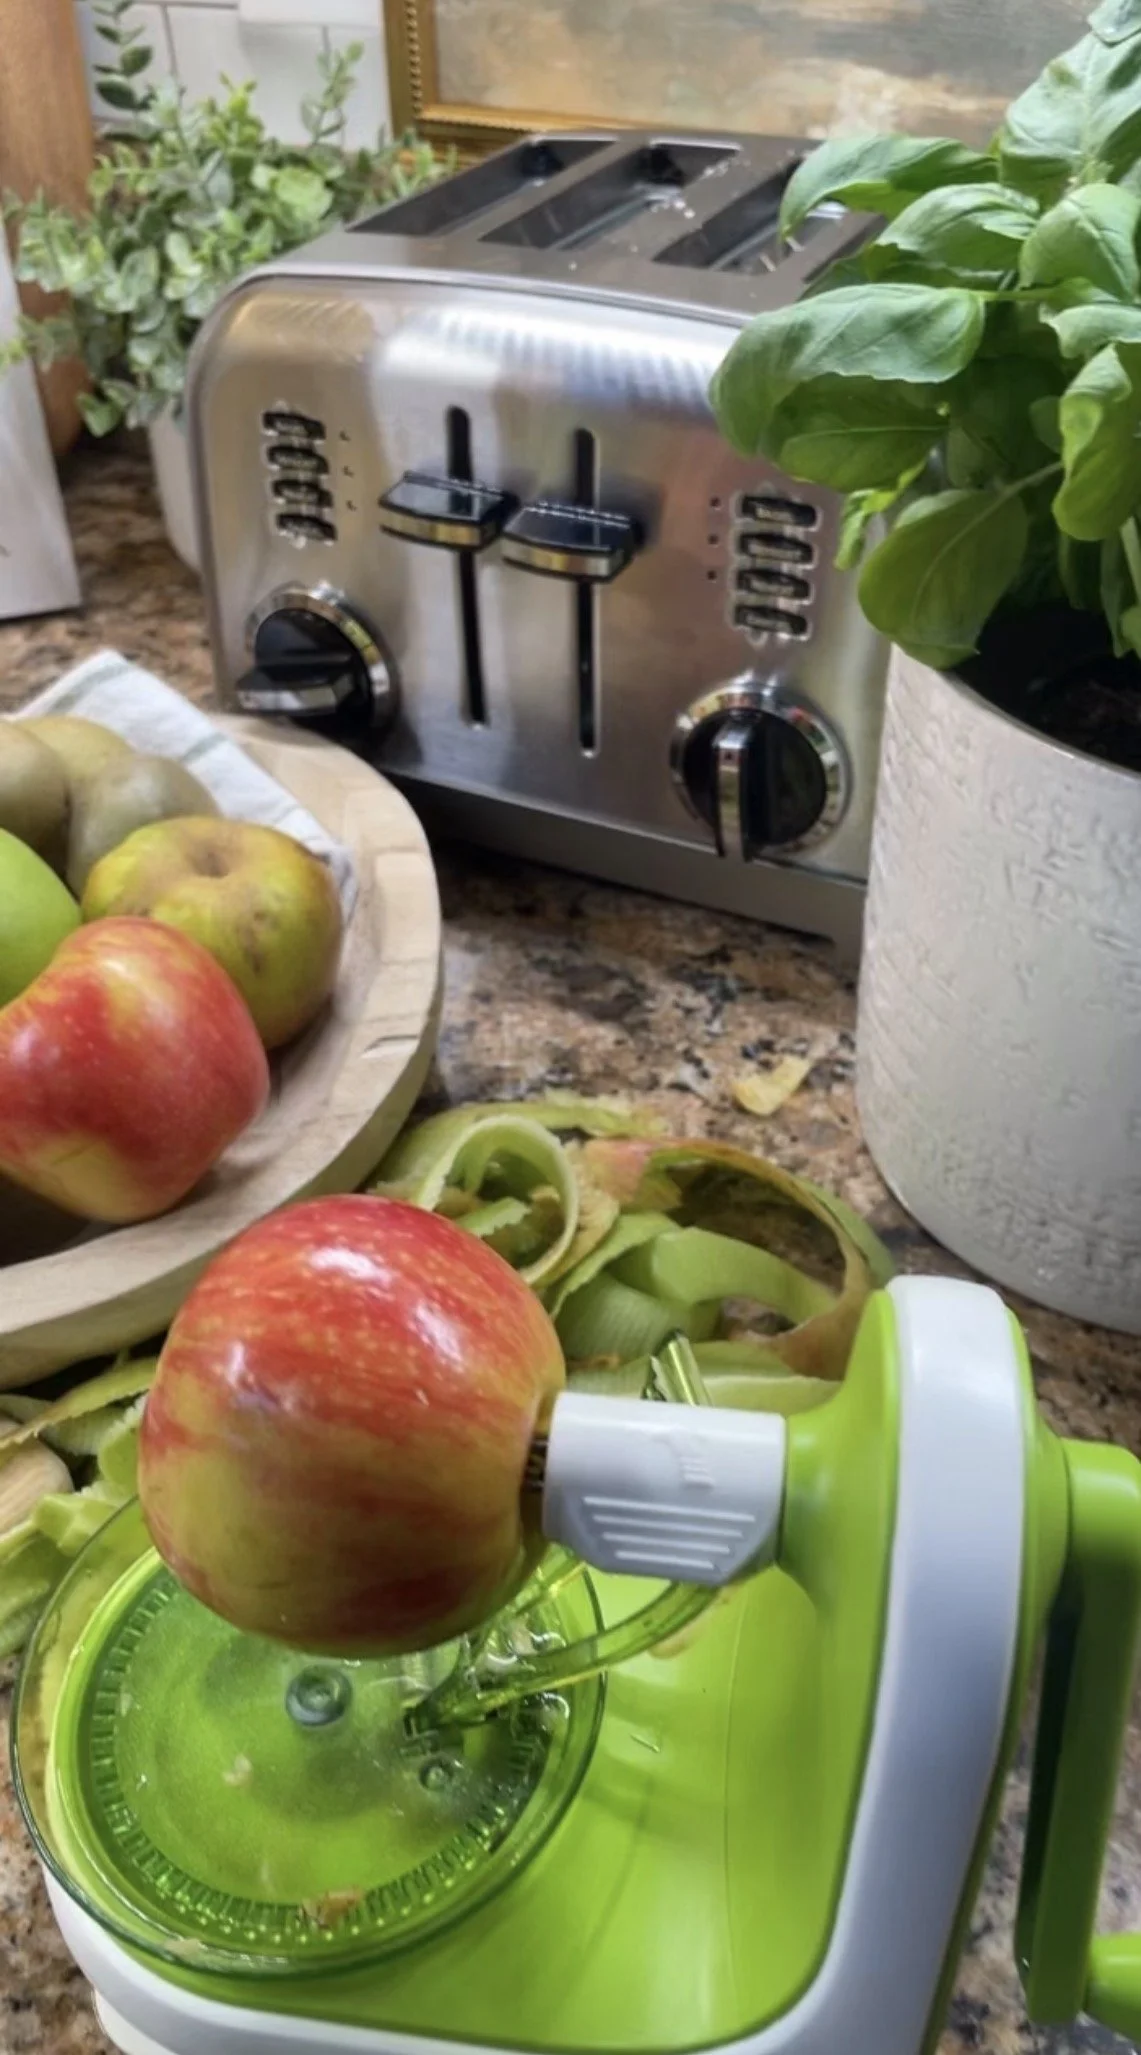
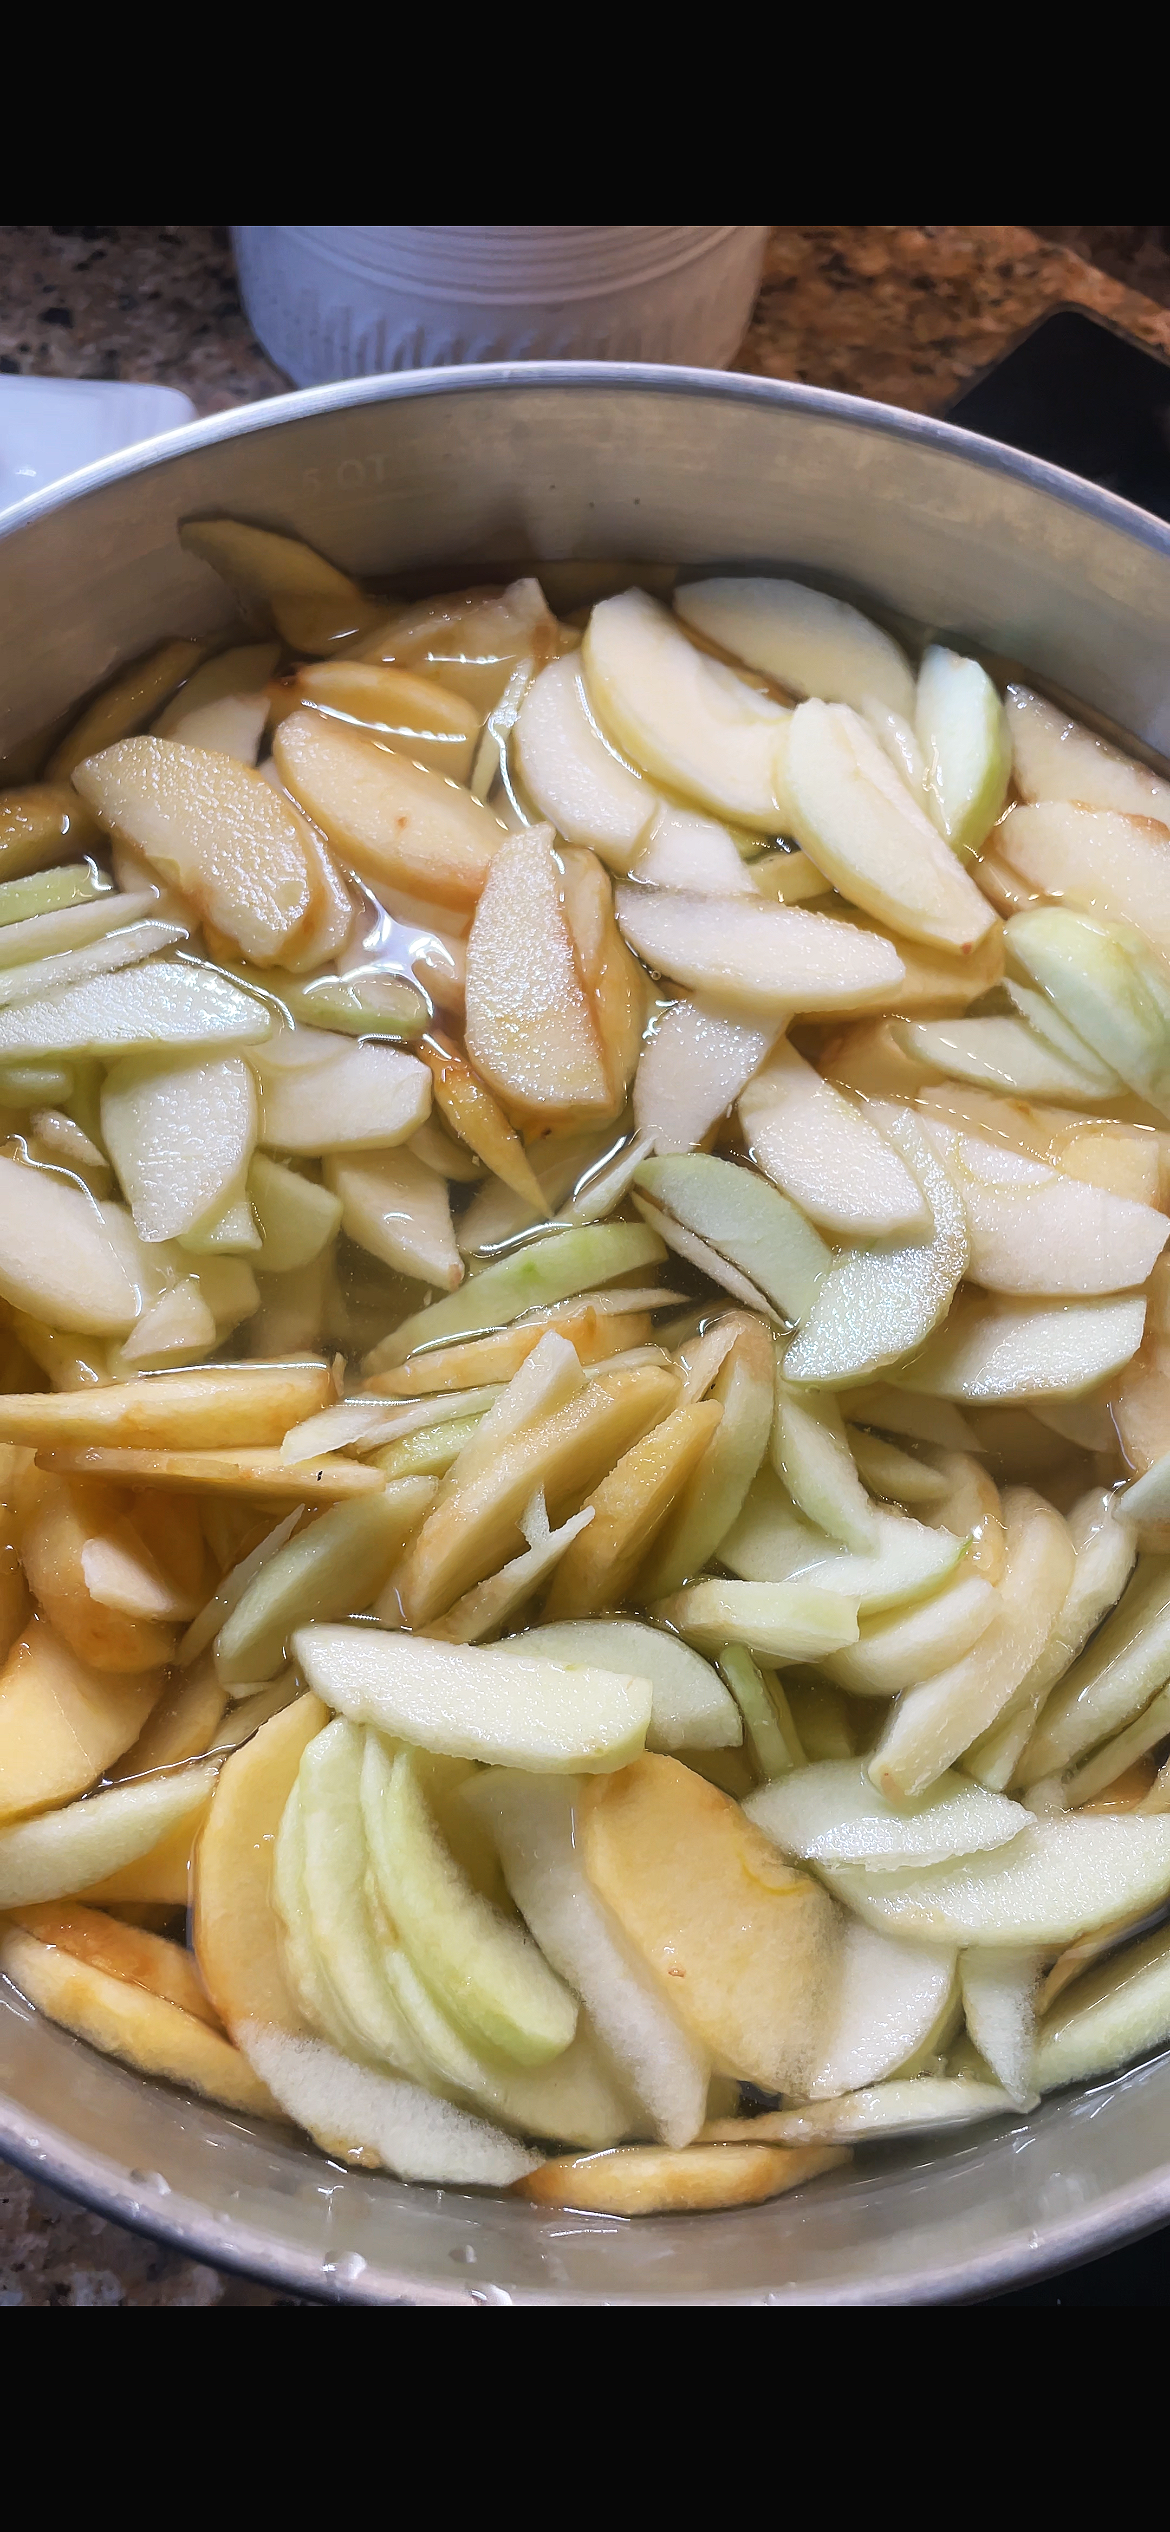
Fill a large mixing bowl with cold water. Peel, core and slice the Granny Smith, Golden Delicious and Honeycrisp apples, placing the slices directly into the cold water as you work.
Once all 11 apples are prepared, drain the water completely and return the apples to the same large mixing bowl.
2. Season the apples.
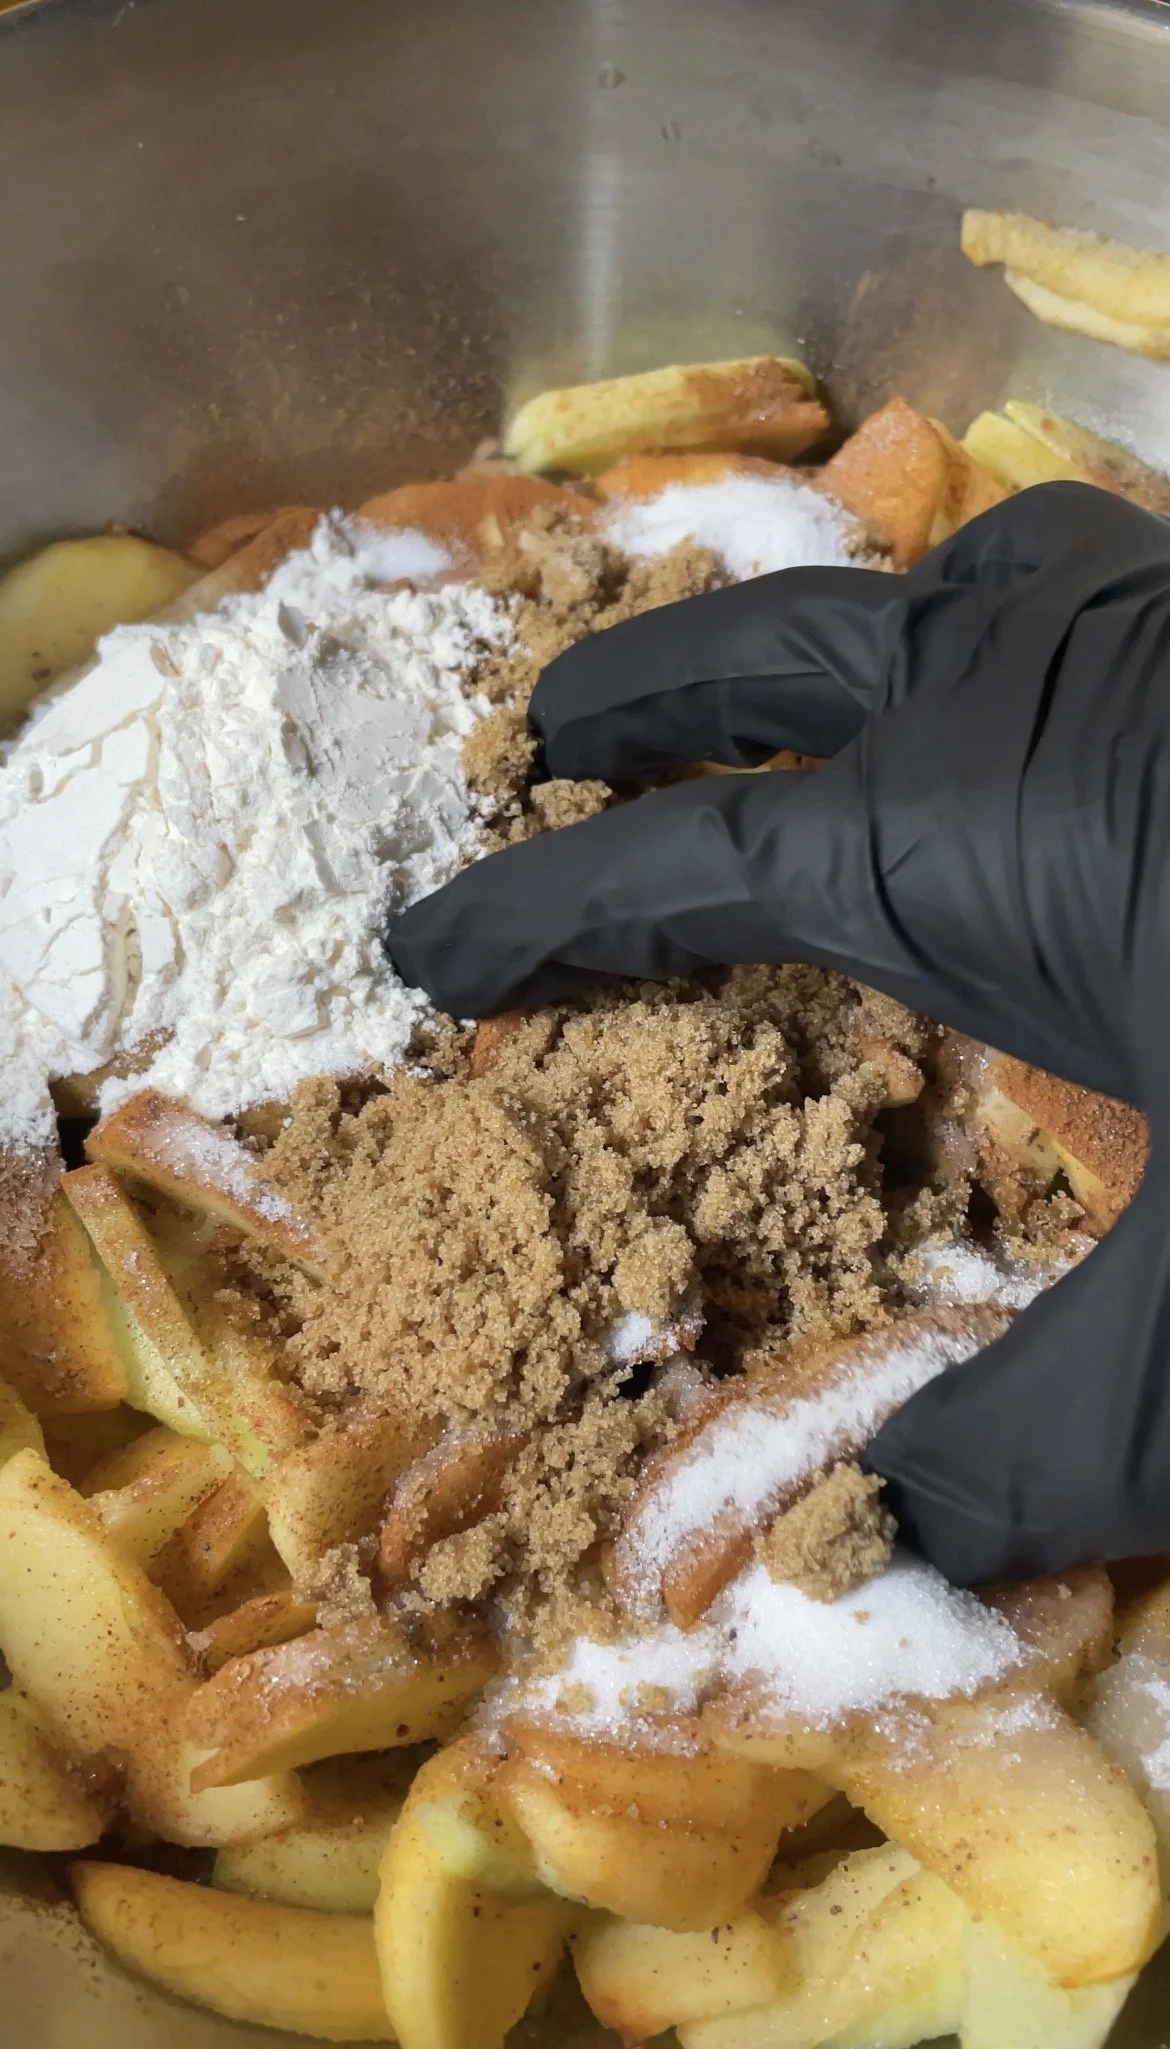
Add the granulated sugar, brown sugar, flour, cinnamon, nutmeg, cardamom, freshly ground clove, salt and lemon juice.
Wearing food-safe gloves, gently toss the apples by hand until every slice is thoroughly and evenly coated. Mixing them this way helps distribute the spices without breaking the apple slices.
3. Cook the filling.
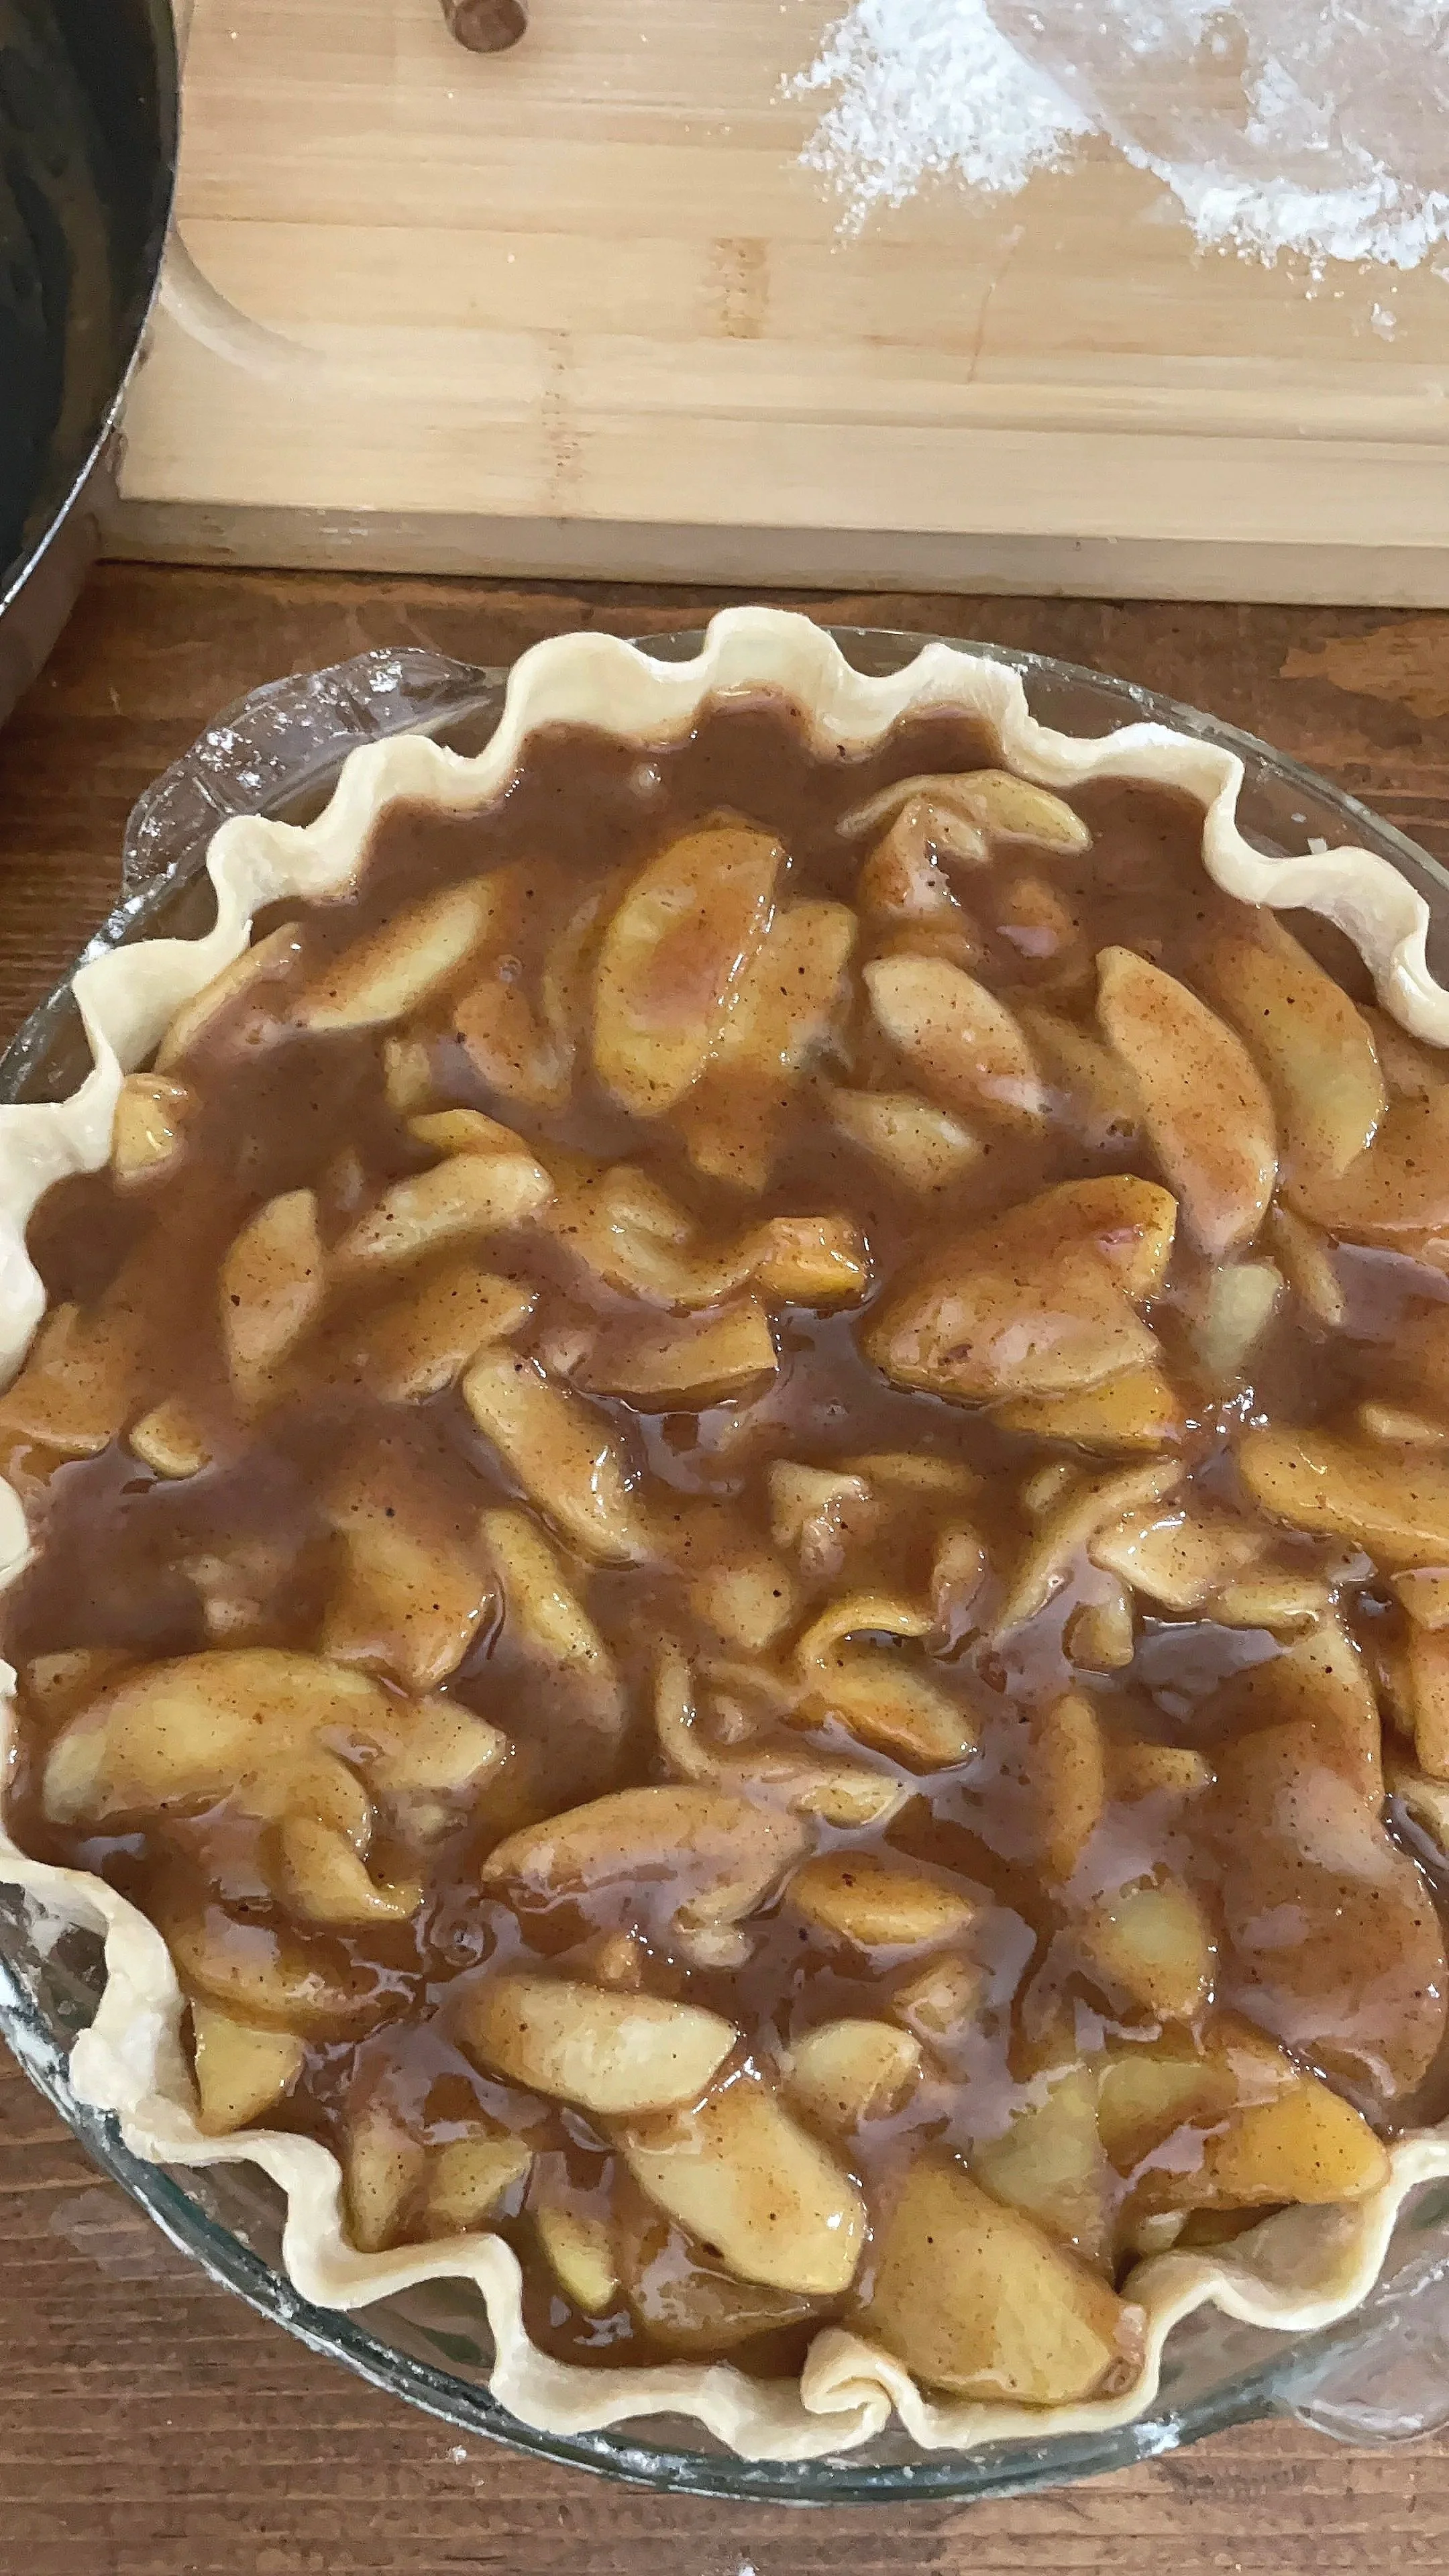
Transfer the seasoned apples to a large pot or deep skillet over medium heat. Cook gently until the apples begin to soften and their juices develop into a thick, glossy sauce.
Add a small splash of water whenever needed to prevent the apples and sugars from sticking to the bottom. Avoid excessive stirring so the apple slices remain intact.
Once the filling is cooked, remove it from the heat and stir in the vanilla.
Allow the filling to rest in the pan, off the heat, for approximately 20 minutes.
4. Prepare the crust.
Heat the oven to 375°F.
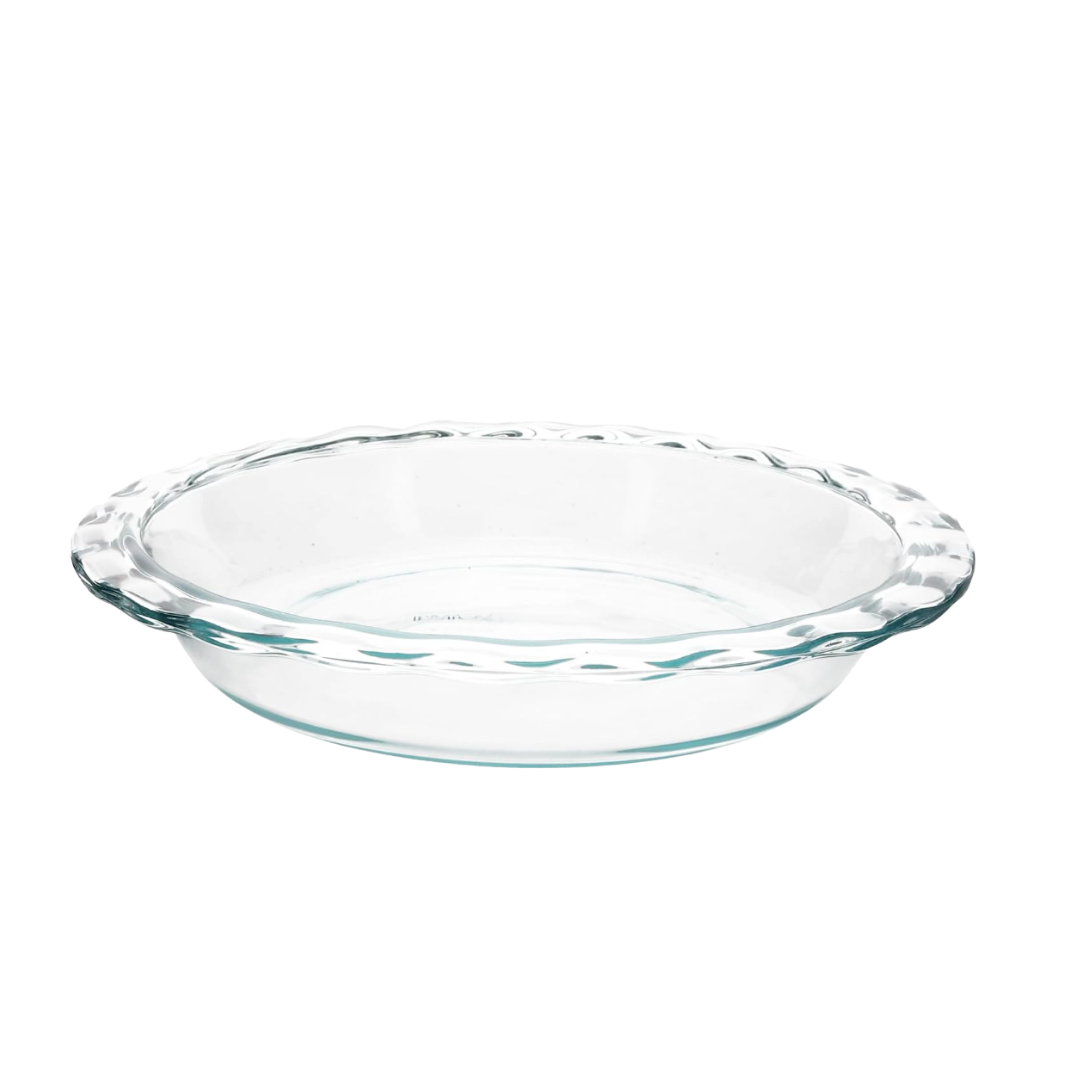
Lightly coat a 9-inch glass pie dish with cooking spray. Place the store-bought pie crust into the dish, gently fitting it against the bottom and sides. Crimp the crust around the edge of the pie dish.
5. Make the brown sugar crumble.
Combine the flour, brown sugar, cinnamon and salt. Pour in the melted Kerrygold salted butter and mix with a fork until a crumble forms.
Leave some of the mixture in larger clusters rather than breaking everything into fine crumbs. Those buttery pieces will become crisp and golden as the pie bakes.
6. Assemble the pie.
Spoon the rested apple filling into the prepared crust, including the thick, spiced juices from the pan. Arrange the apples evenly, mounding them slightly toward the center if needed.
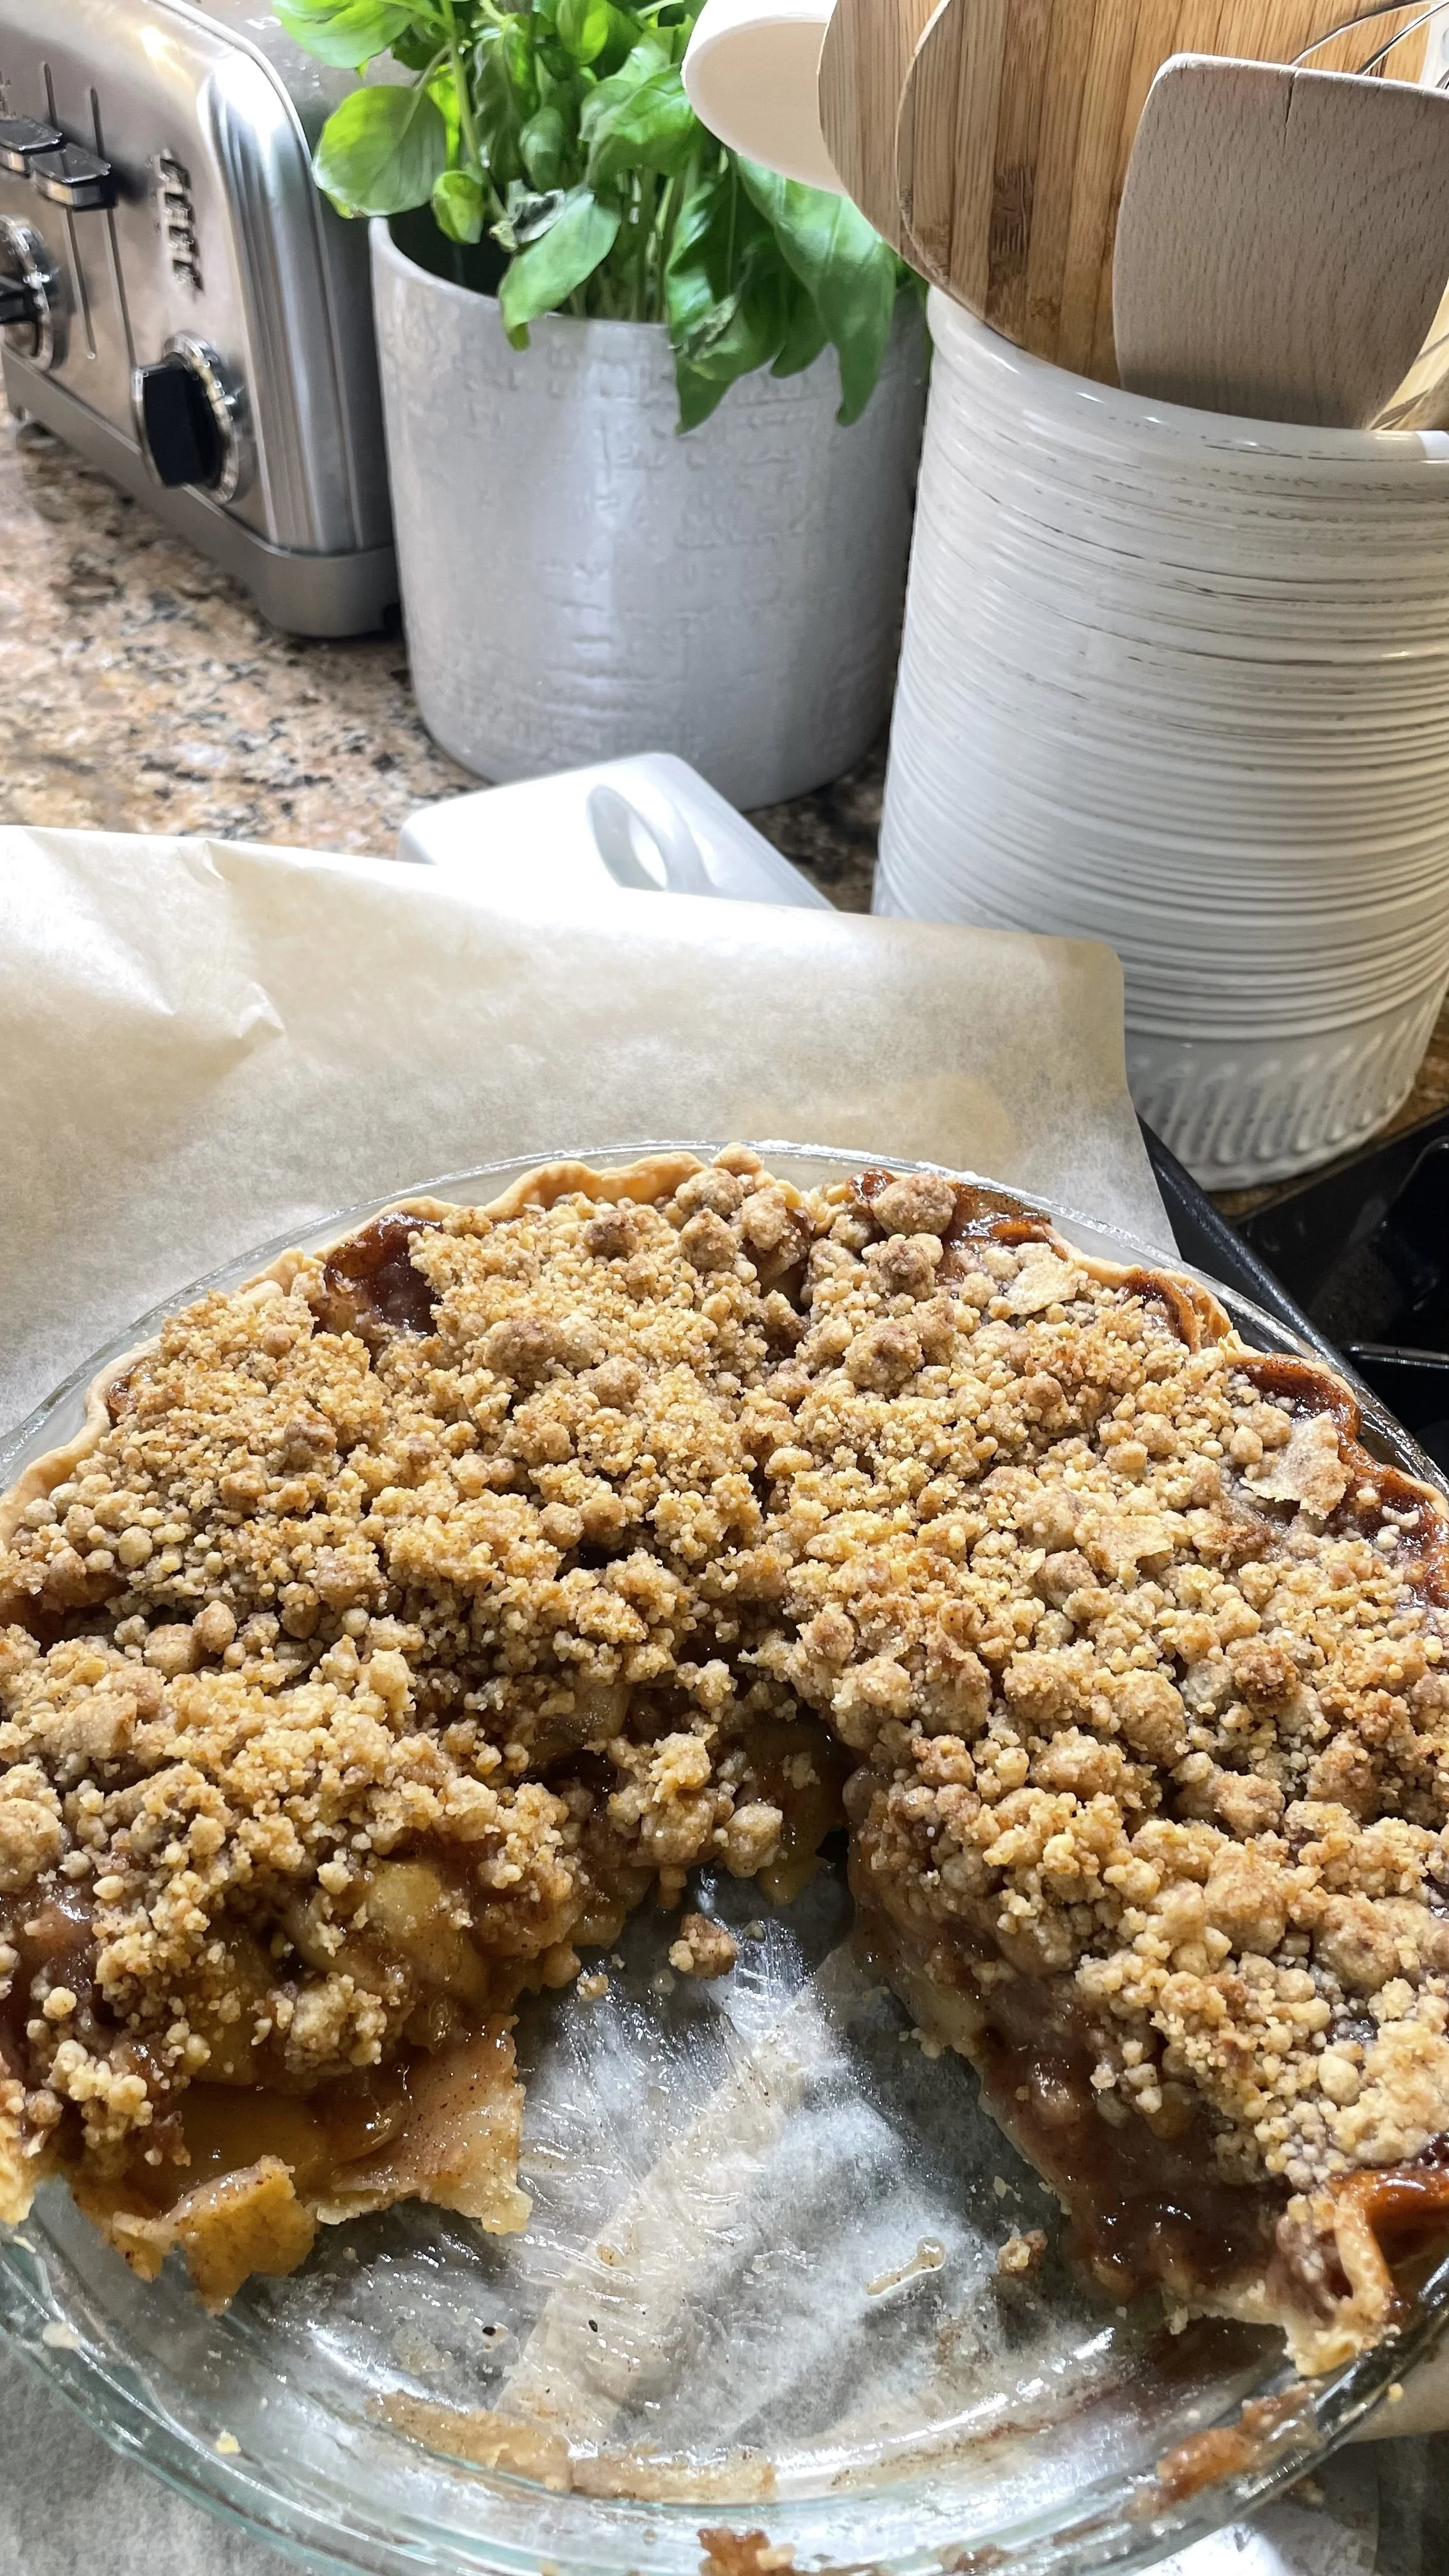
Cover the apples generously with the brown sugar crumble.
7. Bake.
Bake at 375°F for approximately 55 minutes, until the crumble is golden brown and the apple filling is bubbling around the edges.
If the crumble or exposed crust begins browning too quickly, loosely cover the pie with foil for the remainder of the bake.
8. Cool and set.
Remove the pie from the oven and allow it to cool uncovered at room temperature for 3 hours.
Once cooled, refrigerate overnight to allow the filling to fully set and the flavors to develop.
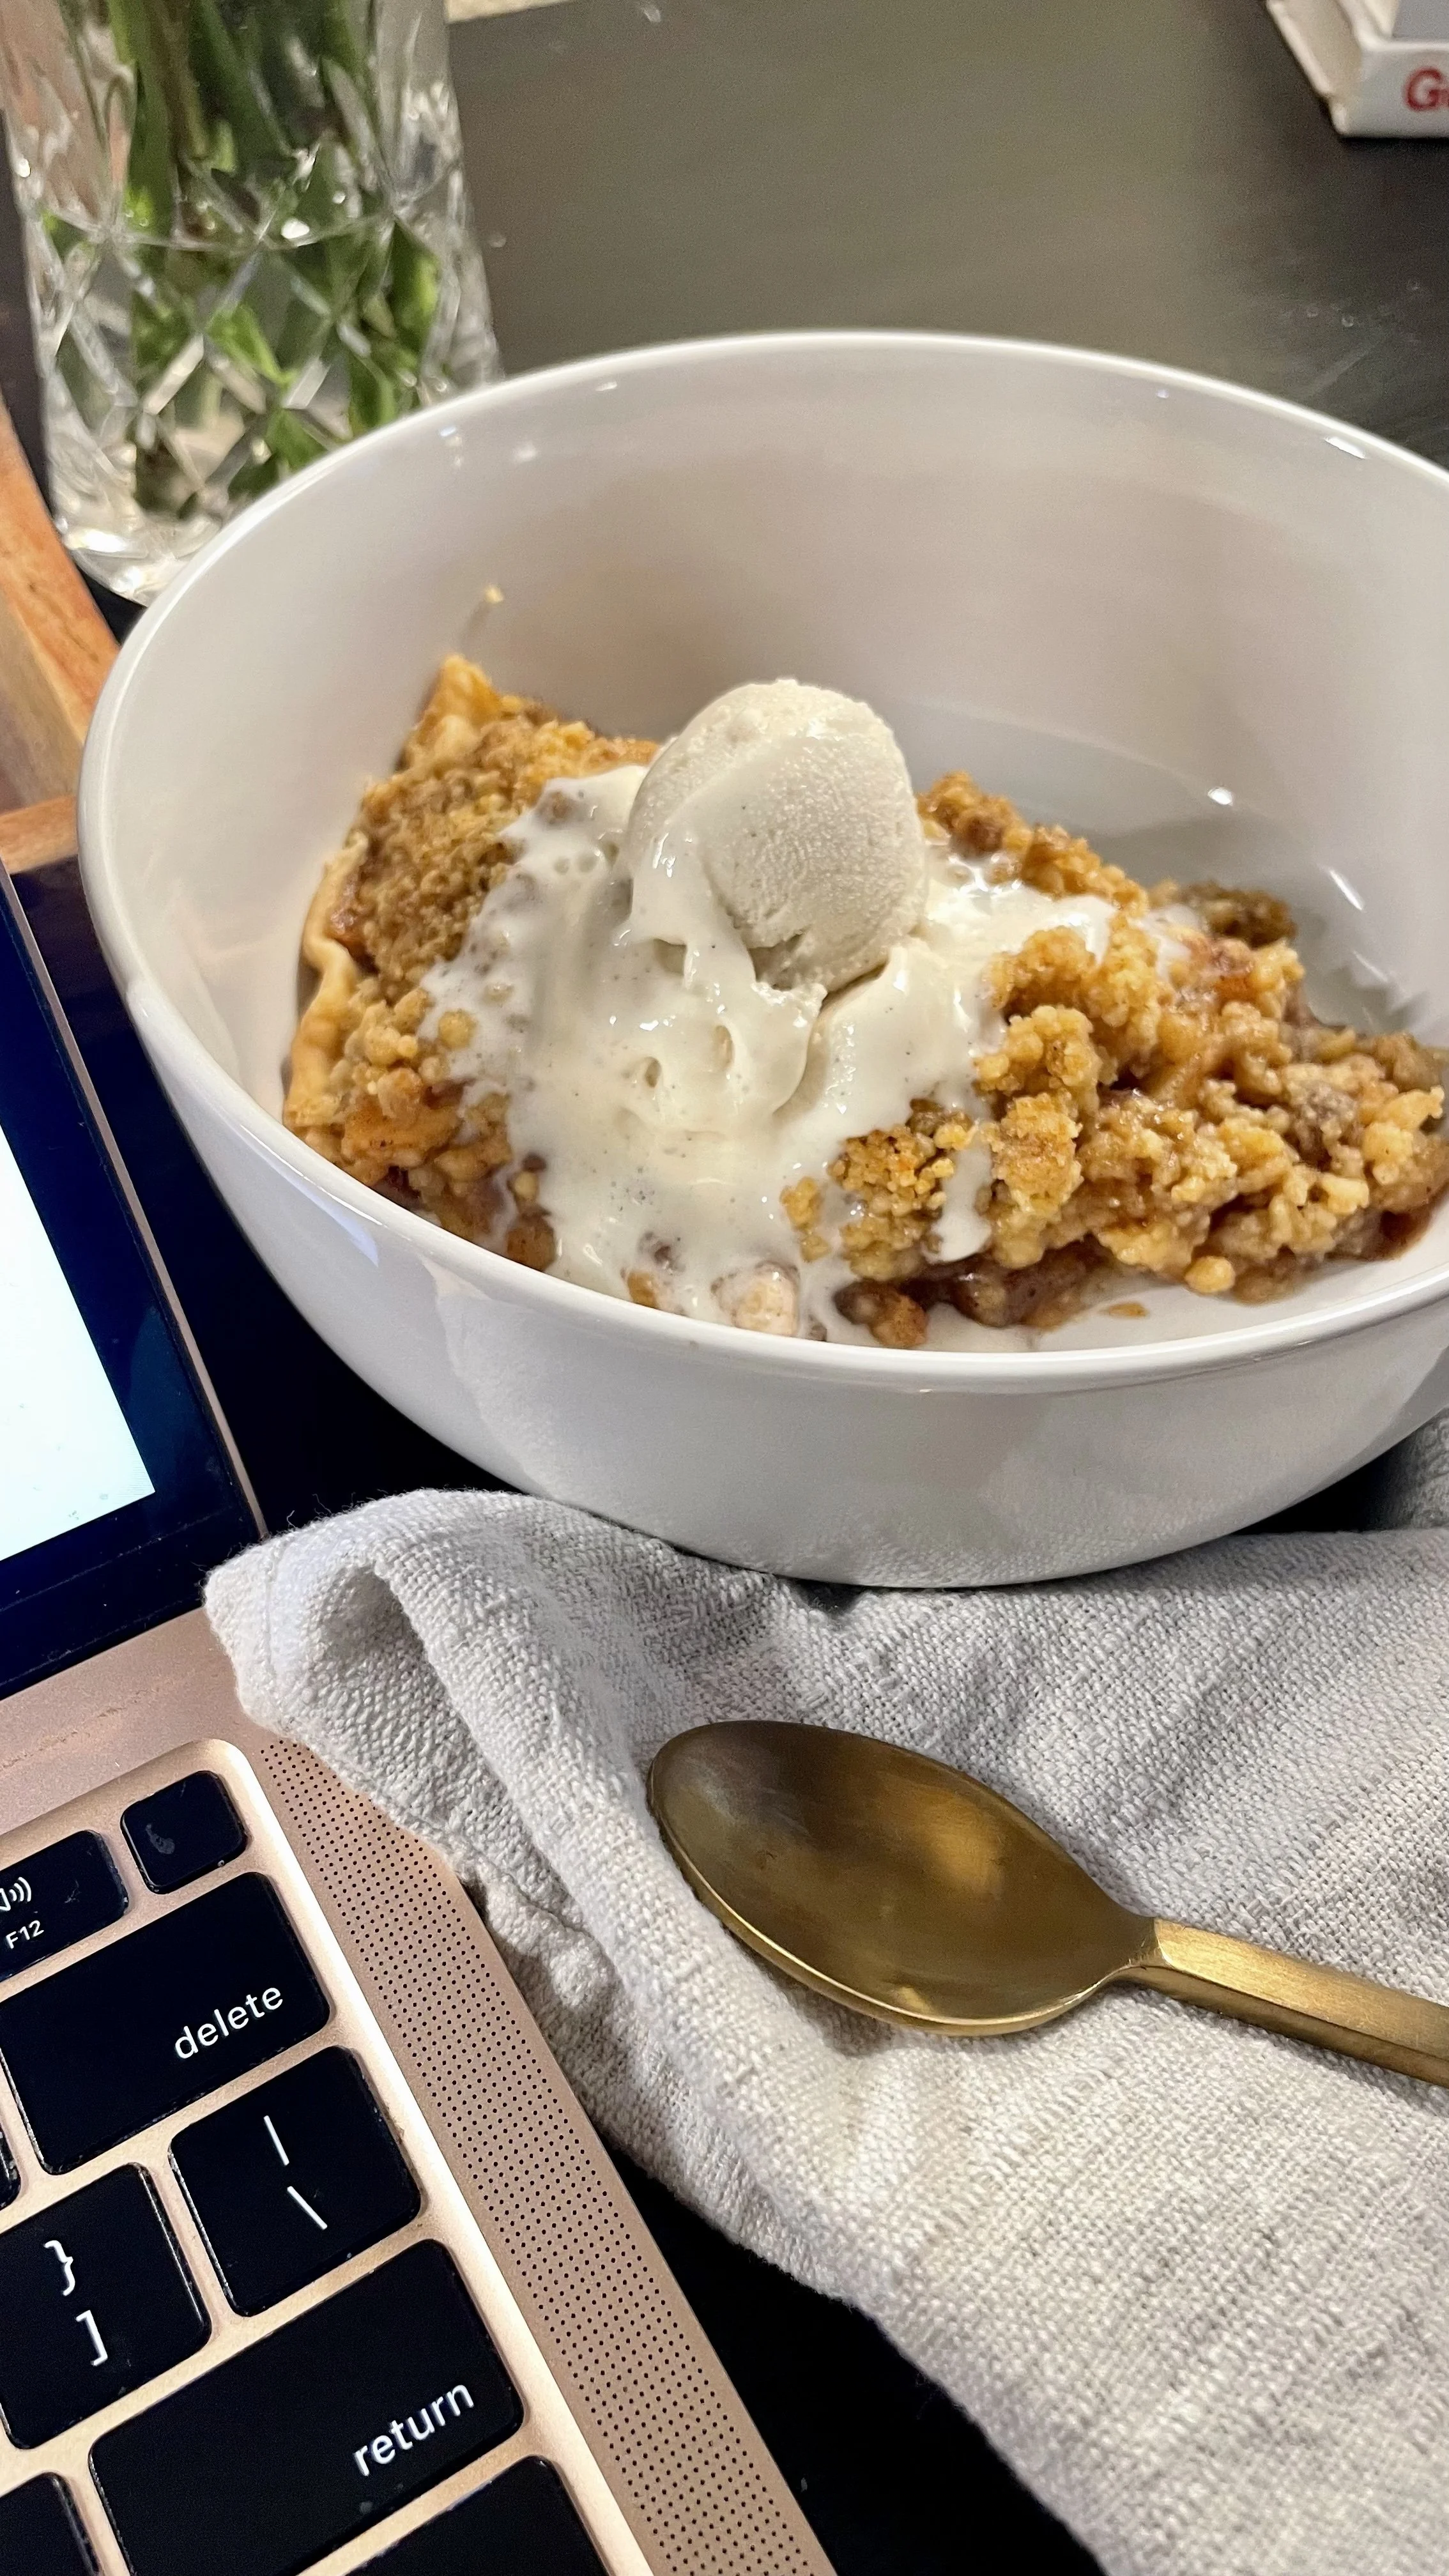
Serve as-is or gently warmed with a scoop of Madagascar vanilla bean gelato.
Dutch Apple Pie FAQs
What is the difference between Dutch apple pie and regular apple pie?
The topping is the biggest difference. A traditional apple pie is usually finished with a second pastry crust or lattice, while a Dutch apple pie is covered with a buttery streusel or crumble. This recipe uses a brown sugar crumble made with flour, cinnamon and salted Kerrygold butter, giving you a crisp, buttery topping against the soft spiced apples.
What are the best apples for Dutch apple pie?
A combination of sweet and tart apples gives Dutch apple pie the best flavor and texture. For this recipe, I use 5 Granny Smith, 2 Golden Delicious and 4 Honeycrisp apples.
Granny Smith apples bring tartness and hold their shape beautifully. Golden Delicious become softer and sweeter as they cook, while Honeycrisp add that fresh, juicy apple flavor. Using all three gives the filling much more dimension than using a single variety.
Do you need to cook apples before making Dutch apple pie?
You don’t have to, but I highly recommend it for this recipe.
I season the raw apple slices by hand first, then gently cook them on the stovetop before assembling the pie. This gives the apples a head start, allows their juices to combine with the sugar, flour and spices into a thick sauce, and means you aren’t relying entirely on the oven to cook 11 apples evenly.
It also gives you more control over the texture: the apples can soften without becoming mushy or breaking apart.
How do you keep Dutch apple pie from getting watery?
The secret is managing the liquid before and after baking.
In this recipe, the apples are tossed with ⅓ cup flour and then cooked on the stovetop until their juices become thick and glossy. The finished filling rests off the heat for about 20 minutes before going into the crust.
Cooling matters just as much. Once baked, allow the pie to cool at room temperature for 3 hours before refrigerating it overnight. Cutting into a piping-hot apple pie releases filling that hasn’t had time to fully set.
Does Dutch apple pie need to be refrigerated?
Once completely cooled, I recommend refrigerating this Dutch apple pie, especially for longer storage. Cover the pie and keep it refrigerated for about 3–4 days.
For the best texture, don’t cover the pie while it’s still warm. Trapping that steam can create condensation and soften the brown sugar crumble.
Can I make Dutch apple pie ahead of time?
Yes—and this particular pie is an excellent make-ahead dessert.
My preferred method is to bake it the day before serving. Let it cool uncovered at room temperature for 3 hours, then refrigerate overnight.
That gives the filling plenty of time to set, makes the pie much easier to slice cleanly, and gives all of the cinnamon, nutmeg, cardamom, freshly ground clove and apple flavors time to settle together.
If you want that fresh-from-the-oven experience when serving, gently warm individual slices and add cold vanilla bean ice cream.
Can you freeze Dutch apple pie?
Yes. Once the baked pie has cooled completely, wrap it well to protect it from freezer air and freeze for up to 3 months.
For easier serving, you can also freeze individual slices. Thaw the pie or slices overnight in the refrigerator before reheating.
Just know that freezing can slightly change the texture of both the apples and crumble, so if I’m making this for a special occasion, I’d choose the make-it-the-day-before method instead.
How do you reheat Dutch apple pie without making the crumble soggy?
The oven or toaster oven is your best friend here.
For an individual slice, warm it at 325°F for about 10–15 minutes, or until the filling is warmed through and the crumble has crisped back up.
For a larger portion of the pie, loosely cover the crust edges with foil if they’re already deeply browned and give it a little more time.
The microwave works when you need pie now—and I understand 😂—but it will soften the crumble. For the contrast of warm apples, crisp brown sugar topping and cold vanilla bean ice cream, use the oven.
A Pie Worth Keeping
There are certain scents that make my brain register that Fall is Here.
Apples and cinnamon bubbling away on the stove will do it every time.
It’s one of the reasons I love a good simmer pot this time of year—my Apple + Vetiver Fall Simmer Pot fills the house with that same warm, just-baked-something feeling without actually requiring me to bake anything. But on this particular afternoon, the scent was coming from the real thing.
I was making Dutch apple pie for our wedding anniversary.
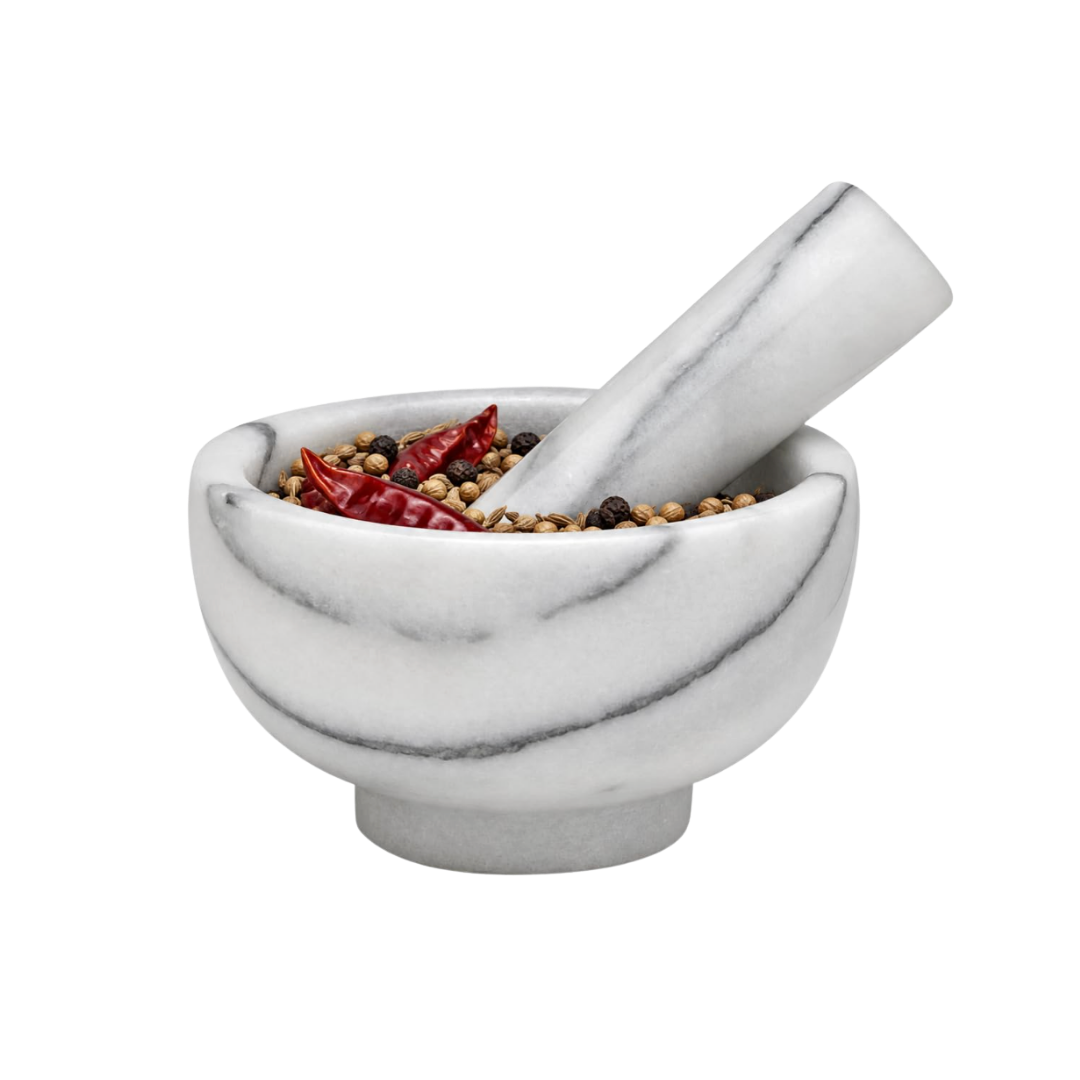
I’ve made this pie for my husband several times before, and he goes crazy for it every time. But this one was different. Maybe it was the farmers market apples. Maybe it was the extra lemon juice, the cardamom, or the whole cloves I crushed with my mortar and pestle. Whatever happened in that kitchen, this was the pie.
The next day, we went back to the farmers market and I excitedly told the farmer who sold me the apples how incredible it had turned out.
“I’ll bring you a slice tomorrow!”
My husband immediately objected.
Loudly.
The farmer laughed. I laughed. My husband, as it turns out, was quite serious.
Now, this is fundamentally opposed to my nature. I am the girl who makes something wonderful and immediately starts mentally dividing it up. A slice for the neighbor. A slice for a friend. Certainly a slice for the man who grew the apples.
And then suddenly you look down and realize there are no leftovers in your own refrigerator.
Still, I thought my husband was being a little ridiculous.
Until last night.
I cut myself another slice, sat down, took a bite and thought…
Oh.
I get it now.
This wasn’t just really good pie. It was our anniversary pie. The one we had already waited hours to cut into. The one we ate together after celebrating another year of our marriage. And, yes, the one that happened to be so outrageously good that sharing it suddenly felt considerably less virtuous.
So, the farmer did not get his slice.
Neither did the neighbor.
For once, I’m leaving the whole pie right here at home with us.
And you know what?
I respect it.
What about you—are you sharing the last slice, or are you hiding it in the back of the fridge for yourself?
With Love,
Ambyr